

Image Source: lefashionimage.blogspot.com
Fashion Dipped in Metal……..
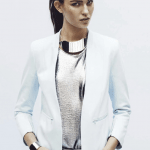
Many designers have taken to dipping their beautiful creations in liquid metal for Spring/Summer 2012/13, creating a wonderful mix of structured and floaty metallic masterpieces.
The great thing about metallics is that its a versatile trend that can be glammed up or dressed down. For a more casual look, this can be achieved by simply teaming a pair of jeans, a plain white t-shirt and blazer with a metallic clutch or metallic shoes. For a more glam look, a metallic dress teamed with a beautiful pair of nude heals achieves an effortless edgy look.
These are my key tips to wearing metallics without getting lost in a sea of metal:
- Keep accessories to a minimum. Since metallics pack a significant punch all on their own, there’s no need to go overboard with accessories.
- Pair your metallics with neutrals
- Wear 1 metallic piece at a time
My current obsession is rose gold (Michael Kors Baguette-Bezel Rose Gold Watch – you shall be mine!!!!) so Im in heaven amongst the metallic trend that’s currently hitting the runways. A few fab metallic finds:
-
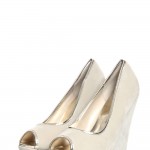
- boohoo.com Maiya Beige Metallic Peeptoe Wedges NZ$85
-
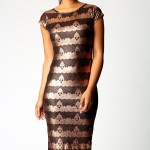
- boohoo.com Alicia Cap Sleeve Metallic Dress
-
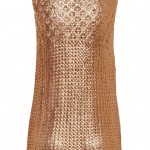
- Cotton On Metallic Sleeveless Knit
-
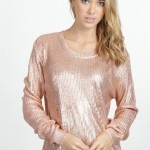
- CottonOn Wilona Foil Knit Pullover
-

- glassons Metallic Peplum blouse
-

- MOOCHI Metallic Shimmer Tank
-
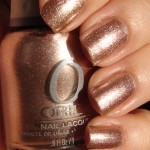
- Orly Rose Gold foil polish
-

- RubyNZ Metallic Cami Dress
-
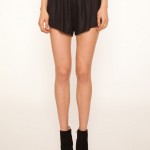
- TheIconic.com.au Metallic Wetlook Knit Shorts
-

- Wild Pair Happy Feet Sandals with Metalic strap
-
- Image Source: lefashionimage.blogspot.com

Links to featured fashion brands:
boohoo: www.boohoo.com
Ruby: www.rubynz.com
TheIconic: www.theiconic.com.au
Wild Pair: www.wildpair.co.nz
CottonOn: www.CottonOn.com
Ange x
Fashion, Beauty, Lifestyle Blogger
www.gurlinterrupted.com


