Category

Beauty

MAC – Hit The Pavement


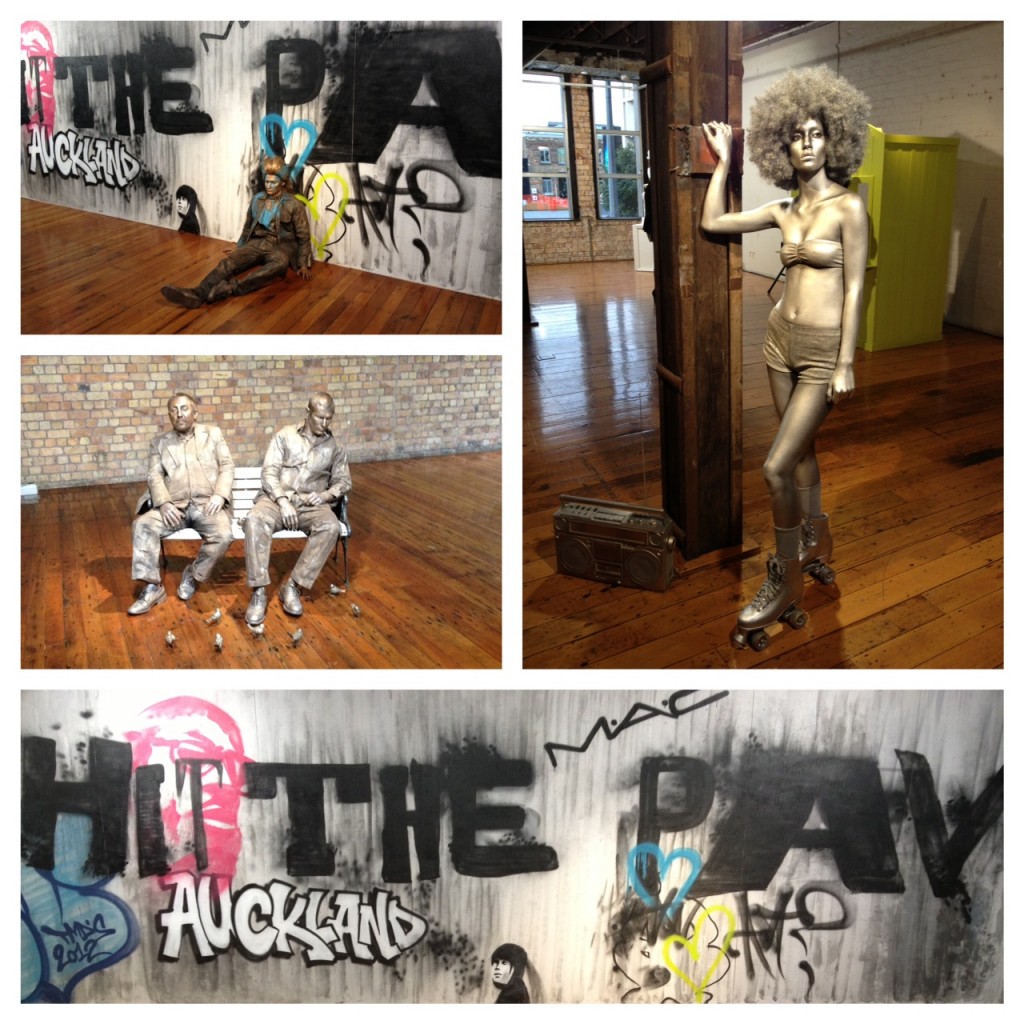
Last night MAC Pro threw another one of it’s notoriously kick-ass events in the über cool space of Britomart’s Australis House.

Street art, street style food stations, street beats and hella strong margaritas, all made for an awesome evening of beauty, networking, catching up with friends and absorbing the awe-inspiring talent of the MAC crew.

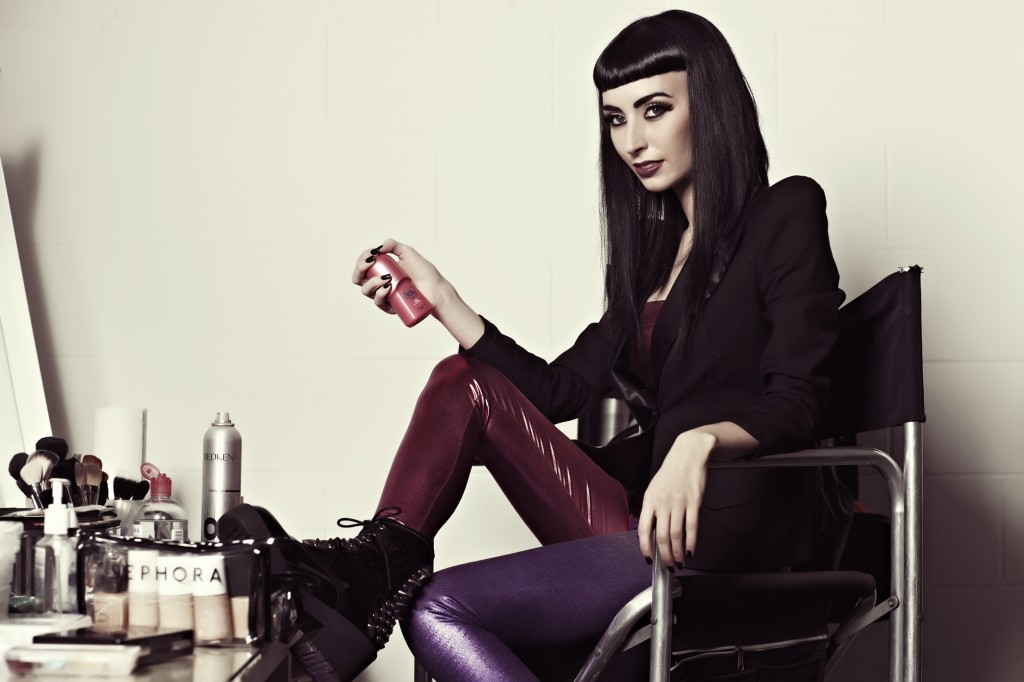
The MAC team never cease to amaze me and the MAC ‘Hit The Pavement’ event was no exception. Amber D and her talented team of makeup artists showcased their skills with live installations dispersed throughout Australis House. Body painted living statues, head to toe in makeup inspired by street performers & street art from around the world.

Check out a few shots from the event:

PS:  I had to mention this….. for anyone wanting to know how to perfect wearing the most unforgiving of fabrics, in the form of a satin/silk, floor length slip dress (no, don’t ask me!!) – ask Tatum Savage of MAC.  Looking positively glowing (did I mention Tatum is VERY pregnant) – she looked absolutely flawless.  For us mere mortals – we know all to well that pulling off a fairly form-fitting, floor length silk slip dress is no small feat, yet Tatum effortlessly nailed it!

Ange xx
A Girl Interrupted by Fashion, Beauty and Anything Pretty That Catches My Eye


I Love…….

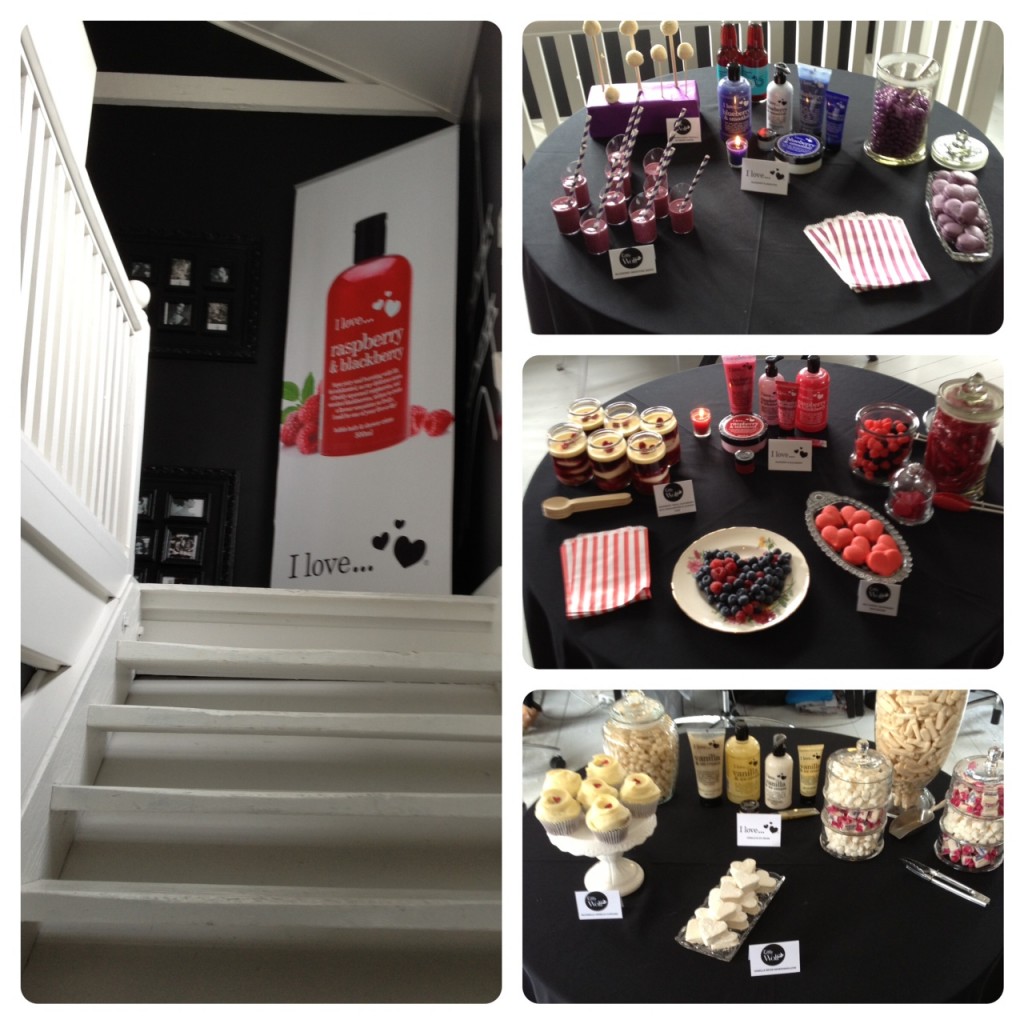
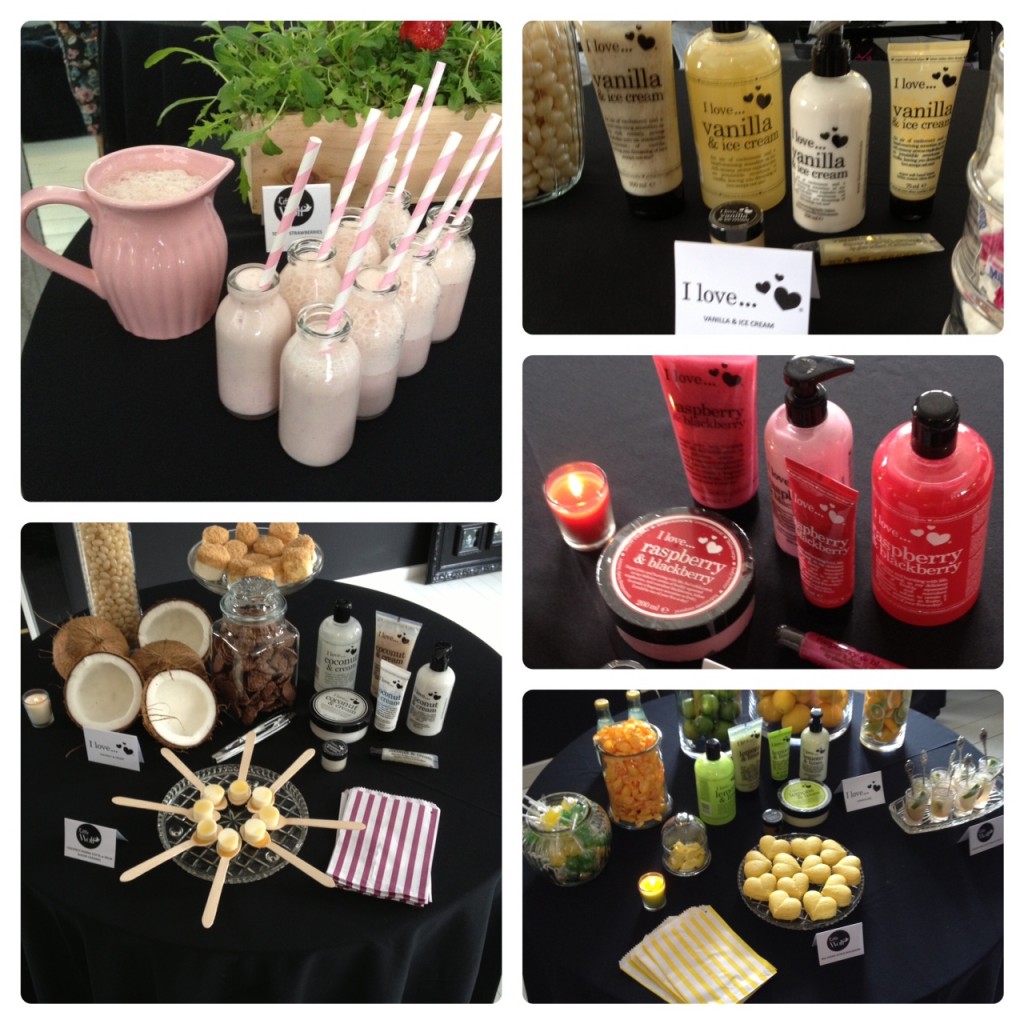
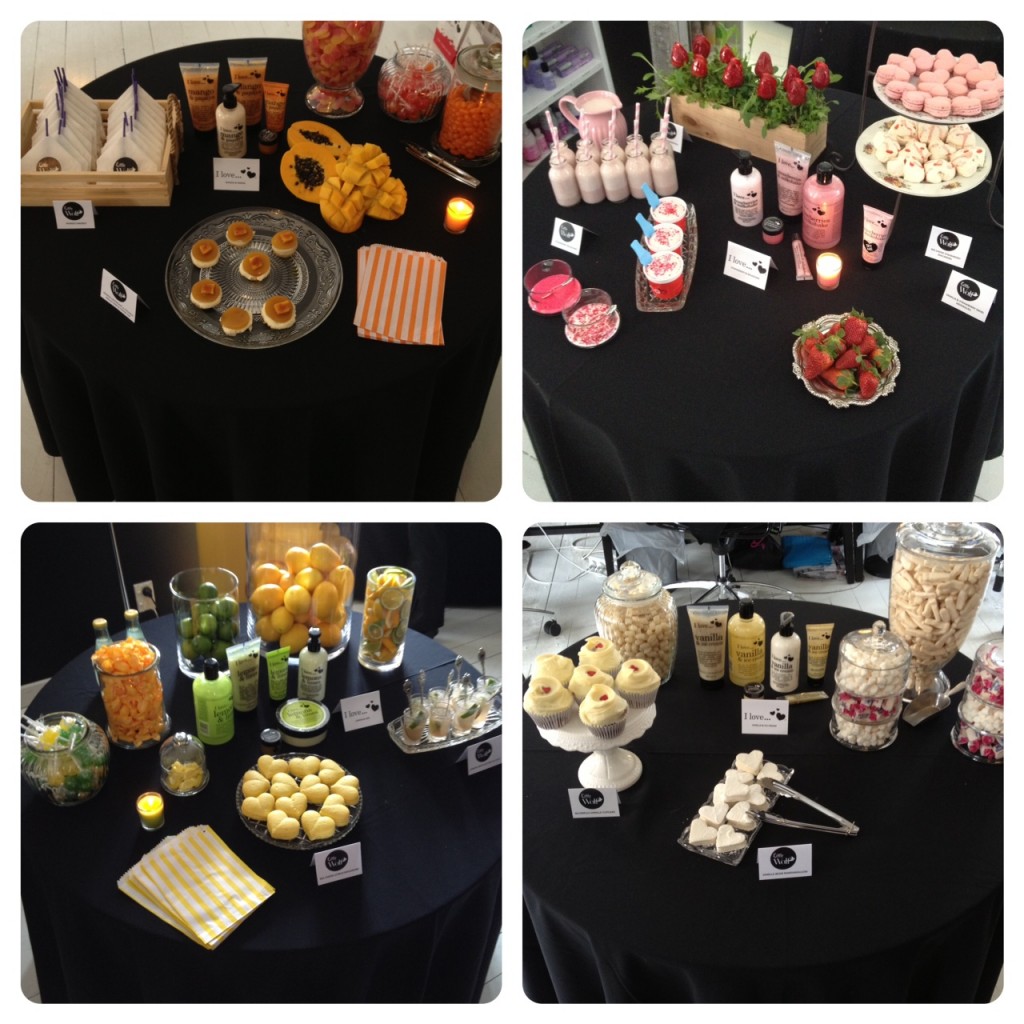
Lovely afternoon today with the gorgeous girls of Lily & Louis for the media launch of ‘I Love….’ in the amazing surroundings of what can only be described as ‘a childhood candyland dream come true’!

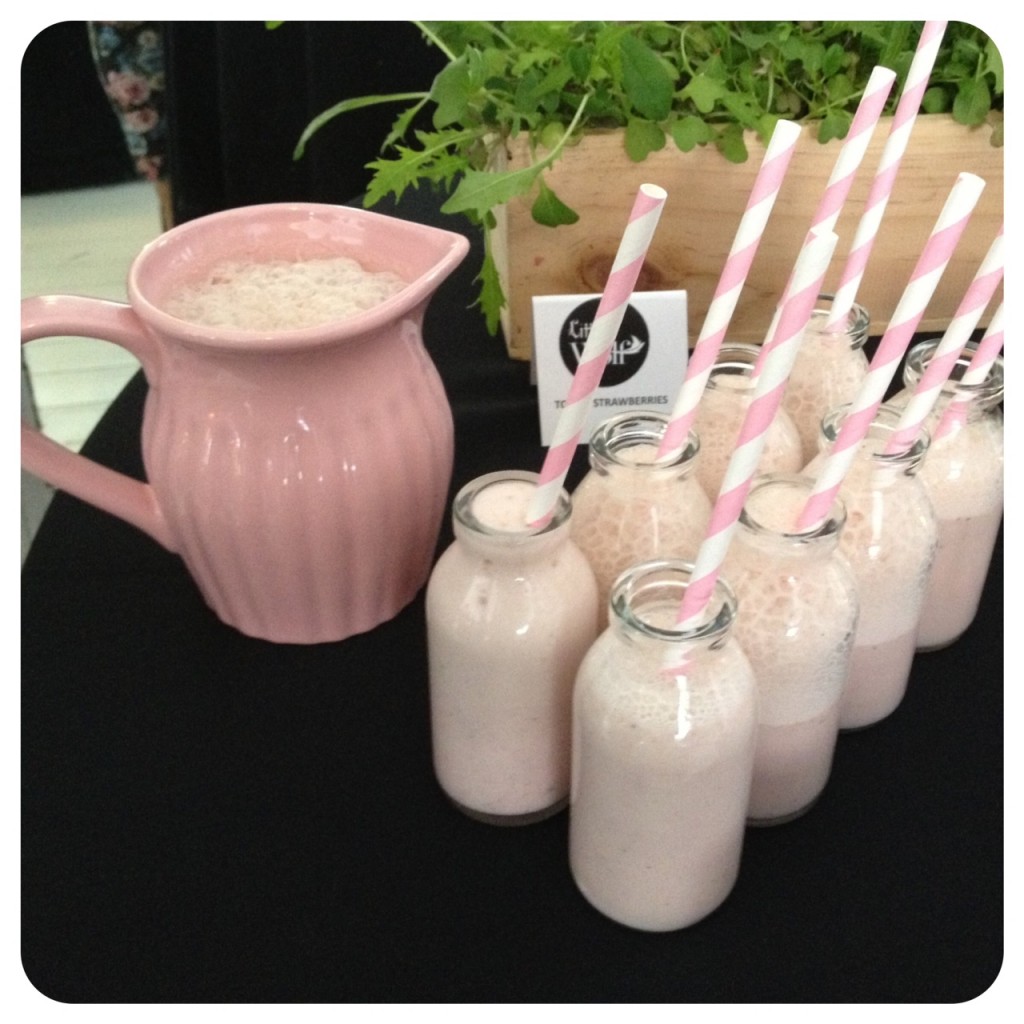
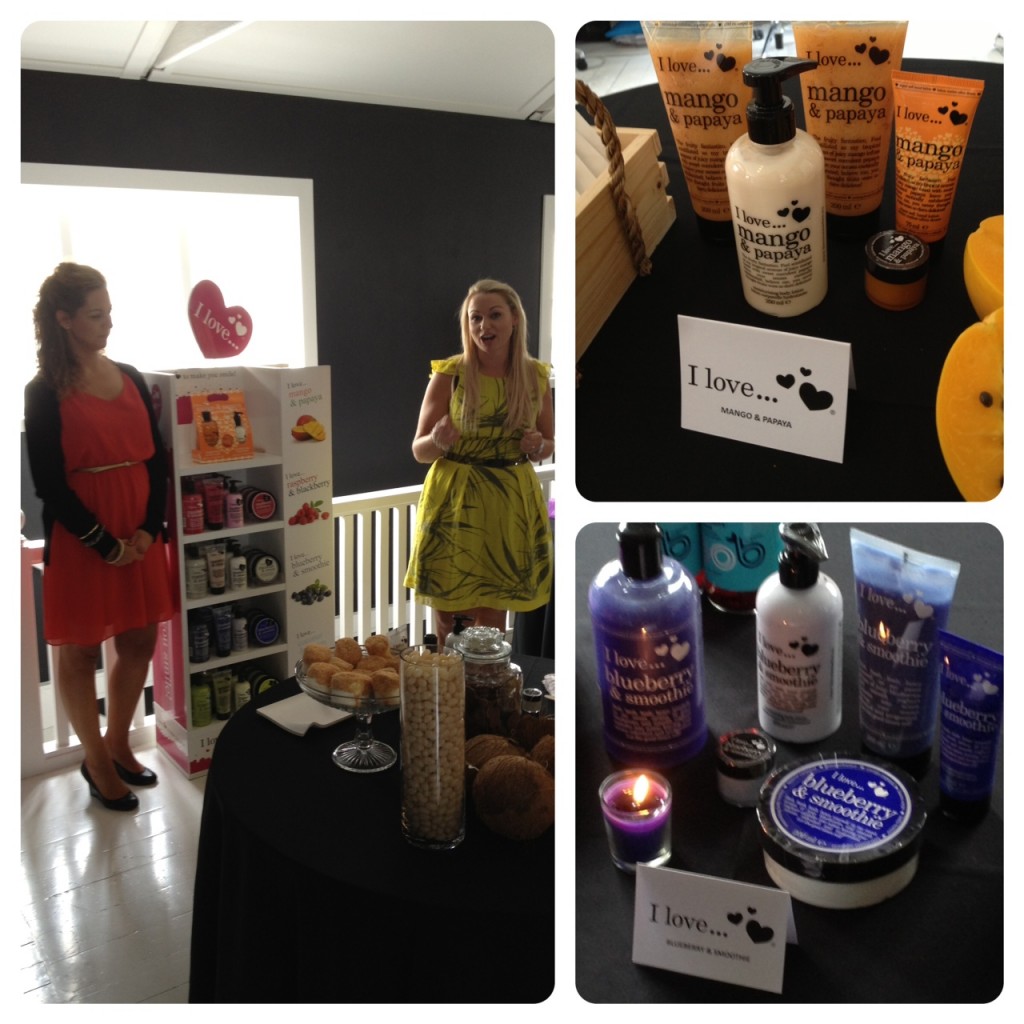
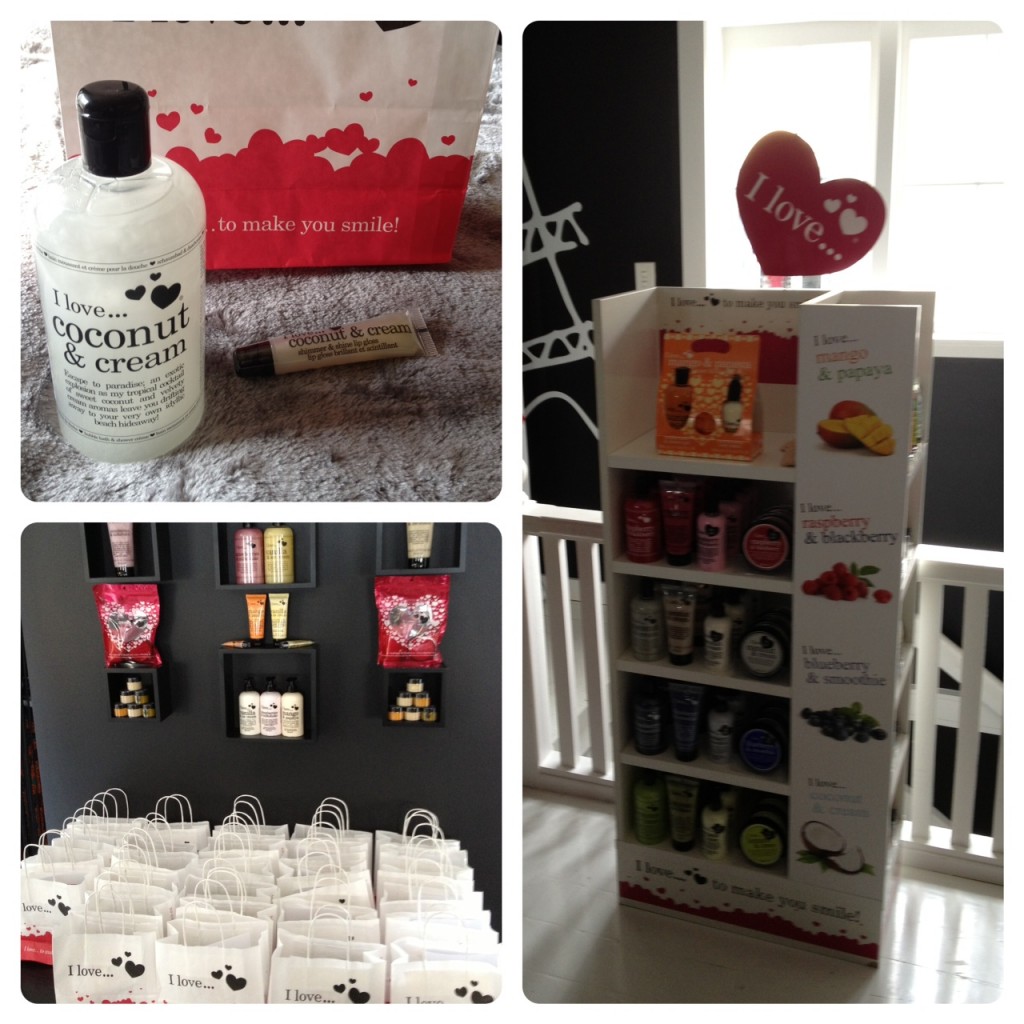
I Love…. is a delectable new bath and body range.  Mouth watering, passionately fresh fragrances, is what I Love…. is all about!!  Bubble baths, shower creams, exfoliating shower smoothies, nourishing body butters and glossy lip balms ranging from $9.99 – $19.99.  Discovered in Italy and now available to us here in New Zealand, the range covers a delicious scent to suit every taste, including Strawberries & Milkshake, Raspberry & Blackberry, Vanilla & Ice Cream; and Blueberry & Smoothie.  What more can a girl want?!  Hand massages with some of the beautiful I Love…. products?  Yup – the girls of Lily & Louis had this covered too!  I am officially in love with the Coconut and Cream I Love… range!!

I Love… will be available in store from November and is exclusive to selected Life, Unichem, Amcal and Radius Pharmacies nationwide.

Here are some photos from my afternoon delight….

Ange x
A Girl Interrupted By Fashion, Beauty and Anything Pretty That Catches My Eye

Seeing The World Through Rose Gold Tinted Glasses…..

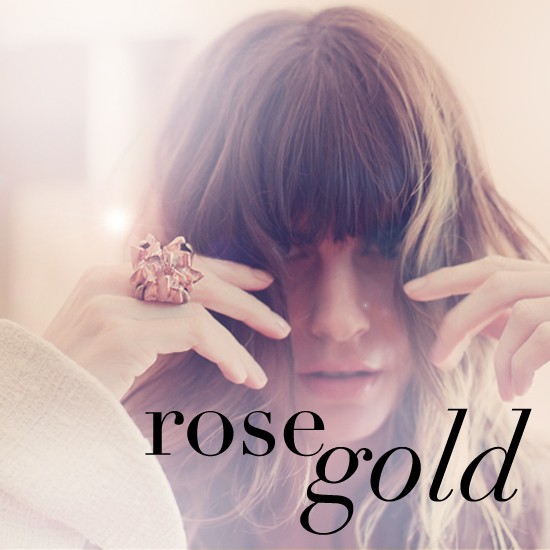
rose gold

image source: fashionologie.com

The prettiest of all the precious metals – ROSE GOLD.

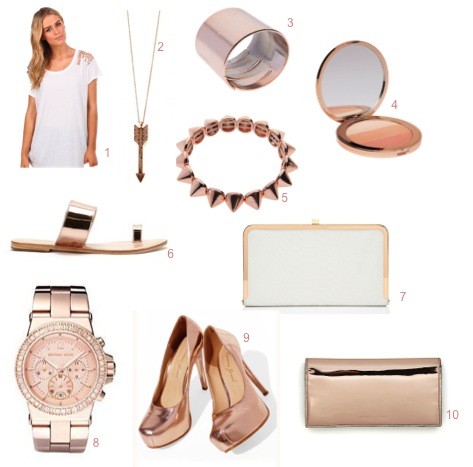
Rose gold has made its way to the fashion forefront and I’m not afraid to admit I’ve reserved a seat on the trend train. There’s just something about the delicate hue of rose-tinted metal that instantly gives any item that extra ounce of glam.  So here’s to seeing the world through rose gold tinted glasses with my fav Rose Gold pieces:

1. Cotton On Arizona White Tee Rose Gold Studs
2.  House Of Harlow Drop Arrow Necklace
3.  Rose Gold Foil Hair Cone from Diva
4.  Witchery Rose Gold Compact Cheek Palette
5.  Diva Solid Rose Gold Spike Bracelet
6.  Country Road Georgia Sandal Rose Gold
7.  Forever New Ice Cream Rose Gold Clutch Bag
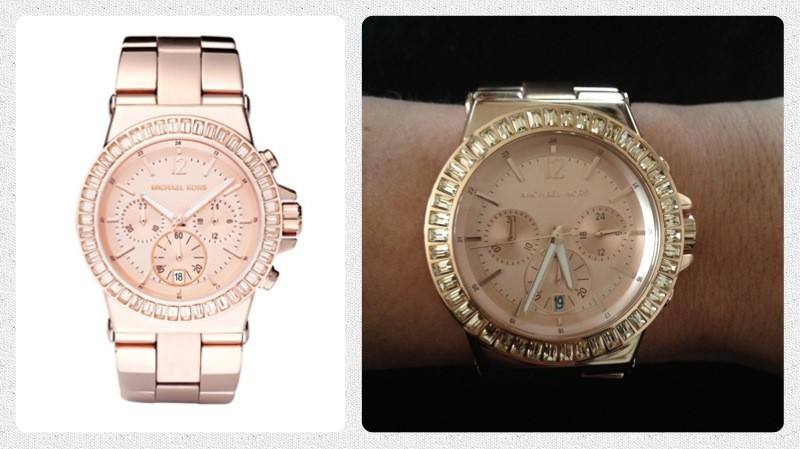
8.  Michael Kors Rose Gold Baguette-Bezel Watch
9.  Lauren Jones Rose Gold Pumps
10. Country Road Rose Gold Wallet

Ange x
A Girl Interrupted By Fashion, Beauty and Anything Pretty That Catches My Eye

The Secret To Curling Your Lashes!

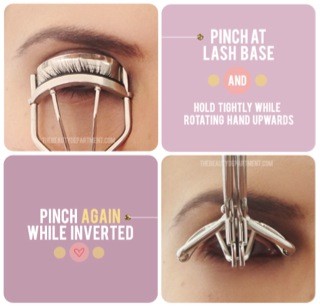
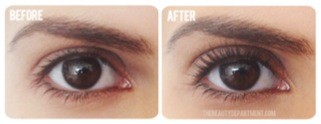
Since stumbling across this gem of a beauty tip on thebeautydepartment.com, I’ve officially changed my beauty routine! It’s my new secret weapon for amazing looking lashes. (well, not so secret now). No doubt you’ve been shown several ways to curl your lashes, but this is a game changer!! It’s all about pinching your lashes with the curler inverted, it’s that simple! All you need is a lash curler, mascara; and to follow these steps:

1. Insert your lashes into the opened curler and line it up right at your lash-line, but not too close that you pinch the skin.

2. Pinch at the lash-line; mostly to grab hold, not to make a crimp.

3. With that holding, rotate your wrist so that your thumb stays mostly in the same place and acts as the pivot point while your pinkie finger goes from being around your chin area all the way up towards your forehead.

4. Now that the curler is inverted, give your lashes a proper upside-down pinch for about 5 seconds. Really squeeze it as tightly as you can (without pulling of course).

5. Rotate your hand back to the starting position and carefully open the curler, then slide it away from your lashes.

6. Add a coat of mascara and voila!

Wishing you all luscious lashes

Ange x
A Girl Interrupted By Fashion, Beauty and Anything Pretty That Catches My Eye

Information/image source: thebeautydepartment.com & abcfamily.go.com

Latest in Beauty: Urban Decay & Benefit Cosmetics


I’m a little excited with my latest beauty product haul, in particular, Urban Decay and Benefit.  If I’m being completely honest, ‘a little excited’ is probably down playing it just a tad, so I thought I would share my wee haul with you lovelies, because these items are worth blogging about and I have no qualms in recommending them.  They are tried and true, ok not the Smoked Palette because that’s new, but the liners are my staples and if you can get your hands on them, do it – you will LOVE them.

My good friend Nat finally arrived back in NZ after jet setting around the world for the last few months and whilst jet setting, managed to tick off all the items on my shopping list (see, I told you she’s a good friend!!).  At the top of my list, other than my Michael Kors Rose Gold Watch, of which I worship (see pic below) are my Urban Decay goodies.

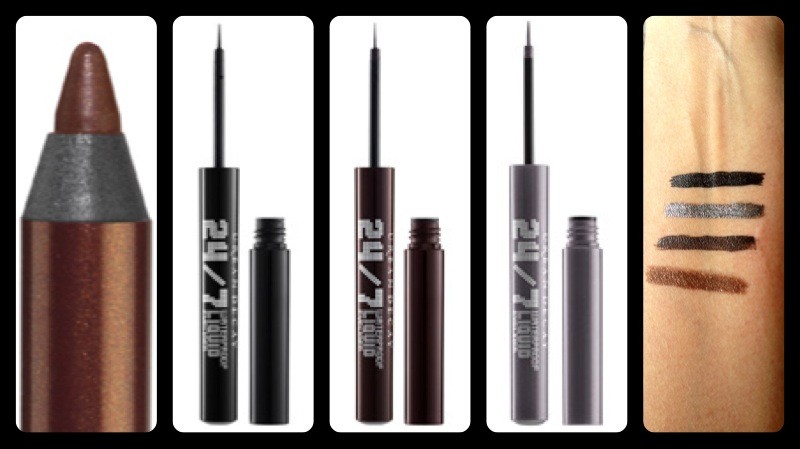
The first Urban Decay liner is the 24/7 Glide-On Waterproof Eye Pencil in Bourbon.  This brown liner is creamy and smooth and applies like a dream!  There’s a slight shimmer to it and it completes the perfect smokey eye look.  The next three liners are the Urban Decay 24/7 Waterproof Liquid Eyeliners.  Colours: Perversion (black), Demolition (brown) and Revolver (a metallic gun-metal grey).  These liners, once applied, don’t budge or smudge, nor do they peel off (like some liquid liners tend to – ugh!).  It’s like applying a liquid metal to your eye and the quality is second to none.  You know my love of MAC Cosmetics – well, they surpass MAC liners in every way, shape and form.
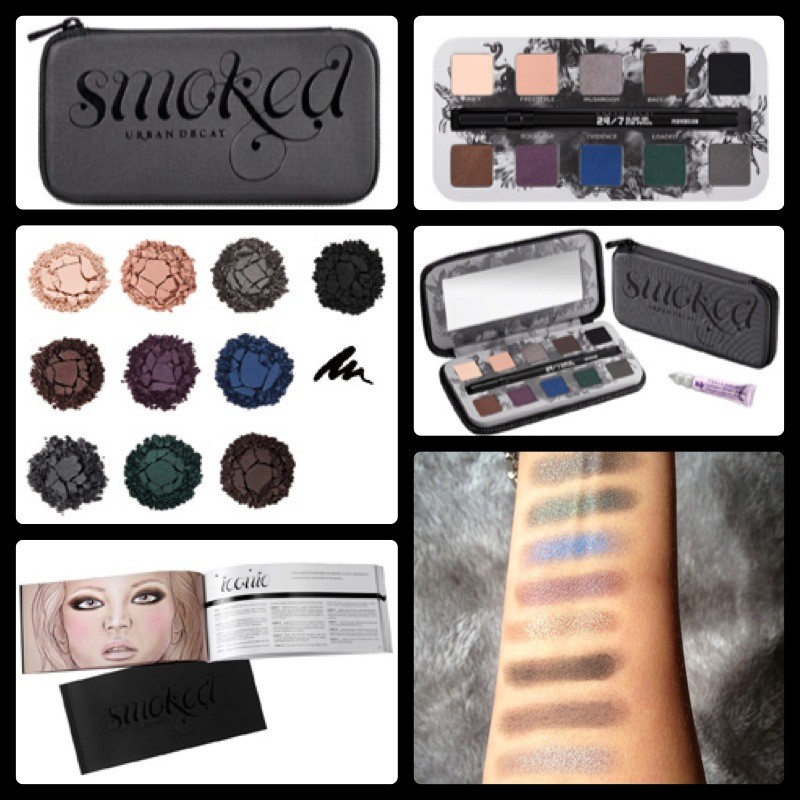
My other eye-candy goodness is the Urban Decay SMOKED Palette.  Urban Decay produce amazing palettes (we all know the iconic Urban Decay NAKED Palette, of which sold out world-wide, twice!!) and the SMOKED Palette is no exception.  Zipped inside this sleek, mirrored case are ten decadent shades (five are exclusive), including neutral matte’s and shimmering jewel tones for a range of smoky looks. Sure, you can create a smoky eye with a range of gray and black shades. But what about a touch of green, blue or bronze? The Smoked Eyeshadow Palette lets you keep things simple… or get a little more creative.  Also included is a beautifully illustrated, step-by-step guide to 12 smoky eye looks, written by Urban Decay founder Wende Zomnir. Both smoky-eye pros and shadow newbies will benefit from this detailed guide.  I am SO happy with this purchase!

Colours: Kinky, Freestyle, Mushroom (my fav!!), Backdoor, Blackout, Barlust, Rockstar, Evidence, Loaded, Asphalt.
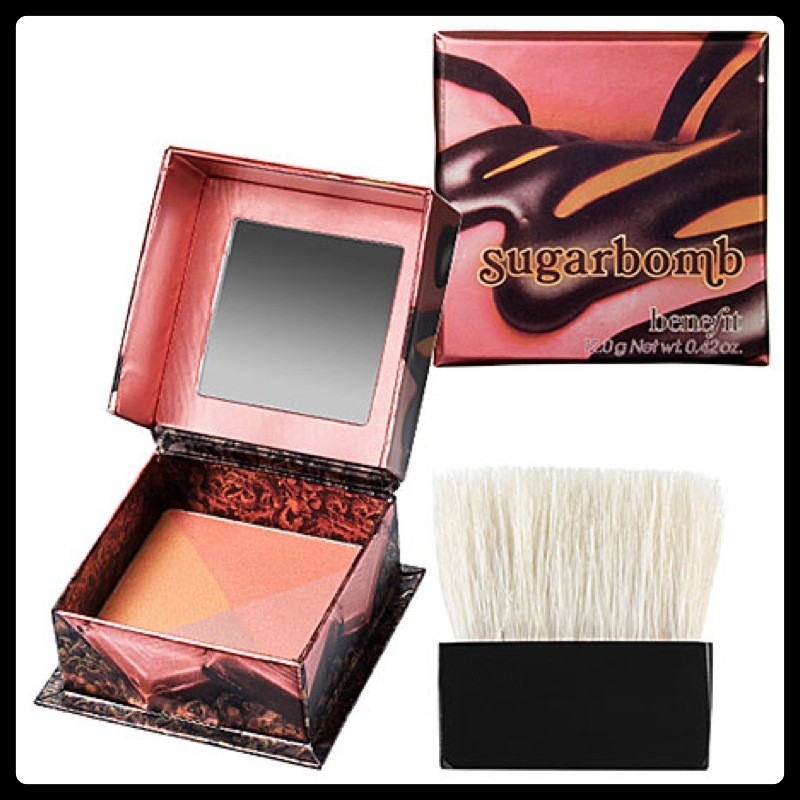
Last, but definitely not least – Sugarbomb by Benefit Cosmetics.  This  boxed blush is another of my repeat purchases.  A quad of shimmering colours that combined, are the perfect blush and/or cheekbone highlighter.

Beautiful, shimmery, ‘cheekbone popping’ goodness!  Benefit’s Sugarbomb looks great on all skin tones; and in summer – truly divine!
So that’s my little beauty haul, hope you enjoyed it 🙂    Now, although completely irrelevant to the beauty blog above, I leave you with an image of my new love, my arm candy, my Michael Kors Baguette-Bezel Rose Gold Watch *swoon*.
I’d love to hear of your beauty product ‘must-haves’ and/or recommendations, hey, what beauty junkie doesn’t want to hear about gems they’ve not discovered yet right?!  So leave a comment and I’ll be sure and check them out.

Ange x
A Girl Interrupted by Fashion, Beauty and Anything Pretty That Catches My Eye


Very Cool and Oh So Charming….

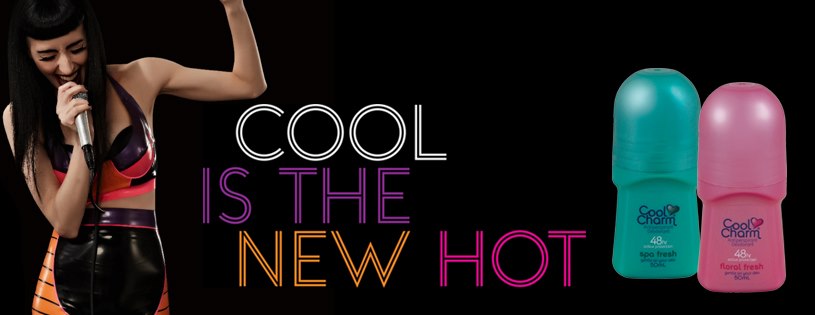
Cool Charm has a lot to celebrate, 2 new additions to their already fabulous range of deodorants, a new TVC about to hit our screens; and most exciting of all – the new ‘face of Cool Charm’ announcement.  As a blogger for nzgirl.co.nz I had the privilege of attending the big reveal held at O’Connell St Bistro and I just couldn’t wait to share the exciting news with all of you.  I think you’ll be suitably impressed, this is one VERY cool customer.

Cool Charm is thrilled to announce an exciting new collaboration with………………….. Zoe Fleury, otherwise known as electropop star Zowie. Zowie will appear in a breathtaking new TV ad that will debut this Sunday, September 23 at 4.40pm on FOUR. The ad will feature her hit single “Smash It” from her album Love Demolition. Zowie will also appear in a series of striking print ads and become an ambassador of the brand going forward.

Zowie is the PERFECT choice as the new face of Cool Charm – she’s stylish and polished but really knows how to have fun.

I’m looking forward to seeing Zowie ‘smash it’ on our tv screens this weekend, but until then, here’s a little sneak peek to see you through to Sunday when the ad debuts: http://www.99.co.nz/coolcharm/
Ange x
A Girl Interrupted by Fashion, Beauty and anything pretty that catches my eye

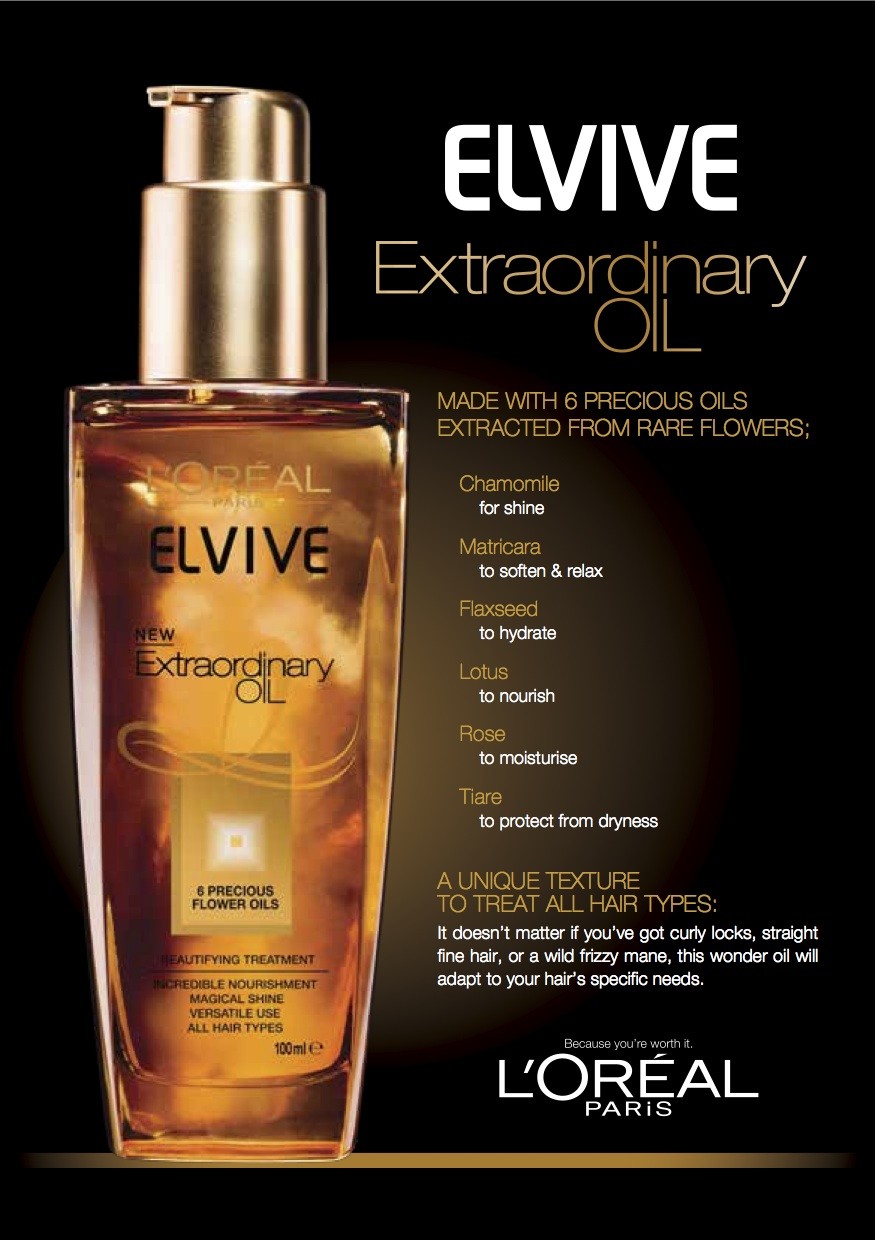
L’Oréal Paris Elvive Extraordinary Oil – Product Review

Not long ago I was sent the then new, L’Oréal Paris Elvive Extraordinary Oil (EEO) to review and give my unbiased feedback, which after trialling the product for 4 weeks, I did.  The very generous folk at L’Oreal and The Soup also sent enough product to enable me to give a couple of bottles  to friends and work colleagues; and given their thoughts and feedback matched mine, I knew I was onto a winner, thus deemed it worthy of sharing with you lovelies.

Since concluding my review of Elvive Extraordinary Oil I have continued to use this golden hued elixir, as it’s a product that I am genuinely loving!  The market is currently flooded with hair oils (Moroccan Oil, Aragon Oil, the list goes on) and being the perfect consumer that I am, I’ve pretty much tried them all.  The problem with hair oils that I’ve tried in the past is that they are just too heavy for my hair; and as my hairdresser Kurt aka The Best Hairdresser in the World can confirm, I do not need any more weight added to my hair!.  The texture of L’Oreal’s Extraordinary Oil is like that of any liquid hair serum, yet lightweight, easy to rub between your hands before distributing evenly through damp or dry hair and is absorbed quickly without leaving a greasy residue.  I have also been applying it to the ends of my hair during the day (yup, at work, whilst at my desk) and I love that my hair looked super healthy right down to the very tips.  It has a handy pump dispenser (that locks on turning) and comes in a beautiful glass bottle (I’m a sucker for packaging!).


With a unique alchemy of 6 precious flower oils, it claims to nourish from root to tip and for me, it absolutely delivered!   Use before shampooing, as a mask, before straightening or as a finishing touch.  Lotus oil gives an intense nutrition, Camomile Oil boosts shine and radiance, Tiare flower oil protects from dryness, Matricaria Oilsoftens and relaxes hair texture and Flax Oil intensely hydrates.

The glossy sheen that it’s given my hair is amazing!  If you’re considering trying one of the many hair oils currently in the market, the L’Oreal Elvive Extraordinary Oil is definitely my recommendation.  RRP $19.99.
Ange x
A Girl Interrupted by Fashion, Beauty and Anything Pretty That Catches My Eye


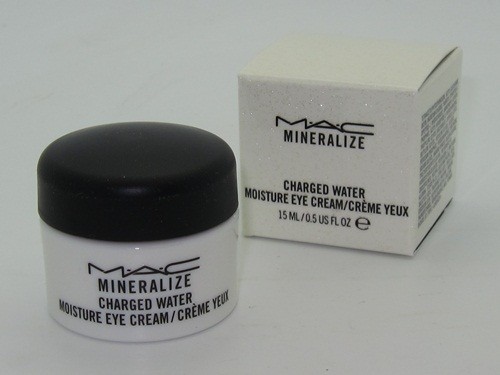
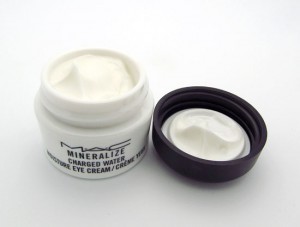
MAC Mineralize Charged Water Moisture Eye Cream
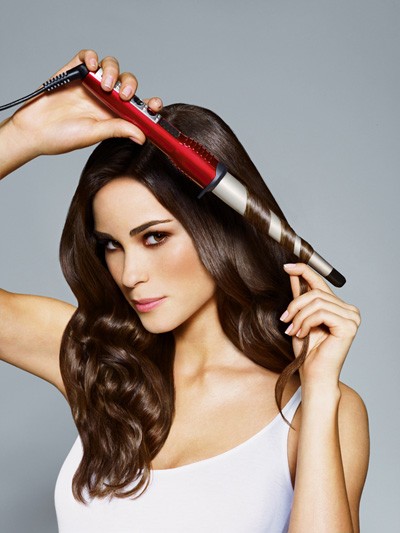
I thought I would write a quick little review on my latest MAC purchase as this is one of their products that I am elated to see is finally here in NZ.  Being the makeup/beauty product junkie that I am, I do get tend to purchase quite a bit of makeup (yes, a lot of MAC, but also many other brands) so I tend not to blog on every beauty item I get unless it’s a product that I am really excited about, mainly because if I did, I would be blogging every day solely on beauty products (don’t judge, there are worse addictions than fashion and beauty!).

I digress!  I had already heard some great things about this product from friends in the industry that are based in the US.  Apparently this product has been around before, but it was one of MAC’s Limited Edition ranges, so I wasnt able to get my hands on it until now.

The MAC Mineralize Charged Water Moisture Eye Cream states: this is a luxuriously rich eye cream. Infused with ionized Super-Duo Charged Water technology, it moisturises and adds radiance, while instantly – and over time – reducing the look of dark circles, lines and puffiness.  Whilst I can’t speak for the dark circles and fine lines, it sure as heck feels amazing the moment you apply it under your eyes (you can actually feel the cooling effect) and it certainly does reduce puffiness (perfect after one of my insomnia filled nights).  It also wears well under makeup and is very versatile in that you can use this day and/or night (although given the price, you might want to just stick to using it in the mornings).  Another huge draw card for me is that this product hasn’t caused milia (something that often occurs when a product is simply too rich and heavy for your face – particularly the eye area where the skin is more delicate).  I am in LOVE with this eye cream and I will definitely be re-purchasing.
Whilst I know it’s all about the product, I do have to comment on the packaging – its gorgeous!! (yes I’m a marketers dream and the perfect consumer), however it is indeed quite pricey.  This 15 ml tub is NZD$82.00.

Now I don’t know if this is once again a limited edition product, so if you are interested in purchasing your own little pot of ‘puff reducing goodness’, you may want head into a MAC store sooner rather than later, or just give them a call to see how long it will be around for.

Wishing you all wrinkle free eyes.
Ange x


DIY – How to Make Your Own Clipless Curling Iron

DIY – Removing the Clip from Your Curling Irons

I love long ‘beachy waves’ created by using curling tongs, what I don’t love is the ‘weird little crimped bit at the end of your hair that seems to have a mind of it’s own’ caused by using a curling iron with a clip!  Now, I have a great curling iron (obviously aside from the fact it’s of the  ‘crimp making’ variety due to it having a clip); and  it wasn’t exactly cheap, so the last thing I wanted to do was go and spend more money on another curling iron so that I could have the clipless one (which for some reason, perhaps it’s because these are generally the ones used by hair stylists on celebrities, is remarkably pricier than a curling iron with a clip); and that’s when I decided to take to my curling iron with a Phillips screwdriver and DIY that bad boy into a clipless curling iron!

WHY IS A CURLING IRON WITHOUT A CLIP FAR SUPERIOR?

Benefits:

  • Less damage to your hair, aka, the dreaded split ends (caused by the ends of your hair being held the longest against the tong under the clip).
  • No creases, bumps or ‘weird crimpy bits’ from the where the clip was holding your hair; and that little bend in your hair gets heated into place, just like the curl does, so you know it’s there to stay around as long as the curl does.

So, since summer is nearly here, *YAY*, I decided its time to share my easy DIY guide to making your own ‘clip-free’ Curling Iron……


STEP ONE: Remove the clip-stand – this is easy, you literally just pull from one side and this will detach itself from the curling iron (some have small screws holding it in place, if this is the case, simply unscrew and remove)

image source: ImAlittle


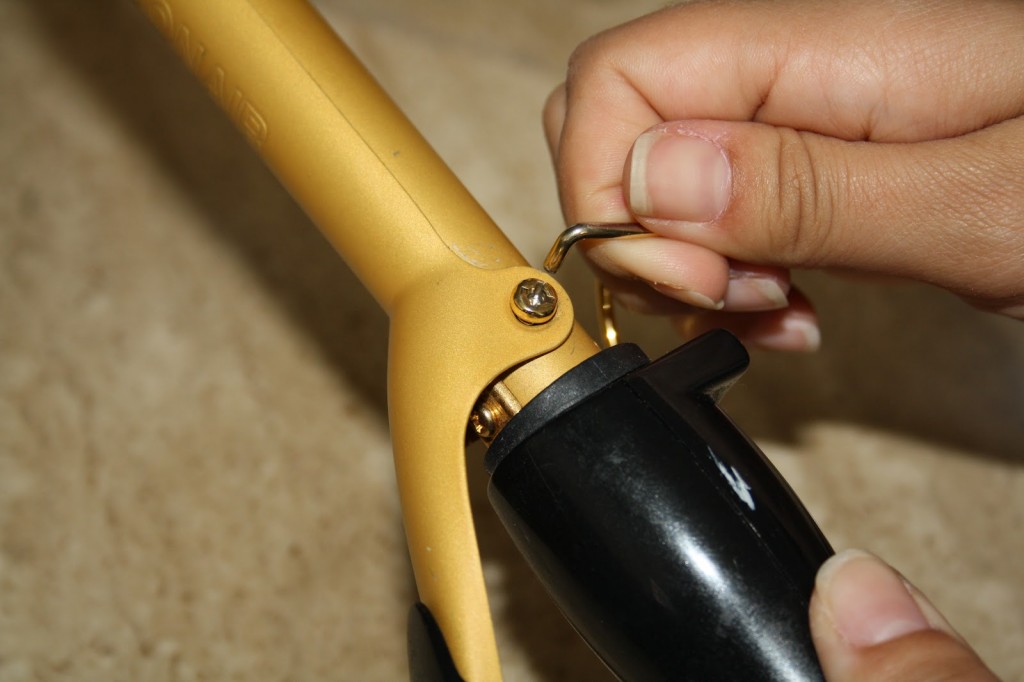
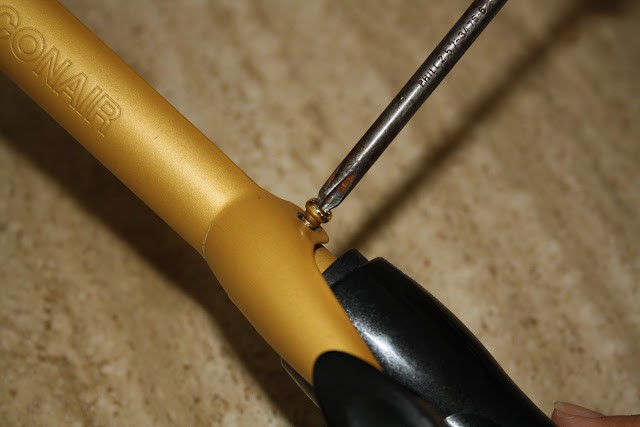
STEP TWO:  Remove the screws securing the clip (in most cases this can be done using a Phillips screwdriver)

image source: ImAlittle


STEP THREE: Remove the clip and spring (the spring is directly underneath the clip) from your curling iron

image source: ImAlittle

Voila!!  You have your very own Curling Wand (or Clipless Curling Iron if you so prefer); and can now create your perfect ‘Kardashian style beachy waves’.

You’re welcome 😉

Should you ever wish to reattach the clip to your curling iron, simply reverse the steps shown above, so keep all the parts together in a safe place for future use.

Ange x

DIY: Make Your Own BB Cream/Tinted Moisturiser

A Simple Guide To Making Your Own BB Cream/Tinted Moisturiser

If you’re wanting a fresh flawless light coverage that evens out your skin tone and gives you a glowing, healthy complexion without having to have a ’full blown, face full of makeup’ . Then a BB Cream might be just what you’re  after.

BB Creams (otherwise known as blemish balms or beauty balms) have been around for years and more recently have risen to a cult-like status in the beauty industry. They are essentially tinted moisturisers that give you a healthy glow, cover blemishes and even out your skin tone (perfect for summer!!).

A DIY BB Cream is actually incredibly easy to make and saves you the cost of purchasing more makeup when you will more than likely already have the basic ingredients at home. You can make it in small amounts (so it doesn’t expire before using it all) and its ‘made to match’ your skin tone perfectly by using your own foundation.

Here is a simple step by step guide to making your own.

Ingredients:

  • Sunscreen
  • Moisturiser
  • Liquid Concealer
  • Cream Foundation

I also add the following, but this is totally optional:

  • Lustre Drops (or mineral foundation powder)
  • A Setting spray

How to:
The brands I use, as outlined below, are simply what I have at home, this will still work perfectly using whatever brands you have.

In a small container (an empty tester pot, dipping bowl or ramekin is quite good), mix the following:

  • 1 teaspoon of sunscreen (not necessary if your current foundation already contains sunscreen as mine does)
  • 1 teaspoon of Kiehl’s moisturiser
  • 1/4 teaspoon of MAC liquid concealer
  • 1/4 teaspoon of MAC Lustre Drops (optional – I use this for a dewy finish)
  • 1/2 teaspoon of MAC Matchmaster Cream Foundation
  • 1/2 teaspoon of MAC Fix+ Setting Spray (optional)

Mix thoroughly and store in a small container or travel bottle (you can get great travel size containers from PlasticBox for $1.99) and VOILA – your very own, ‘made to match your skin tone’ BB Cream.

BB Cream is my current ‘go to’  beauty product right now and I’m loving not having to wear a full coverage foundation to achieve a glowy, fresh, flawless look.

Ange x
Fashion/Beauty/Lifestyle Blogger