Tag

fashion blog Archives - Gurlinterrupted

Boohoo Boutique Collection


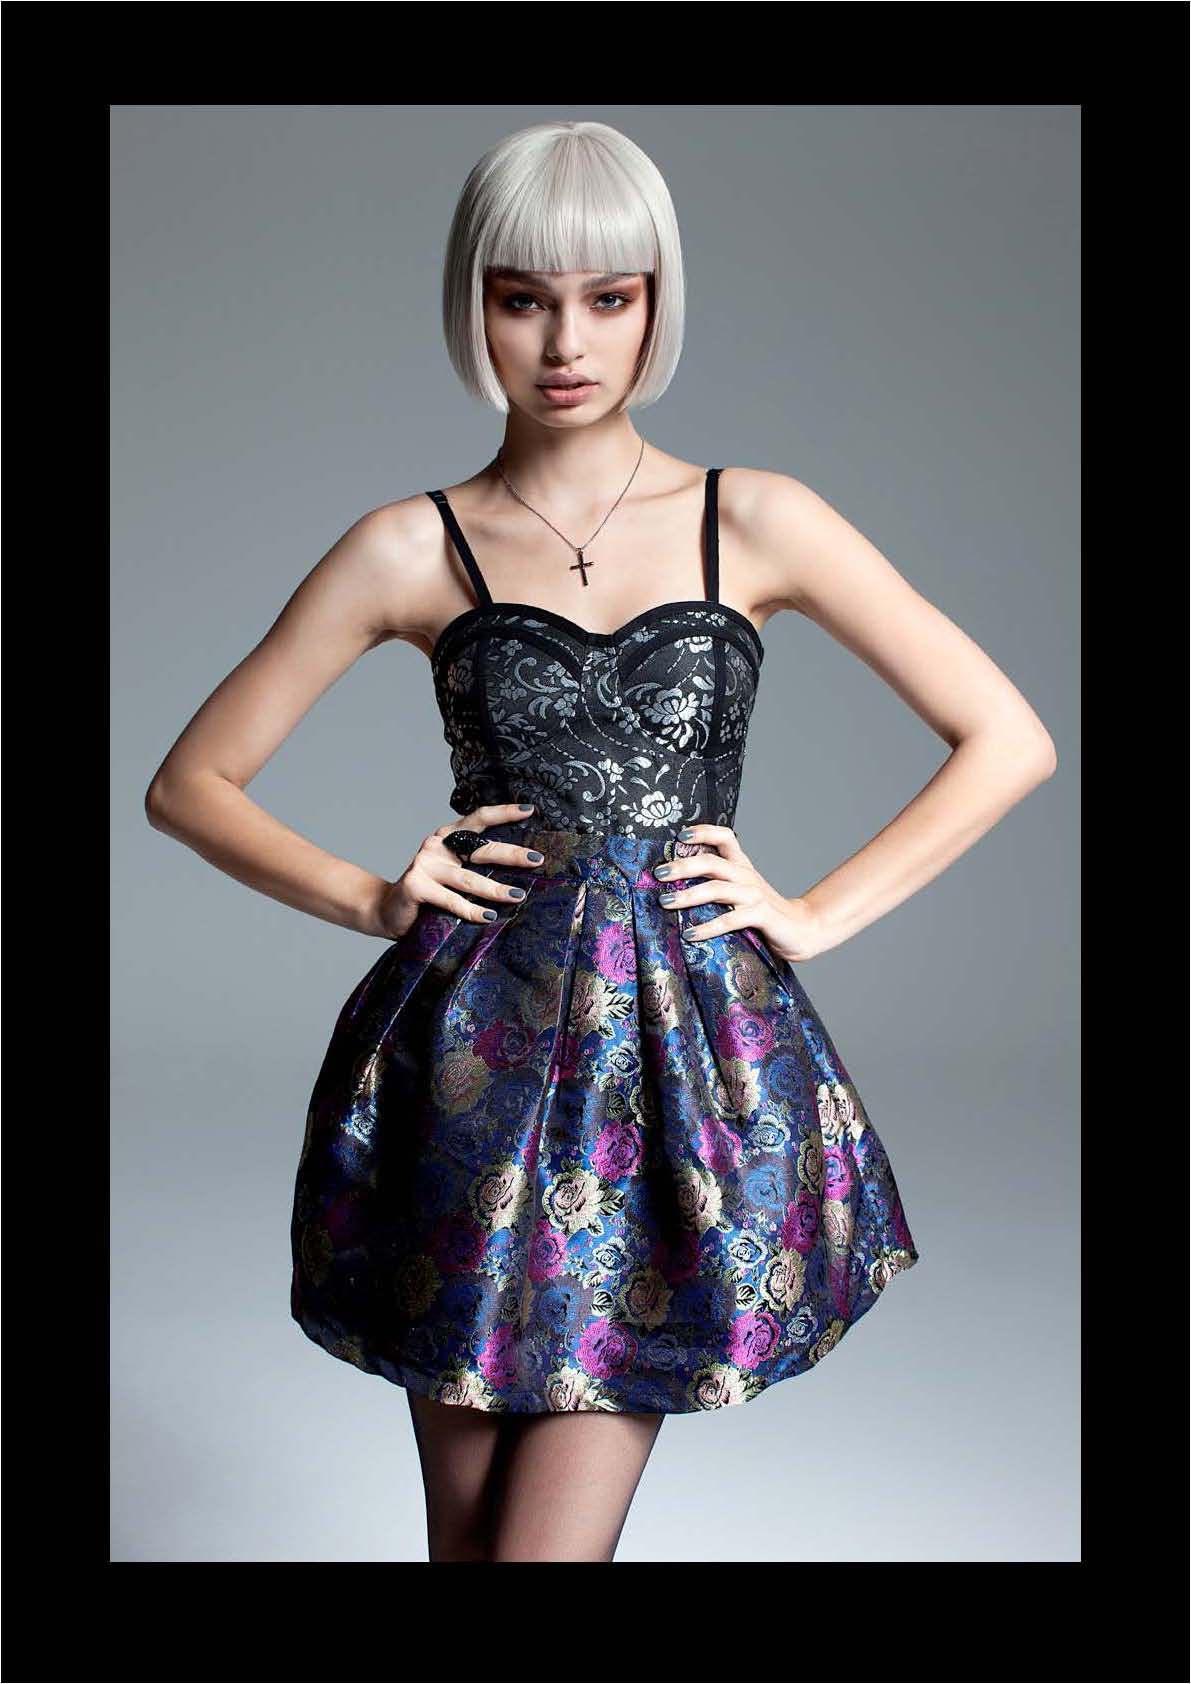
BOUTIQUE GLAM!!!  You know how much I love boohoo.com, so news of an exclusive limited range, aptly named BOOHOO BOUTIQUE COLLECTION, launching online TODAY, got me super excited.

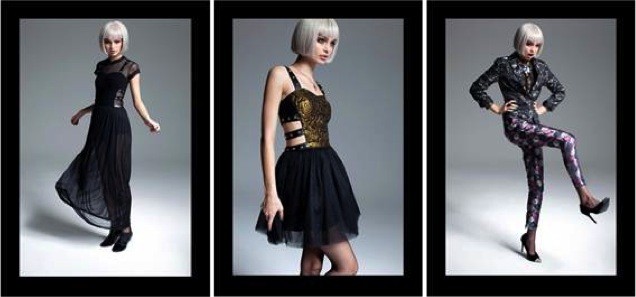
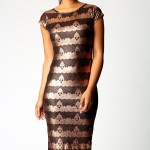
Dark romance signifies the direction for the collection with jackets and bustier dresses featuring strong feminine silhouettes, embellished with rich gold brocade and lavish rivet detailing. Black PU and mesh provide definition and texture, whilst metallic highlights, on trousers and jackets, add a directional opulence for winter.

The Boutique Lexie Embroidered Stud Side Straps Tutu Dress is ‘to die’.  This has been added to my ‘boohoo bucket list’ directly under the Lucia Black Embossed Studded Shopper – I am so in love with this bag! (obsessed is probably more accurate).

Focused on marrying a hardened rock edge with a gothic romanticism, boohoo boutique gives the everyday boohoo girl a dramatic alter ego for the new season. Impactful leather look pencil skirts and trousers sit alongside delicate chiffon and lace separates, giving the first boohoo boutique collection a wistful yet uncompromising outlook.

Head over and check out the new Boutique Collection: http://www.boohoo.com/newz/clothing/boohoo-boutique/icat/boohoo-boutique/

Ange x

Latest in Beauty: Urban Decay & Benefit Cosmetics


I’m a little excited with my latest beauty product haul, in particular, Urban Decay and Benefit.  If I’m being completely honest, ‘a little excited’ is probably down playing it just a tad, so I thought I would share my wee haul with you lovelies, because these items are worth blogging about and I have no qualms in recommending them.  They are tried and true, ok not the Smoked Palette because that’s new, but the liners are my staples and if you can get your hands on them, do it – you will LOVE them.

My good friend Nat finally arrived back in NZ after jet setting around the world for the last few months and whilst jet setting, managed to tick off all the items on my shopping list (see, I told you she’s a good friend!!).  At the top of my list, other than my Michael Kors Rose Gold Watch, of which I worship (see pic below) are my Urban Decay goodies.

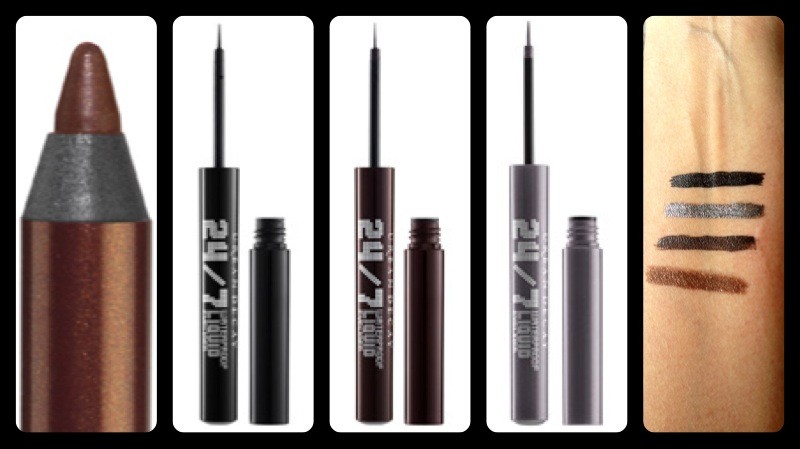
The first Urban Decay liner is the 24/7 Glide-On Waterproof Eye Pencil in Bourbon.  This brown liner is creamy and smooth and applies like a dream!  There’s a slight shimmer to it and it completes the perfect smokey eye look.  The next three liners are the Urban Decay 24/7 Waterproof Liquid Eyeliners.  Colours: Perversion (black), Demolition (brown) and Revolver (a metallic gun-metal grey).  These liners, once applied, don’t budge or smudge, nor do they peel off (like some liquid liners tend to – ugh!).  It’s like applying a liquid metal to your eye and the quality is second to none.  You know my love of MAC Cosmetics – well, they surpass MAC liners in every way, shape and form.
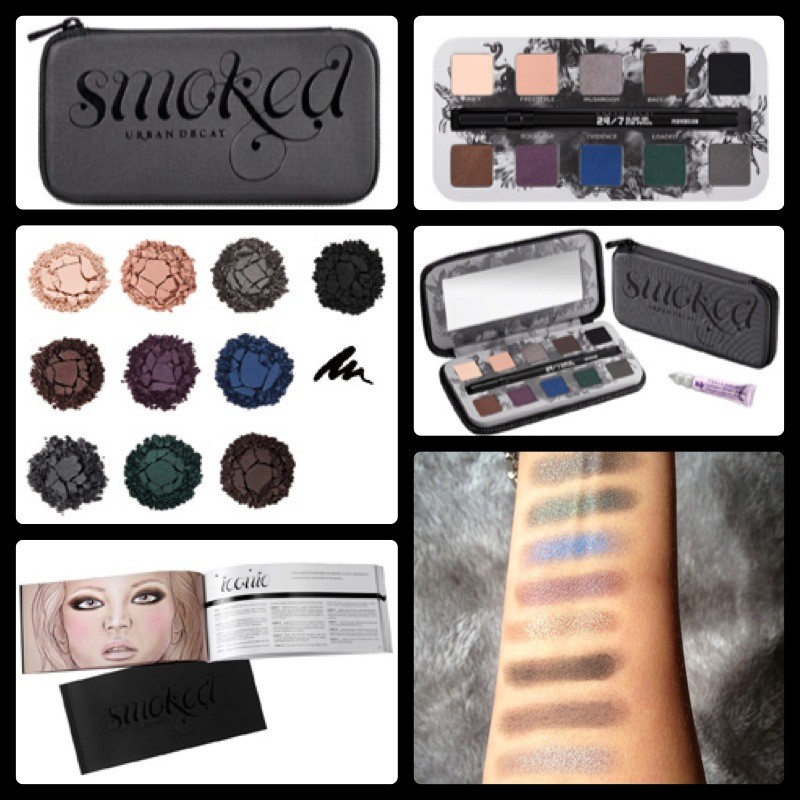
My other eye-candy goodness is the Urban Decay SMOKED Palette.  Urban Decay produce amazing palettes (we all know the iconic Urban Decay NAKED Palette, of which sold out world-wide, twice!!) and the SMOKED Palette is no exception.  Zipped inside this sleek, mirrored case are ten decadent shades (five are exclusive), including neutral matte’s and shimmering jewel tones for a range of smoky looks. Sure, you can create a smoky eye with a range of gray and black shades. But what about a touch of green, blue or bronze? The Smoked Eyeshadow Palette lets you keep things simple… or get a little more creative.  Also included is a beautifully illustrated, step-by-step guide to 12 smoky eye looks, written by Urban Decay founder Wende Zomnir. Both smoky-eye pros and shadow newbies will benefit from this detailed guide.  I am SO happy with this purchase!

Colours: Kinky, Freestyle, Mushroom (my fav!!), Backdoor, Blackout, Barlust, Rockstar, Evidence, Loaded, Asphalt.
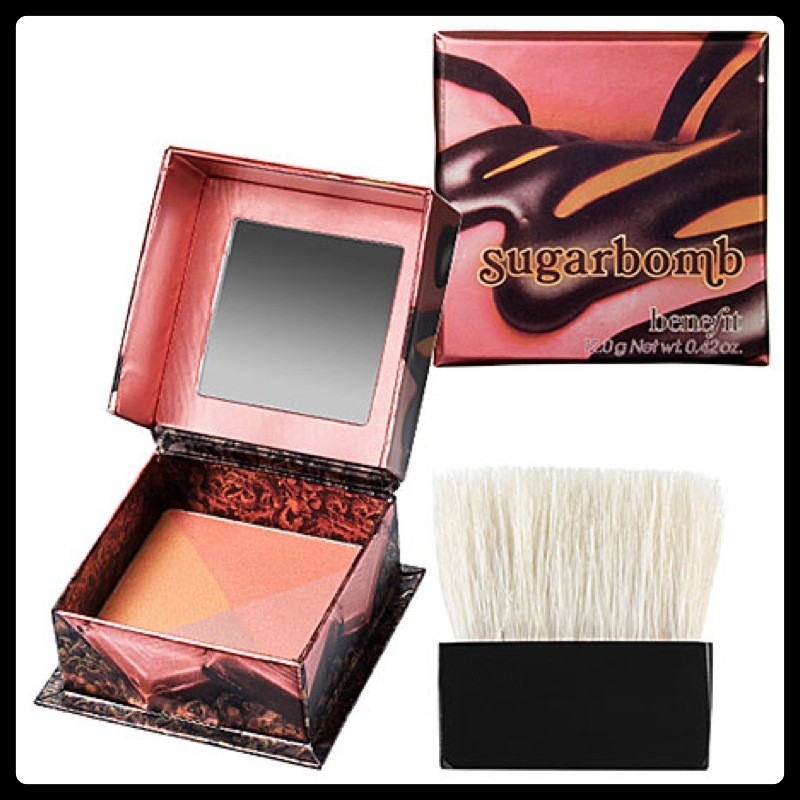
Last, but definitely not least – Sugarbomb by Benefit Cosmetics.  This  boxed blush is another of my repeat purchases.  A quad of shimmering colours that combined, are the perfect blush and/or cheekbone highlighter.

Beautiful, shimmery, ‘cheekbone popping’ goodness!  Benefit’s Sugarbomb looks great on all skin tones; and in summer – truly divine!
So that’s my little beauty haul, hope you enjoyed it 🙂    Now, although completely irrelevant to the beauty blog above, I leave you with an image of my new love, my arm candy, my Michael Kors Baguette-Bezel Rose Gold Watch *swoon*.
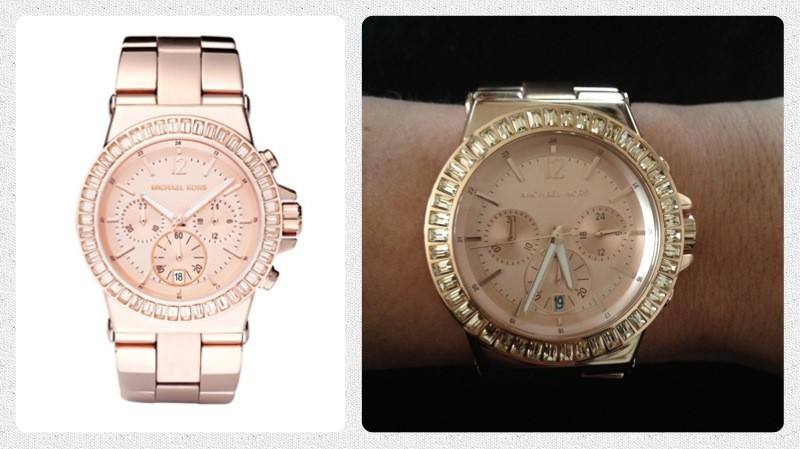
I’d love to hear of your beauty product ‘must-haves’ and/or recommendations, hey, what beauty junkie doesn’t want to hear about gems they’ve not discovered yet right?!  So leave a comment and I’ll be sure and check them out.

Ange x
A Girl Interrupted by Fashion, Beauty and Anything Pretty That Catches My Eye


L’Oréal Paris Elvive Extraordinary Oil – Product Review

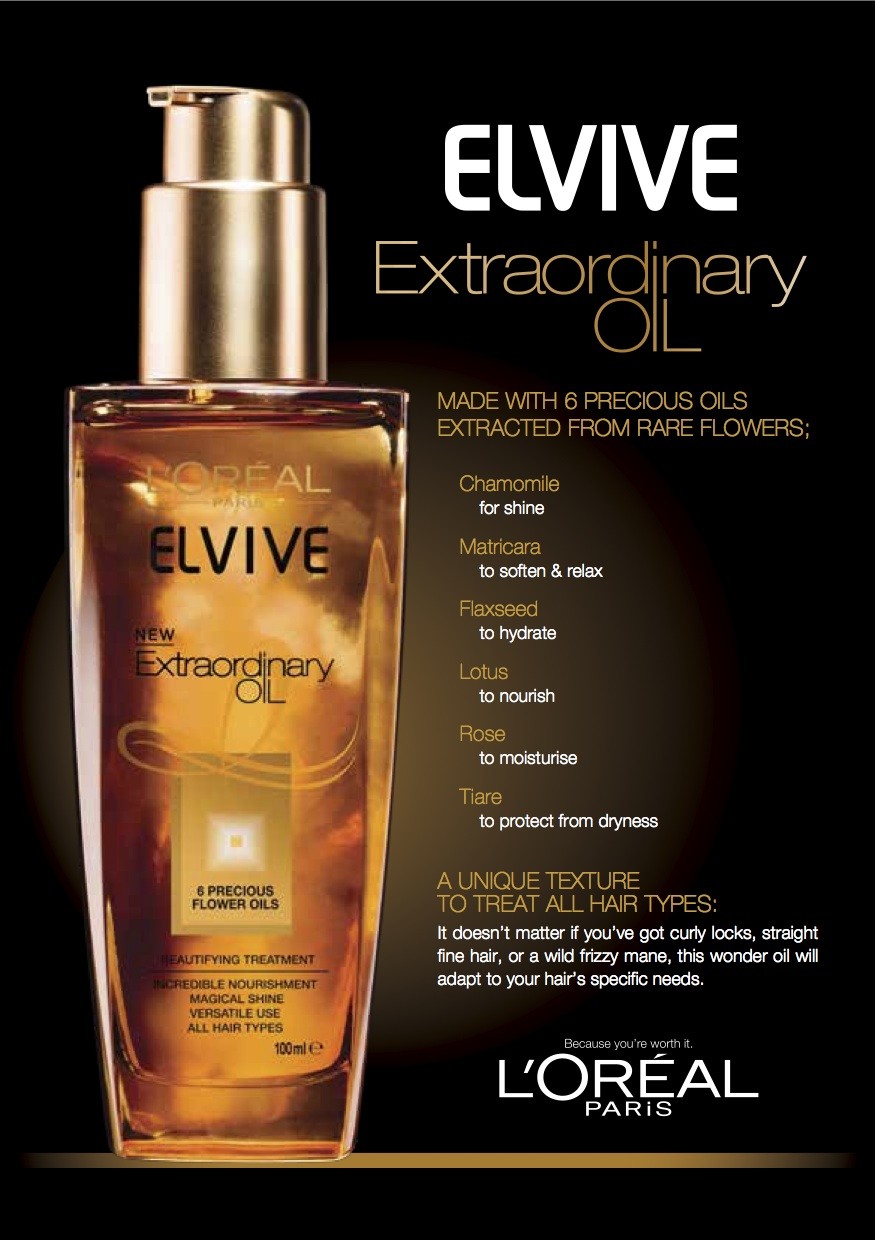
Not long ago I was sent the then new, L’Oréal Paris Elvive Extraordinary Oil (EEO) to review and give my unbiased feedback, which after trialling the product for 4 weeks, I did.  The very generous folk at L’Oreal and The Soup also sent enough product to enable me to give a couple of bottles  to friends and work colleagues; and given their thoughts and feedback matched mine, I knew I was onto a winner, thus deemed it worthy of sharing with you lovelies.

Since concluding my review of Elvive Extraordinary Oil I have continued to use this golden hued elixir, as it’s a product that I am genuinely loving!  The market is currently flooded with hair oils (Moroccan Oil, Aragon Oil, the list goes on) and being the perfect consumer that I am, I’ve pretty much tried them all.  The problem with hair oils that I’ve tried in the past is that they are just too heavy for my hair; and as my hairdresser Kurt aka The Best Hairdresser in the World can confirm, I do not need any more weight added to my hair!.  The texture of L’Oreal’s Extraordinary Oil is like that of any liquid hair serum, yet lightweight, easy to rub between your hands before distributing evenly through damp or dry hair and is absorbed quickly without leaving a greasy residue.  I have also been applying it to the ends of my hair during the day (yup, at work, whilst at my desk) and I love that my hair looked super healthy right down to the very tips.  It has a handy pump dispenser (that locks on turning) and comes in a beautiful glass bottle (I’m a sucker for packaging!).


With a unique alchemy of 6 precious flower oils, it claims to nourish from root to tip and for me, it absolutely delivered!   Use before shampooing, as a mask, before straightening or as a finishing touch.  Lotus oil gives an intense nutrition, Camomile Oil boosts shine and radiance, Tiare flower oil protects from dryness, Matricaria Oilsoftens and relaxes hair texture and Flax Oil intensely hydrates.

The glossy sheen that it’s given my hair is amazing!  If you’re considering trying one of the many hair oils currently in the market, the L’Oreal Elvive Extraordinary Oil is definitely my recommendation.  RRP $19.99.
Ange x
A Girl Interrupted by Fashion, Beauty and Anything Pretty That Catches My Eye


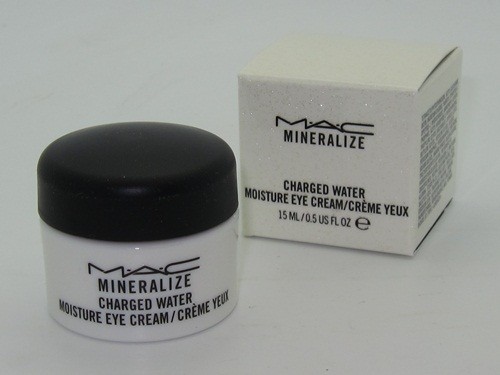
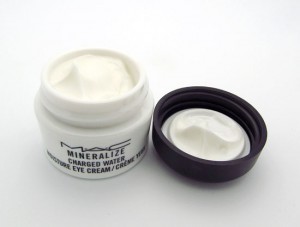
MAC Mineralize Charged Water Moisture Eye Cream
I thought I would write a quick little review on my latest MAC purchase as this is one of their products that I am elated to see is finally here in NZ.  Being the makeup/beauty product junkie that I am, I do get tend to purchase quite a bit of makeup (yes, a lot of MAC, but also many other brands) so I tend not to blog on every beauty item I get unless it’s a product that I am really excited about, mainly because if I did, I would be blogging every day solely on beauty products (don’t judge, there are worse addictions than fashion and beauty!).

I digress!  I had already heard some great things about this product from friends in the industry that are based in the US.  Apparently this product has been around before, but it was one of MAC’s Limited Edition ranges, so I wasnt able to get my hands on it until now.

The MAC Mineralize Charged Water Moisture Eye Cream states: this is a luxuriously rich eye cream. Infused with ionized Super-Duo Charged Water technology, it moisturises and adds radiance, while instantly – and over time – reducing the look of dark circles, lines and puffiness.  Whilst I can’t speak for the dark circles and fine lines, it sure as heck feels amazing the moment you apply it under your eyes (you can actually feel the cooling effect) and it certainly does reduce puffiness (perfect after one of my insomnia filled nights).  It also wears well under makeup and is very versatile in that you can use this day and/or night (although given the price, you might want to just stick to using it in the mornings).  Another huge draw card for me is that this product hasn’t caused milia (something that often occurs when a product is simply too rich and heavy for your face – particularly the eye area where the skin is more delicate).  I am in LOVE with this eye cream and I will definitely be re-purchasing.
Whilst I know it’s all about the product, I do have to comment on the packaging – its gorgeous!! (yes I’m a marketers dream and the perfect consumer), however it is indeed quite pricey.  This 15 ml tub is NZD$82.00.

Now I don’t know if this is once again a limited edition product, so if you are interested in purchasing your own little pot of ‘puff reducing goodness’, you may want head into a MAC store sooner rather than later, or just give them a call to see how long it will be around for.

Wishing you all wrinkle free eyes.
Ange x


DIY – How to Make Your Own Clipless Curling Iron

DIY – Removing the Clip from Your Curling Irons

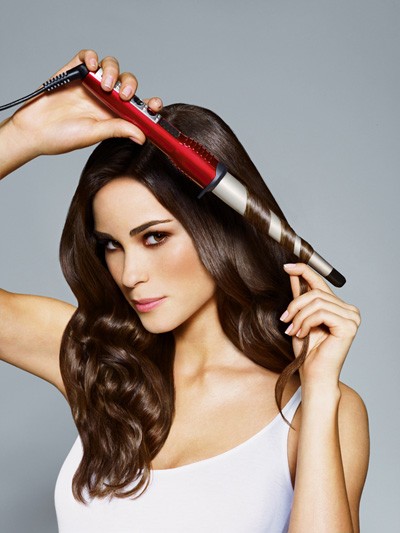
I love long ‘beachy waves’ created by using curling tongs, what I don’t love is the ‘weird little crimped bit at the end of your hair that seems to have a mind of it’s own’ caused by using a curling iron with a clip!  Now, I have a great curling iron (obviously aside from the fact it’s of the  ‘crimp making’ variety due to it having a clip); and  it wasn’t exactly cheap, so the last thing I wanted to do was go and spend more money on another curling iron so that I could have the clipless one (which for some reason, perhaps it’s because these are generally the ones used by hair stylists on celebrities, is remarkably pricier than a curling iron with a clip); and that’s when I decided to take to my curling iron with a Phillips screwdriver and DIY that bad boy into a clipless curling iron!

WHY IS A CURLING IRON WITHOUT A CLIP FAR SUPERIOR?

Benefits:

  • Less damage to your hair, aka, the dreaded split ends (caused by the ends of your hair being held the longest against the tong under the clip).
  • No creases, bumps or ‘weird crimpy bits’ from the where the clip was holding your hair; and that little bend in your hair gets heated into place, just like the curl does, so you know it’s there to stay around as long as the curl does.

So, since summer is nearly here, *YAY*, I decided its time to share my easy DIY guide to making your own ‘clip-free’ Curling Iron……


STEP ONE: Remove the clip-stand – this is easy, you literally just pull from one side and this will detach itself from the curling iron (some have small screws holding it in place, if this is the case, simply unscrew and remove)

image source: ImAlittle


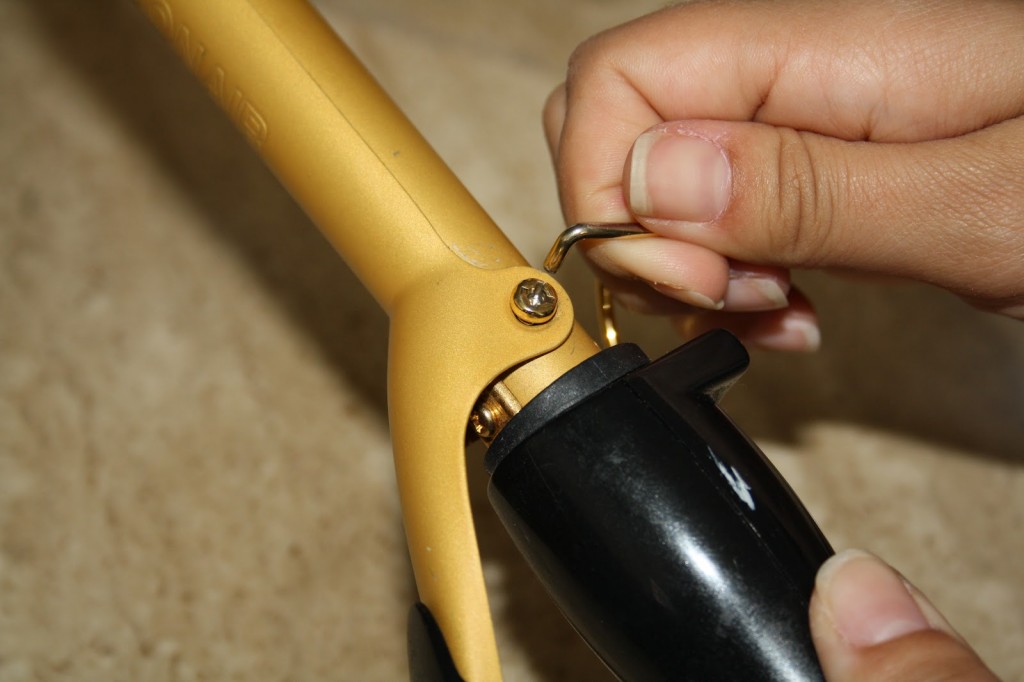
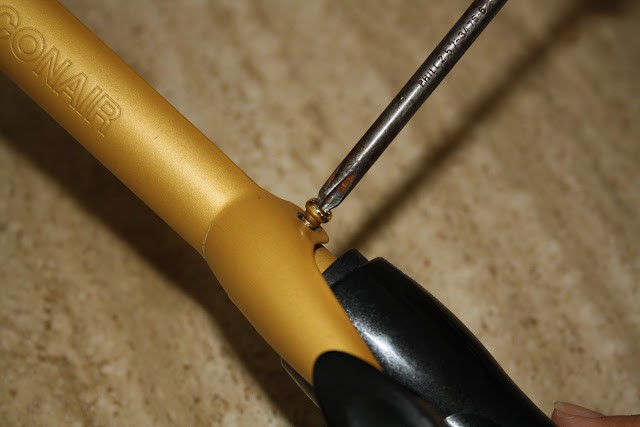
STEP TWO:  Remove the screws securing the clip (in most cases this can be done using a Phillips screwdriver)

image source: ImAlittle


STEP THREE: Remove the clip and spring (the spring is directly underneath the clip) from your curling iron

image source: ImAlittle

Voila!!  You have your very own Curling Wand (or Clipless Curling Iron if you so prefer); and can now create your perfect ‘Kardashian style beachy waves’.

You’re welcome 😉

Should you ever wish to reattach the clip to your curling iron, simply reverse the steps shown above, so keep all the parts together in a safe place for future use.

Ange x

Is Nude The New Black?

image source: fashionbombdaily.com

Whether it’s playing the starring role or simply complimenting an already perfect outfit, nude is fast becoming a key wardrobe staple.

There is no better time than right now for nude (or neutral/beige/buff, whichever reference to the skin coloured hue you prefer) to make it’s mark on the fashion scene.  With neon, paisley, metallics and florals taking centre stage on the runway, nude pieces have never been such a wardrobe necessity.  It’s the perfect shoe colour compliment with a bright or ‘busy’ outfit, yet works just as well being the main colour base of your outfit, as you can add beautiful bright pops of colour using on-trend accessories.   I’m a huge fan of teaming nudes with black; and with some of the more feminine floaty pieces – these look great teamed with something a little harder, like a leather jacket and/or a pair of black biker style ankle boots.  it’s near impossible to get it wrong with nudes, because it simply goes with EVERYTHING!

Dark tones of nude make a perfect match for those with a darker skin complexion, whilst light nudes and rosy tones get along just fine with fair-skinned complexions.  Just be careful to pick nudes that aren’t an exact match with your skin color – but that’s pretty much the only rule when it comes to this chic muted tone.

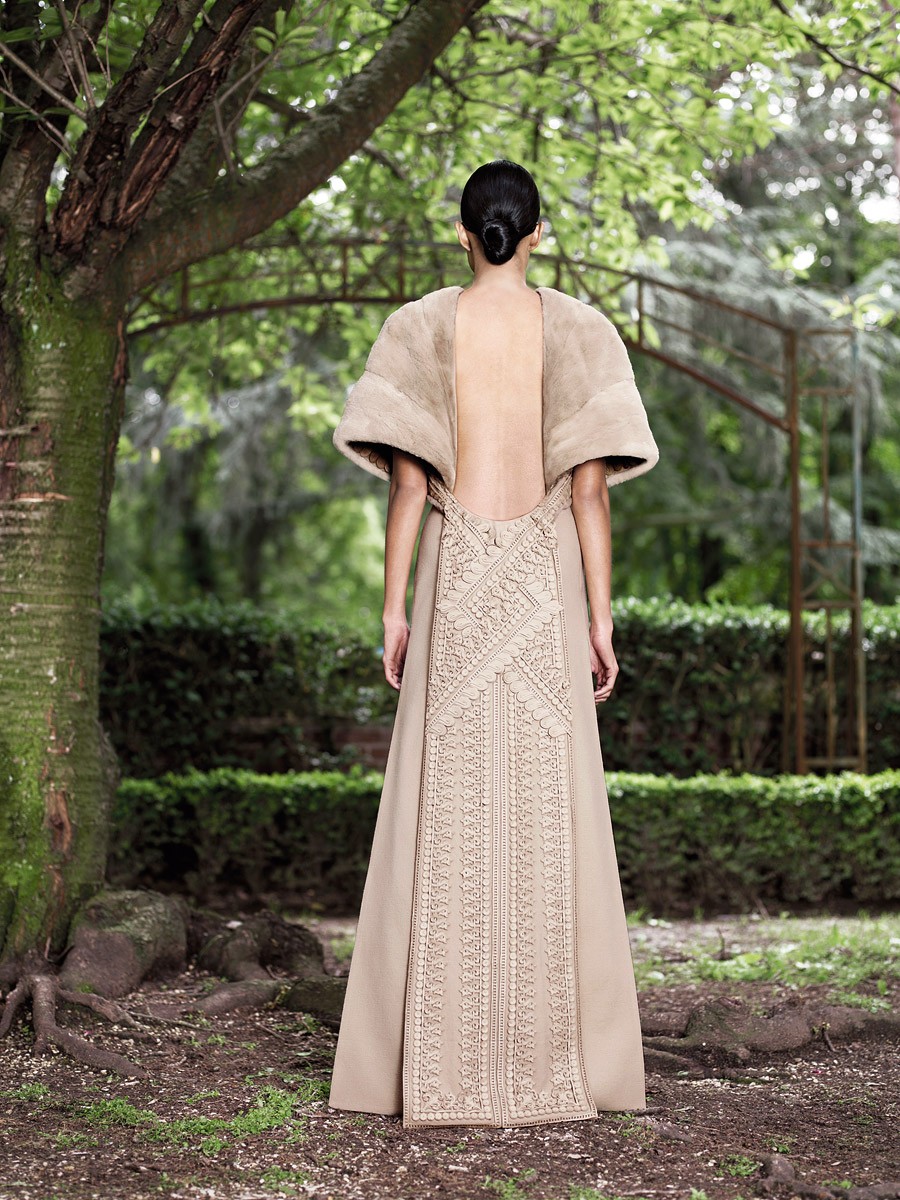
Here are some of my favourite looks encompassing the lastest runway trends, mixed with nudes……

Still not convinced?   Did I mention that wearing flesh-tone heels will always make your legs look longer?

Ange x
Fashion, Beauty, Lifestyle blogger

images sourced L2R: ca.shine.yahoo.com, asos.com, capecodcollegiate.tumblr, fashionworship.com, decoycouture.tumblr, fashionworship.com, shopbop.com, stylishlymine.tumblr

DIY: Make Your Own BB Cream/Tinted Moisturiser

A Simple Guide To Making Your Own BB Cream/Tinted Moisturiser

If you’re wanting a fresh flawless light coverage that evens out your skin tone and gives you a glowing, healthy complexion without having to have a ’full blown, face full of makeup’ . Then a BB Cream might be just what you’re  after.

BB Creams (otherwise known as blemish balms or beauty balms) have been around for years and more recently have risen to a cult-like status in the beauty industry. They are essentially tinted moisturisers that give you a healthy glow, cover blemishes and even out your skin tone (perfect for summer!!).

A DIY BB Cream is actually incredibly easy to make and saves you the cost of purchasing more makeup when you will more than likely already have the basic ingredients at home. You can make it in small amounts (so it doesn’t expire before using it all) and its ‘made to match’ your skin tone perfectly by using your own foundation.

Here is a simple step by step guide to making your own.

Ingredients:

  • Sunscreen
  • Moisturiser
  • Liquid Concealer
  • Cream Foundation

I also add the following, but this is totally optional:

  • Lustre Drops (or mineral foundation powder)
  • A Setting spray

How to:
The brands I use, as outlined below, are simply what I have at home, this will still work perfectly using whatever brands you have.

In a small container (an empty tester pot, dipping bowl or ramekin is quite good), mix the following:

  • 1 teaspoon of sunscreen (not necessary if your current foundation already contains sunscreen as mine does)
  • 1 teaspoon of Kiehl’s moisturiser
  • 1/4 teaspoon of MAC liquid concealer
  • 1/4 teaspoon of MAC Lustre Drops (optional – I use this for a dewy finish)
  • 1/2 teaspoon of MAC Matchmaster Cream Foundation
  • 1/2 teaspoon of MAC Fix+ Setting Spray (optional)

Mix thoroughly and store in a small container or travel bottle (you can get great travel size containers from PlasticBox for $1.99) and VOILA – your very own, ‘made to match your skin tone’ BB Cream.

BB Cream is my current ‘go to’  beauty product right now and I’m loving not having to wear a full coverage foundation to achieve a glowy, fresh, flawless look.

Ange x
Fashion/Beauty/Lifestyle Blogger

Fashion Dipped in Metal

Image Source: lefashionimage.blogspot.com

Fashion Dipped in Metal……..

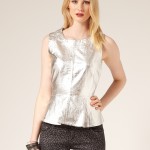
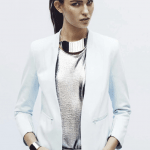
Many designers have taken to dipping their beautiful creations in liquid metal for Spring/Summer 2012/13, creating a wonderful mix of structured and floaty metallic masterpieces.

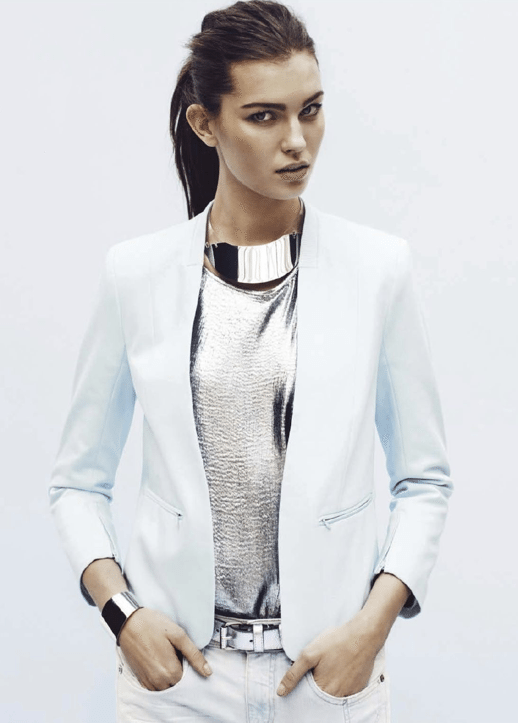
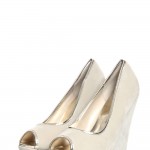
The great thing about metallics is that its a versatile trend that can be glammed up or dressed down. For a more casual look, this can be achieved by simply teaming a pair of jeans, a plain white t-shirt and blazer with a metallic clutch or metallic shoes. For a more glam look, a metallic dress teamed with a beautiful pair of nude heals achieves an effortless edgy look.

These are my key tips to wearing metallics without getting lost in a sea of metal:

  • Keep accessories to a minimum. Since metallics pack a significant punch all on their own, there’s no need to go overboard with accessories.
  • Pair your metallics with neutrals
  • Wear 1 metallic piece at a time

My current obsession is rose gold (Michael Kors Baguette-Bezel Rose Gold Watch – you shall be mine!!!!) so Im in heaven amongst the metallic trend that’s currently hitting the runways.  A few fab metallic finds:

Links to featured fashion brands:

boohoo: www.boohoo.com

Ruby: www.rubynz.com

TheIconicwww.theiconic.com.au

Wild Pair: www.wildpair.co.nz

CottonOn: www.CottonOn.com


Ange x

Fashion, Beauty, Lifestyle Blogger
www.gurlinterrupted.com

Beautiful Teardrops


Will You Be Going Crazy For Paisley? Paisley, the classic heritage print, is making its way back into the limelight in 2012! The twisted teardrop, named after a town in Scotland (the town of Paisley), hit the fashion scene when it first made its debut in the late 60′s/early 70′s. There was a resurgence of paisley again in the late 80′s early 90′s; and 2012 is set to be the biggest comeback yet, with paisley hitting runways around the globe!


Sourced: macaroonsandcupcakes.com Love it or hate it (I personally love paisley) there will be no avoiding this print-astic pattern as it swirls its way into spring. The great thing about fashion in 2012 is there really are no ‘rules’.  If you’re feeling bold and confident you can mix your paisley with another fab print like stripes or polka dots. Who says you can’t combine your prints?!  If you tend to lean towards a safer option, combine your paisley with a single coloured piece of clothing, or just add a dash of paisley to your wardrobe with a simple accessory such as a scarf, or if you’re lucky enough to find them in paisley, a pair of shoes.

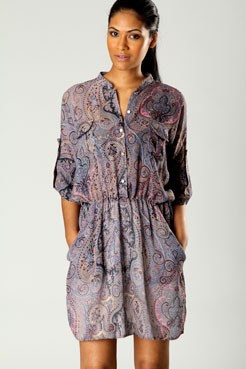
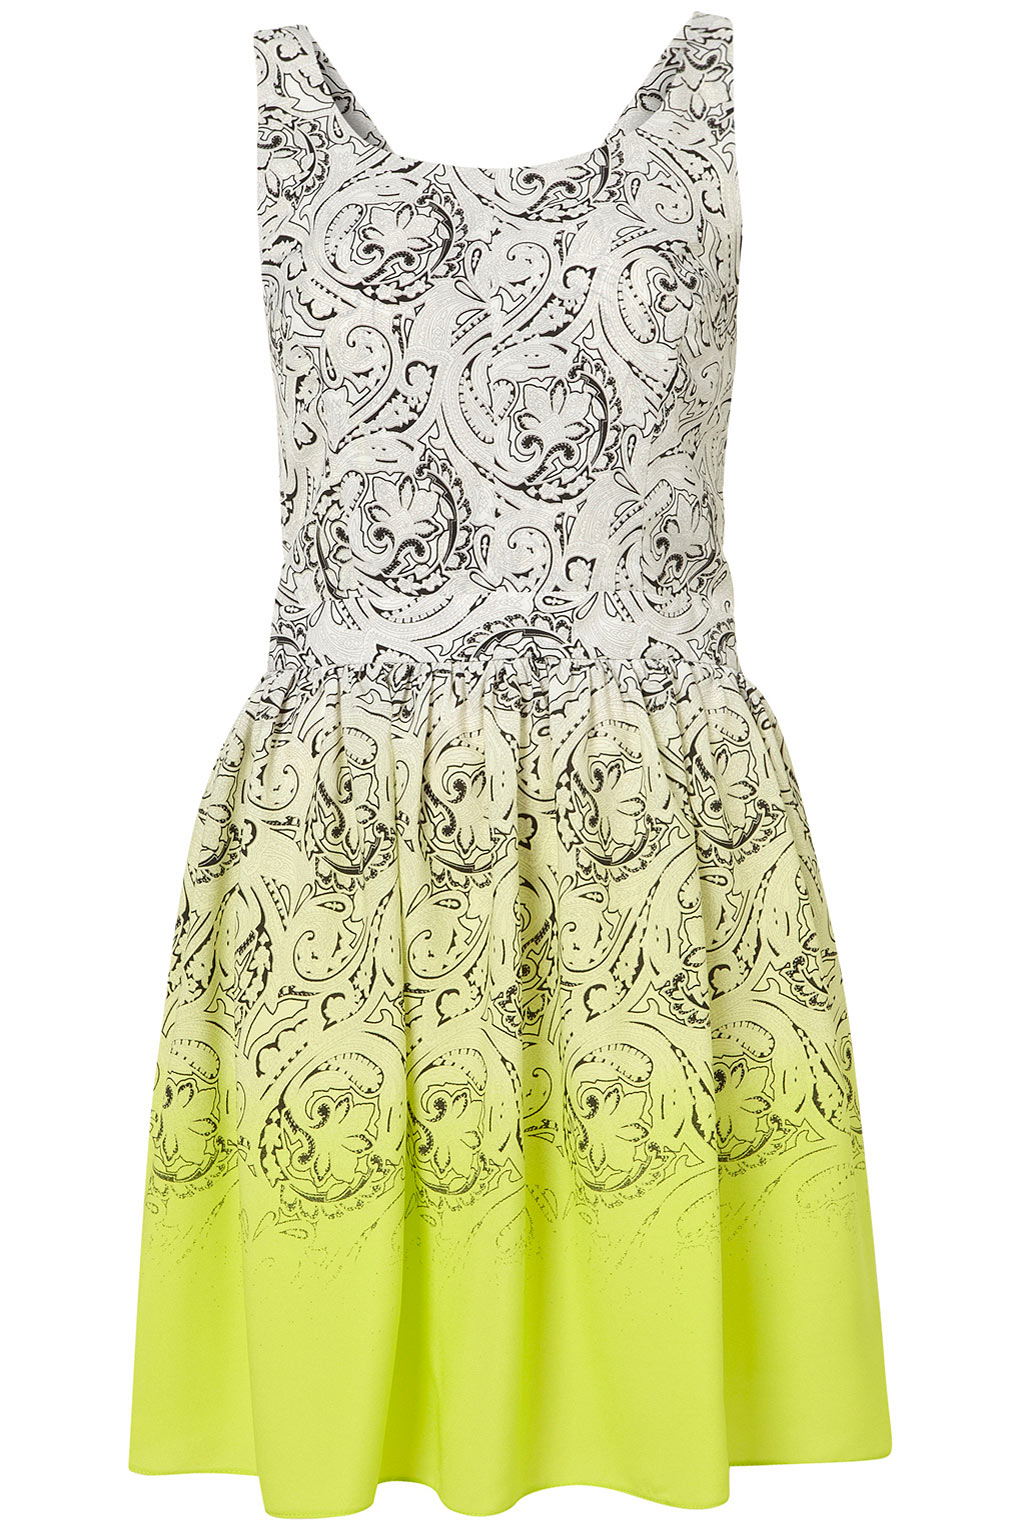
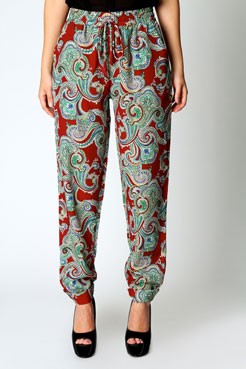
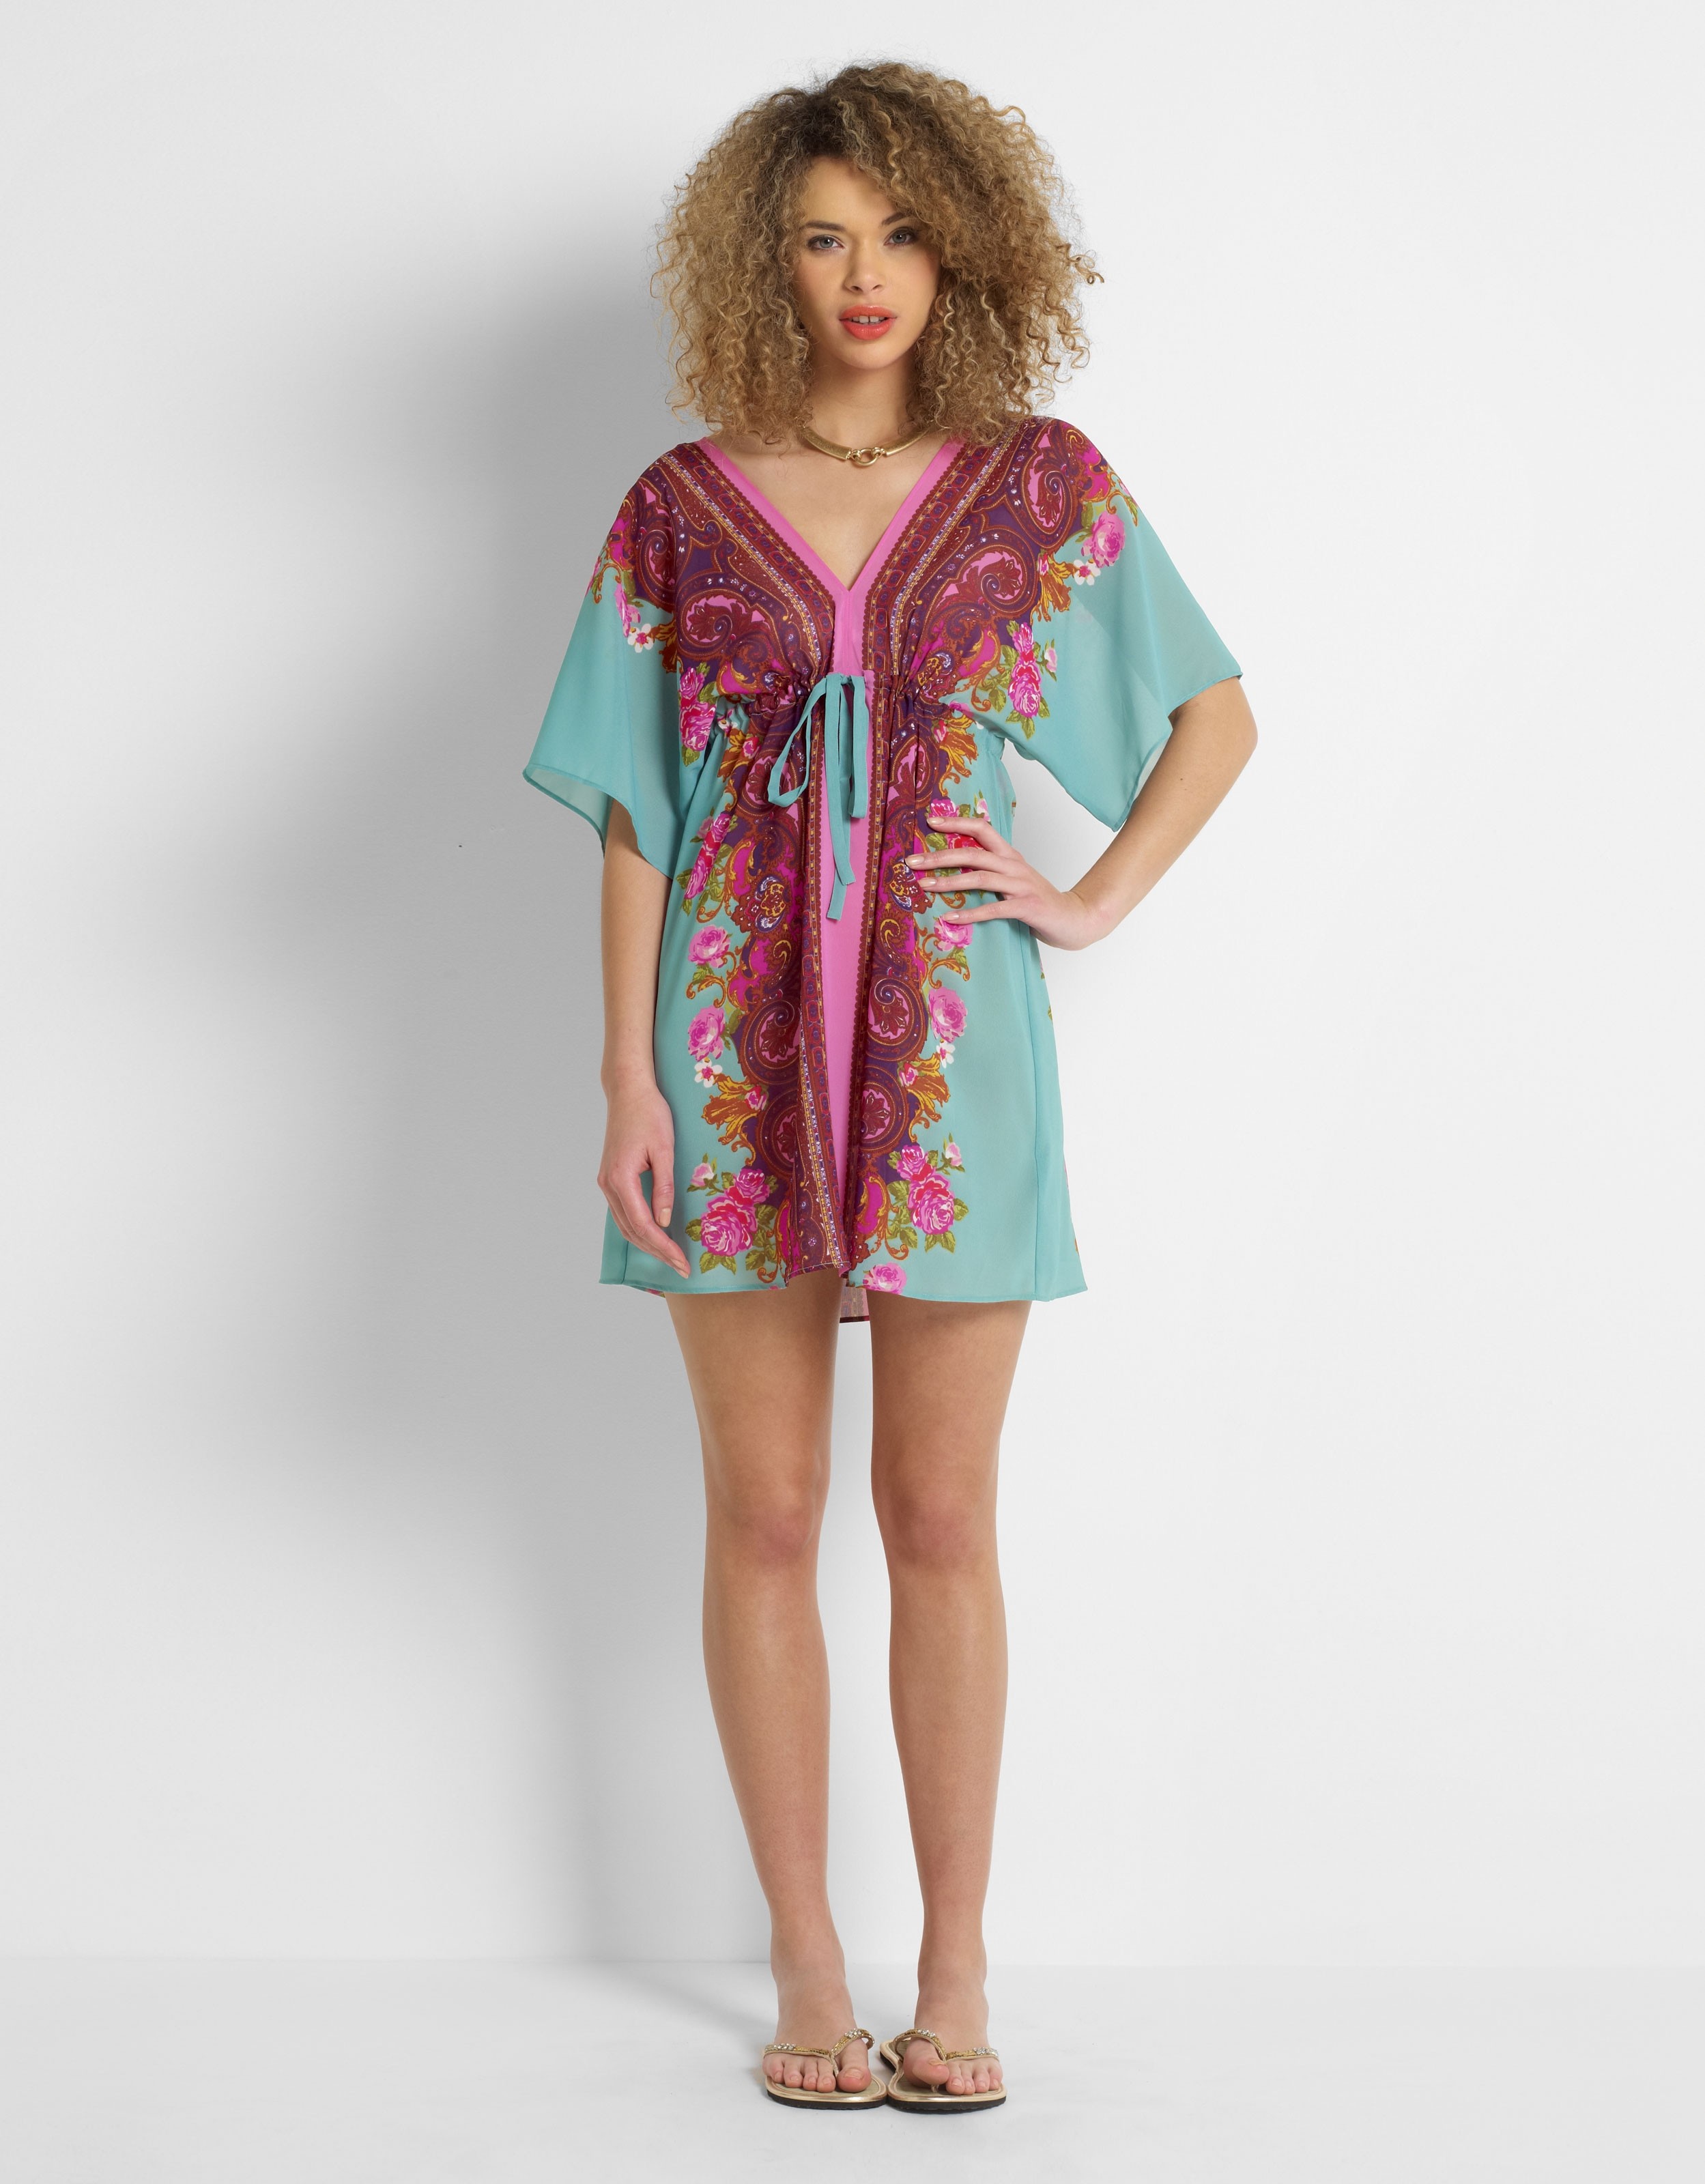
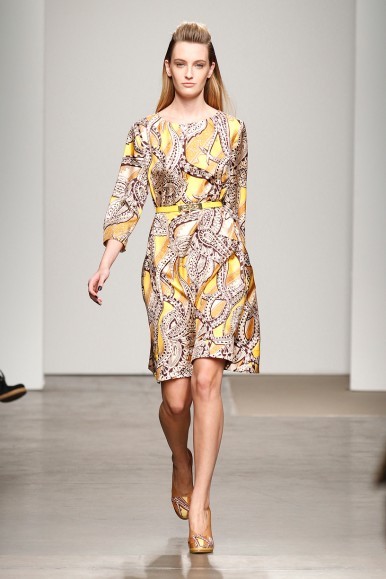
Below are a few of my key paisley picks.  Keep an eye out in-store and online for your key paisley picks for Spring/Summer 2012 and leave a comment below to let me know where you’ve discovered your ‘paisley fashion fav’!

Ange x

Shirt Dress from boohoo.com

Ombre Paisley Pinafore Dress from Top Shop

Paisley Print Naomi Relaxed Trousers from boohoo.com

Scroll Kaftan from ukaccessories.com

Karen Walker Dress – Sea Monsters Collection

FINDATION


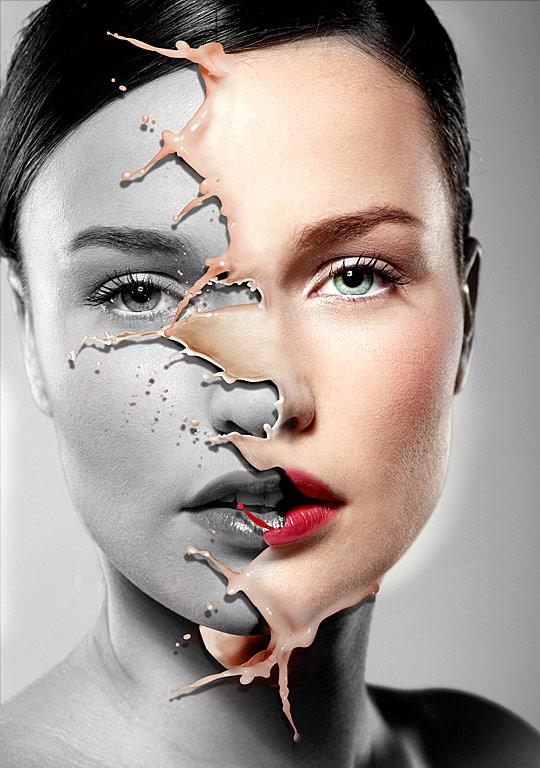
As I was browsing through www.nzgirl.co.nz the other day I came across a fantastic article aptly named FINDATION.  As soon as I read about a website that can match your current foundation to numerous brands, solely based on foundations that you already own and know are the right shade for your skin tone, I was hooked and had to find out more!

www.findation.com is GENIUS!!

I cannot count the number of times I have been frustrated by buying the wrong colour foundation.  Sure, in the tiny mirrors and bad lighting of a store, its easy to be fooled into thinking you have the right shade of foundation, but head my warning – you will never get the correct foundation match in unnatural lighting, ever!  There have been many occasions where I’ve tried foundation on my jaw line, nose, back of hand, wrist, cheek (need I go on – basically I looked ridiculous in several streaks of colour), thought I’d chosen the correct shade and then hit the natural light of day only to realise that it is in no way, shape or form, the right colour at all!

Then there’s the brands that you’d love to buy, but can only get online and thus have no idea what shade to even start to contemplate as your match as you can’t colour swatch foundation online now can you?!  StrawberryNet has an amazing array of foundation brands that you can’t normally get your hands on in NZ and at incredibly affordable prices, however, it’s not exactly saving money when you buy a foundation that is completely the wrong colour for you with.  Enter…….. www.findation.com.

It’s so simple and from my experience with Findation, pretty damn accurate!  You basically enter the site, it asks you to input 3 or 4 brands you have used or are using currently (even including BB Creams) that you are happy with.  It will then bring up all the varieties within that brand along with all the shades within that tier and you hit the ‘Find My Matches’ button.  In about 2 seconds you are presented with an amazing array of all the foundation brands and shades that match you skin tone without even leaving your computer (or entering a badly lit store)!

Head along and check it out.  I loved it and thought you might too

Ange x