Tag

Fashion Archives - Page 17 of 17 - Gurlinterrupted

The Elusive Perfect Tan Bag and www.buyinvite.co.nz

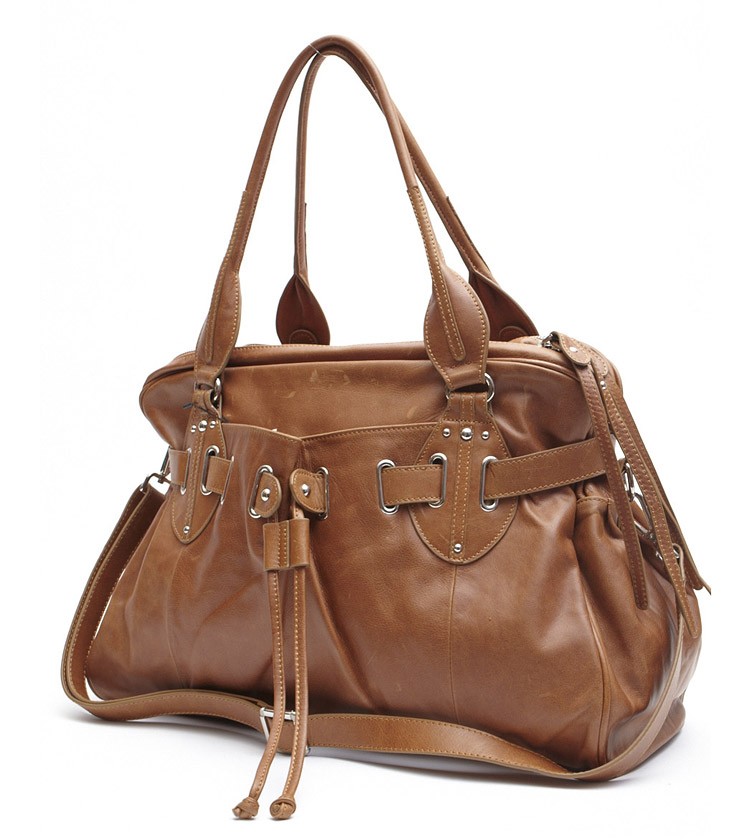
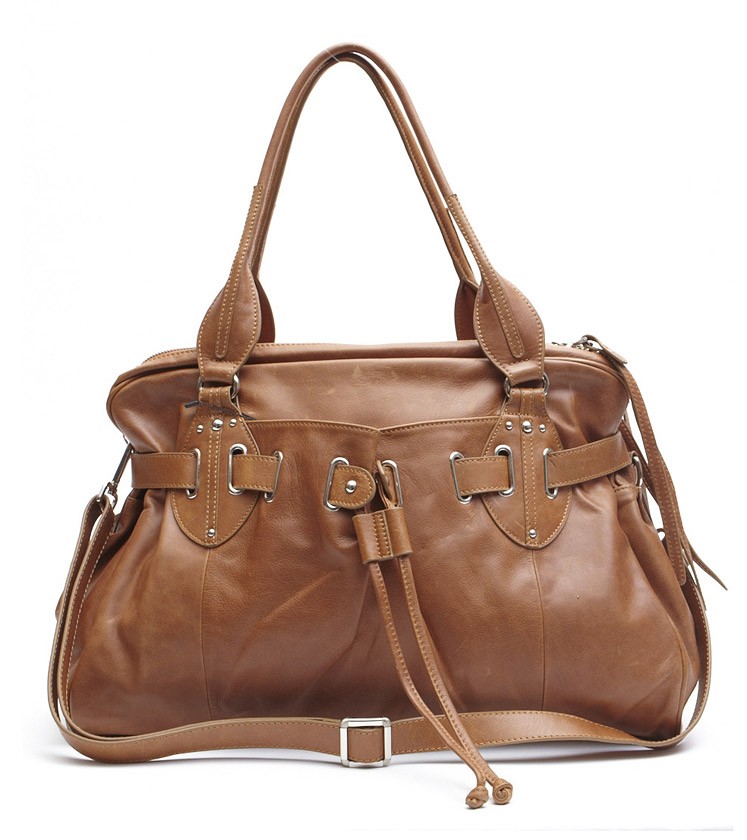
Hmmm, I should probably kick this blog post off by making a public apology to my credit card, BUT, I think I just may have finally found the elusive ‘perfect tan bag’, so I’m sure my card will understand, right? I’ve only been searching for said ‘perfect tan bag’ for like a year and half, so its been a long time coming, but here she is……………………….

Bag Stats:
Length:45cm
Width: 25cm
Height: 28cm
Handle drop 23
Adjustable shoulder strap

Every single time I go shopping, in the back of my mind I am secretly hoping I will come across a beautiful tan bag that I will fall in love with, buy immediately and live happily ever after with it!  Alas this has not been the case and I swear I have looked EVERYWHERE! Late last night I received my www.buyinvite.co.nz email notification of the latest sales they have and there it was,the perfect tan bag by Borne Naked.

www.buyinvite.co.nz sells various items (well-known brands), shoes, handbags (YAY!), clothes, homeware and at quarter the retail value.  Once a sale starts, the items are available from the day of email notification, for around 4 or 5 days.  The only downside to this site is that you do have to wait quite a long time to receive your purchase e.g. I wont receive my purchase until 9 July (in this case, its worth the wait).  I realise I sound like an infomercial but I honestly have no affiliation with them whatsoever, I’m just super excited about this bag!  RRP on this bag is NZ$636.00 and I purchased it for NZ$221.00.  Its leather, its perfect and ITS MINE.

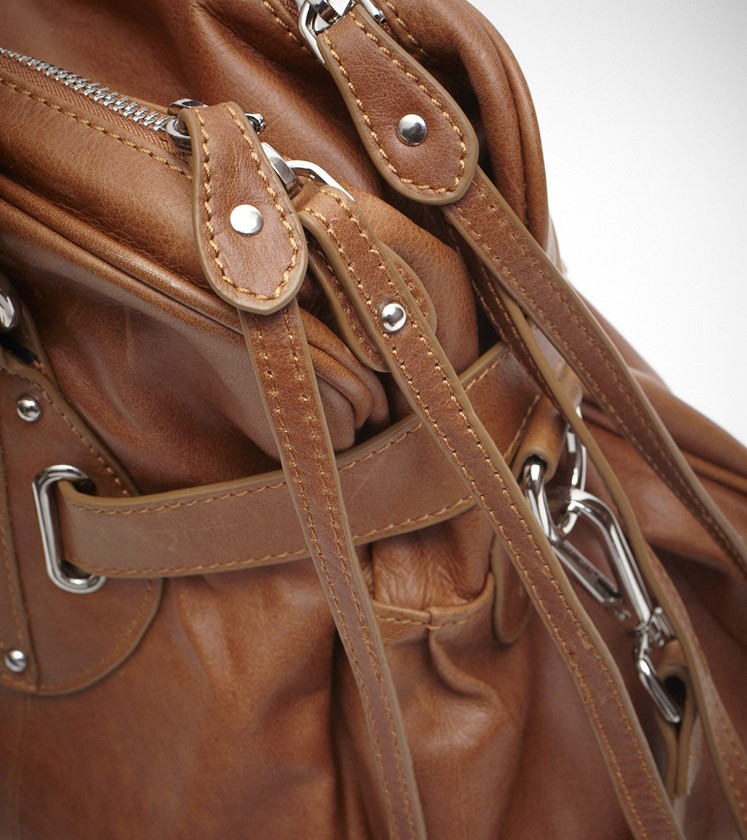
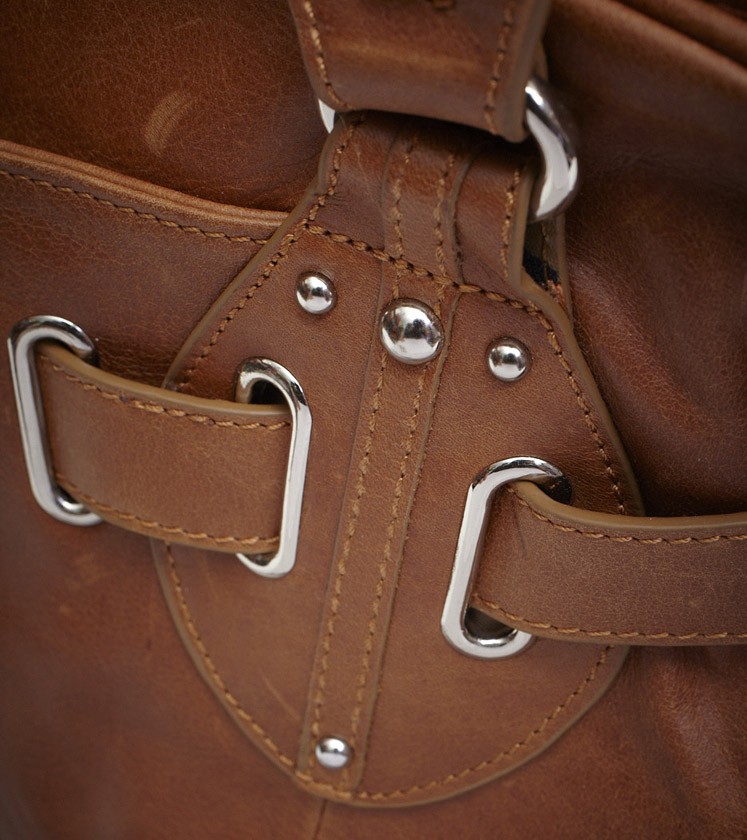
Here’s a few more shots of my Perfect Tan Bag:


OOTD: Batwing Sweater Dress

OOTD: Batwing Sweater Dress

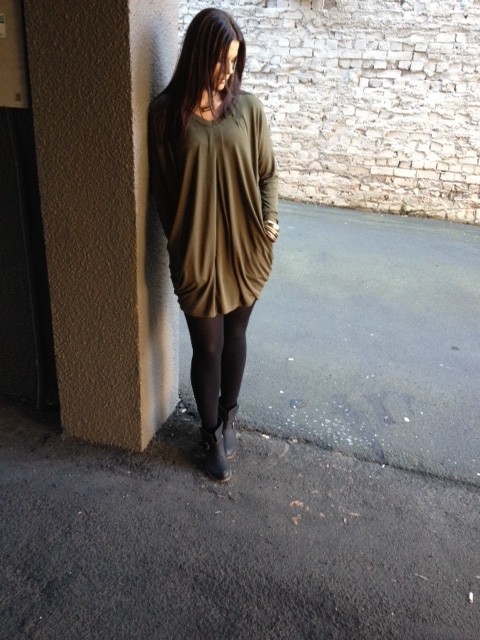
Thought I would kick off my OOTD posts with this Batwing Sweater Dress that I am absolutely loving.  It’s from Orange Girl (purchased last week) in High St which I think is such a great shop – I have bought so many reasonably priced items from this store and I honestly don’t think this label gets the praise it deserves.  I’ve seriously bought at least 40 items from this store over the years and love all of them – no regrets!!  Best of all – it’s not a chain store that you can find just anywhere AND (this is my favourite part) they only make a couple of each item so you don’t run into a 50 girls wearing the same outfit!!  BONUS!!

So – OOTD consists of:
Batwing Dress in Olive from Orange Girl, High Street (circa $60)

Opaque stockings in black from MAX ($25) and worth every cent!!  I will buy stockings from MAX only from now on, these bad boys last forever and are so comfortable that when I first wore them I went in the very next day and purchased 2 more pairs!

Black biker boots from No.1 and to be honest, I have not seen another pair anywhere that I have loved more than these and I searched high and low for the perfect pair.  I probably get asked several times a day when I where these, where I got them from.  I love them! (so glad I didn’t spend the $350 I was going to on an Overland pair).  These were about $50 or around that price.  Gold & Wood bangles and Gold Envelope Necklace are all from ShellShock in Ponsonby and the bangles were about $30 and the necklace around $80.

Necklace close up:

Gold Envelope Necklace from ShellShock

Until the next post……
Ax

NAIL ART and Colours I’m Crushing On Right Now………


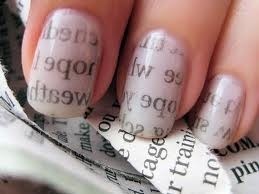
Newspaper Print Nail Art


Step by Step guide on how to achieve this look

What you’ll need:  1 base coat, 1 clear top coat, 1 nail polish colour, newspaper (cut into 10 little pieces to fit on your nails – trust me you’ll want to prepare this now before you get started on anything else), white/clear spirit (I used Vodka) and a small dish.

  1. Paint your nails with a polish of your choice, I prefer a light or neutral tone but anything will work
  2. Let your nails dry completely. This is a must or you will be in all kinds of trouble when you move on to step 3
  3. Dip your nails into a small dish of alcohol.  If you don’t want to use alcohol, water should work too but the letters will not be as precise as with alcohol
  4. Take a strip of newspaper and press it onto your nail while it’s still damp.  You can use just the everyday small print or you could choose a large print like a ‘headline’, It all depends on the kind of look you’re going for, but I think smaller print looks better.
  5. Hold the newspaper strip taut with a steady hand. If you try to lift the paper and put it down again or move too much you will smudge it.
  6. Peel the newspaper strip off slowly and gently.  Hopefully this is a voila moment
  7. Apply a layer of clear top coat  and you are officially newsworthy!


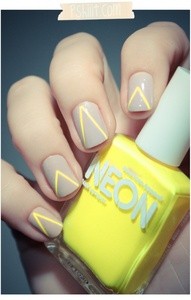
Neon Nails
Neon is a trend I’m really loving – although I have to admit a splash of neon incorporated into an outfit is more my style, rather than an all out NEON ‘screams look at me’ outfit.  Why not incorporate it into an outfit with your nails – subtle – but still on trend!!

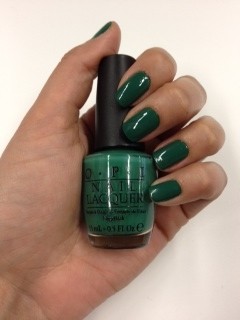
Jade is the New Black by OPI – wore on my nails all last week and lovin it!

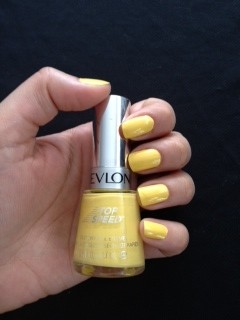
Revlon Top Speed in Electric
This is a cute colour, but as I do with all ‘top speed’ colours, you need to finish with a clear top coat to get rid of the matte affect and bring the true colour out.  Revlon’s new Top Speed Nail Enamel dries quickly and at $10 (on sale at K Mart at the moment), it doesn’t break the bank! This is a really close dupe for Chanel Mimosa if you’re not willing to splurge


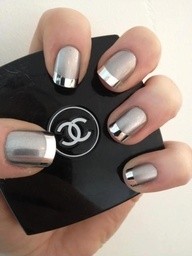
Sterling Silver
French Style Manicure in Matte Silver and Metallic Silver.  One of my fav nail looks and the perfect nail art to wrap up today’s nail looks.

Hair Chalking

HAIR CHALKING
The How To……..
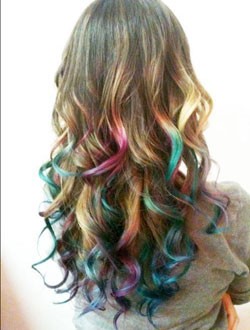
Ange why does it look like you’ve dipped the ends of your hair in a rainbow?  How did you get the hair dye out so easily?  How did you get it back again a couple of days later and manage to swap the colours out so quickly? Why are you referring to yourself in the third person (ok, that last question was me talking to myself). I digress……….

Colour streaked or tip-dyed hair is definitely a fun way to express your ‘colourful’ personality, however this is not always appropriate for work, especially when you are involved in the more ‘corporate’ type meetings as this look may not be viewed as appropriate in the workplace and that’s why hair chalking is such a great option – it’s not permanent! Here’s a step by tutorial on how to achieve the look seen in the above pic.

Now before I get started I would like to state that I absolutely do not claim to have invented hair chalking, in fact, it has been around for quite some time, but lately seems to have had somewhat of a resurgence.  This is simply a ‘share the love’ tutorial on how I created my rainbow dipped hair.

Items you will need:

  • Soft pastel chalk (this is fairly inexpensive and personally the best priced soft pastel chalk that I’ve come across is at Jeff’s Emporium)
  • An old shirt (one you don’t mind getting messy)
  • Rubber gloves
  • A spray bottle (also very inexpensive at Jeff’s emporium) filled with water
  • Straighteners or curling iron

Steps

  1. Make sure you are wearing an old shirt as it is inevitable it will end up with some chalk on it
  2. Take a small section of hair and spray with water (if you have blonde hair, you probably shouldn’t wet your hair as the water is there to increase the colour pay-out which is something needed for those with brunette hair).  This is the section that you will colour.  Say around 1 inch and this can be fully streaked or just wet the tip if you want the ‘dip-dyed’ look.  Have fun, be creative, this doesn’t have to be perfect.
  3. Colour/rub on the hair with the pastel you’ve chosen (those with blonde hair – you are lucky, you can pretty much go with any colour.  Brunettes – for best colour pay-out I would go with red, pink, green and blue). You want to twist the hair as you apply as this will release the colour pigment.
  4. Wait for the hair to dry (or if you’re impatient like me, have a hair dryer at the ready).
  5. Once the hair is dry, go over the coloured pieces with straighteners or a curling iron (This helps to lock in the colour).

Tips and Tricks

  • Do not use oil pastels. Oil pastels will be incredibly hard to remove.
  • Note that the colour can rub off on your clothes during the day (rain is not our friend) so it does pay to wear dark clothing or a top that is a similar colour to your chosen chalk.
  • When you want to remove the colour, brush your hair before shampooing. This will eradicate most of the chalk.
  • I like to use hair spray to further lock in the chalking (this helps it adhere which means less chance of getting any colour on your clothes)
  • Choose a deep nourishing or moisturizing shampoo as this will help to replenish the moisture than chalking tends to absorb.

This is all about having fun, don’t stress about making it perfect – just brighten your day by brightening your hair!