Tag

hair Archives - Page 2 of 2 - Gurlinterrupted

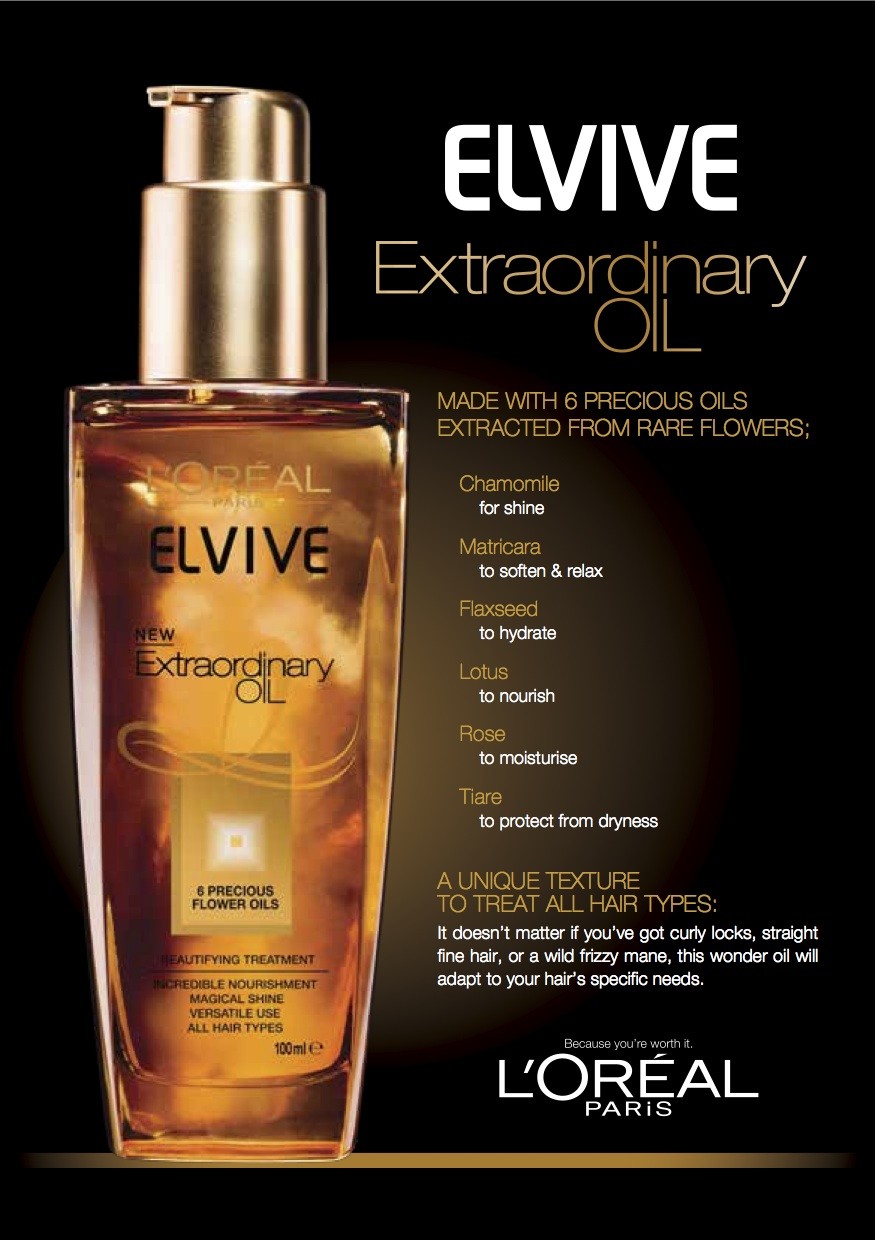
L’Oréal Paris Elvive Extraordinary Oil – Product Review

Not long ago I was sent the then new, L’Oréal Paris Elvive Extraordinary Oil (EEO) to review and give my unbiased feedback, which after trialling the product for 4 weeks, I did.  The very generous folk at L’Oreal and The Soup also sent enough product to enable me to give a couple of bottles  to friends and work colleagues; and given their thoughts and feedback matched mine, I knew I was onto a winner, thus deemed it worthy of sharing with you lovelies.

Since concluding my review of Elvive Extraordinary Oil I have continued to use this golden hued elixir, as it’s a product that I am genuinely loving!  The market is currently flooded with hair oils (Moroccan Oil, Aragon Oil, the list goes on) and being the perfect consumer that I am, I’ve pretty much tried them all.  The problem with hair oils that I’ve tried in the past is that they are just too heavy for my hair; and as my hairdresser Kurt aka The Best Hairdresser in the World can confirm, I do not need any more weight added to my hair!.  The texture of L’Oreal’s Extraordinary Oil is like that of any liquid hair serum, yet lightweight, easy to rub between your hands before distributing evenly through damp or dry hair and is absorbed quickly without leaving a greasy residue.  I have also been applying it to the ends of my hair during the day (yup, at work, whilst at my desk) and I love that my hair looked super healthy right down to the very tips.  It has a handy pump dispenser (that locks on turning) and comes in a beautiful glass bottle (I’m a sucker for packaging!).


With a unique alchemy of 6 precious flower oils, it claims to nourish from root to tip and for me, it absolutely delivered!   Use before shampooing, as a mask, before straightening or as a finishing touch.  Lotus oil gives an intense nutrition, Camomile Oil boosts shine and radiance, Tiare flower oil protects from dryness, Matricaria Oilsoftens and relaxes hair texture and Flax Oil intensely hydrates.

The glossy sheen that it’s given my hair is amazing!  If you’re considering trying one of the many hair oils currently in the market, the L’Oreal Elvive Extraordinary Oil is definitely my recommendation.  RRP $19.99.
Ange x
A Girl Interrupted by Fashion, Beauty and Anything Pretty That Catches My Eye


DIY – How to Make Your Own Clipless Curling Iron

DIY – Removing the Clip from Your Curling Irons

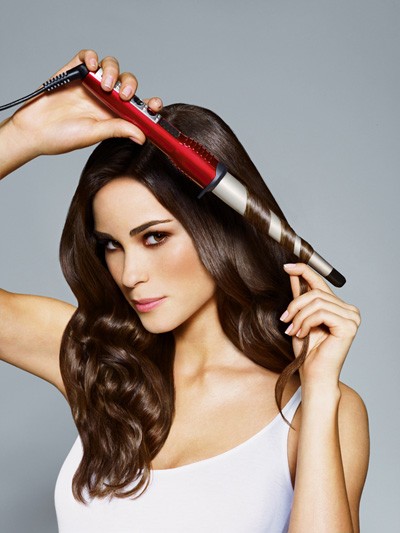
I love long ‘beachy waves’ created by using curling tongs, what I don’t love is the ‘weird little crimped bit at the end of your hair that seems to have a mind of it’s own’ caused by using a curling iron with a clip!  Now, I have a great curling iron (obviously aside from the fact it’s of the  ‘crimp making’ variety due to it having a clip); and  it wasn’t exactly cheap, so the last thing I wanted to do was go and spend more money on another curling iron so that I could have the clipless one (which for some reason, perhaps it’s because these are generally the ones used by hair stylists on celebrities, is remarkably pricier than a curling iron with a clip); and that’s when I decided to take to my curling iron with a Phillips screwdriver and DIY that bad boy into a clipless curling iron!

WHY IS A CURLING IRON WITHOUT A CLIP FAR SUPERIOR?

Benefits:

  • Less damage to your hair, aka, the dreaded split ends (caused by the ends of your hair being held the longest against the tong under the clip).
  • No creases, bumps or ‘weird crimpy bits’ from the where the clip was holding your hair; and that little bend in your hair gets heated into place, just like the curl does, so you know it’s there to stay around as long as the curl does.

So, since summer is nearly here, *YAY*, I decided its time to share my easy DIY guide to making your own ‘clip-free’ Curling Iron……


STEP ONE: Remove the clip-stand – this is easy, you literally just pull from one side and this will detach itself from the curling iron (some have small screws holding it in place, if this is the case, simply unscrew and remove)

image source: ImAlittle


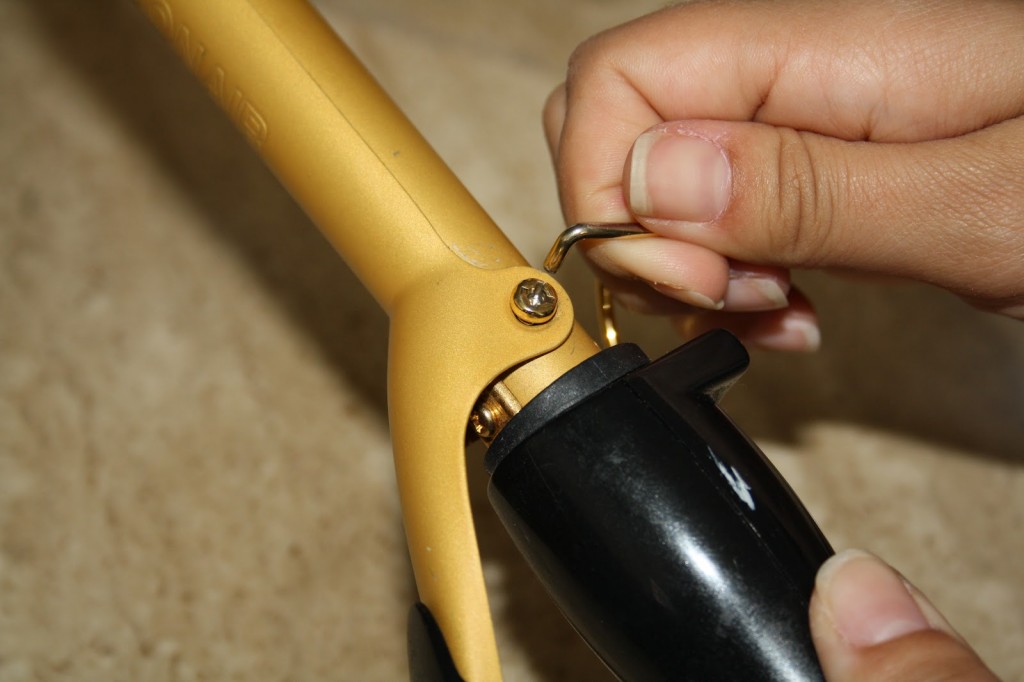
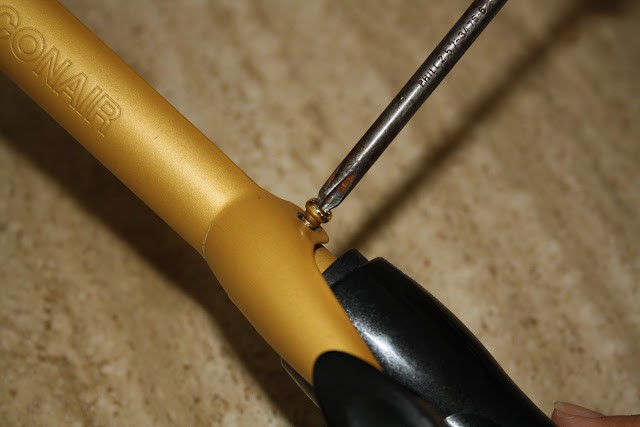
STEP TWO:  Remove the screws securing the clip (in most cases this can be done using a Phillips screwdriver)

image source: ImAlittle


STEP THREE: Remove the clip and spring (the spring is directly underneath the clip) from your curling iron

image source: ImAlittle

Voila!!  You have your very own Curling Wand (or Clipless Curling Iron if you so prefer); and can now create your perfect ‘Kardashian style beachy waves’.

You’re welcome 😉

Should you ever wish to reattach the clip to your curling iron, simply reverse the steps shown above, so keep all the parts together in a safe place for future use.

Ange x