Tag

MAC Cosmetics Archives - Page 3 of 3 - Gurlinterrupted

Giving Your Nails a Little Ray of Sunshine……

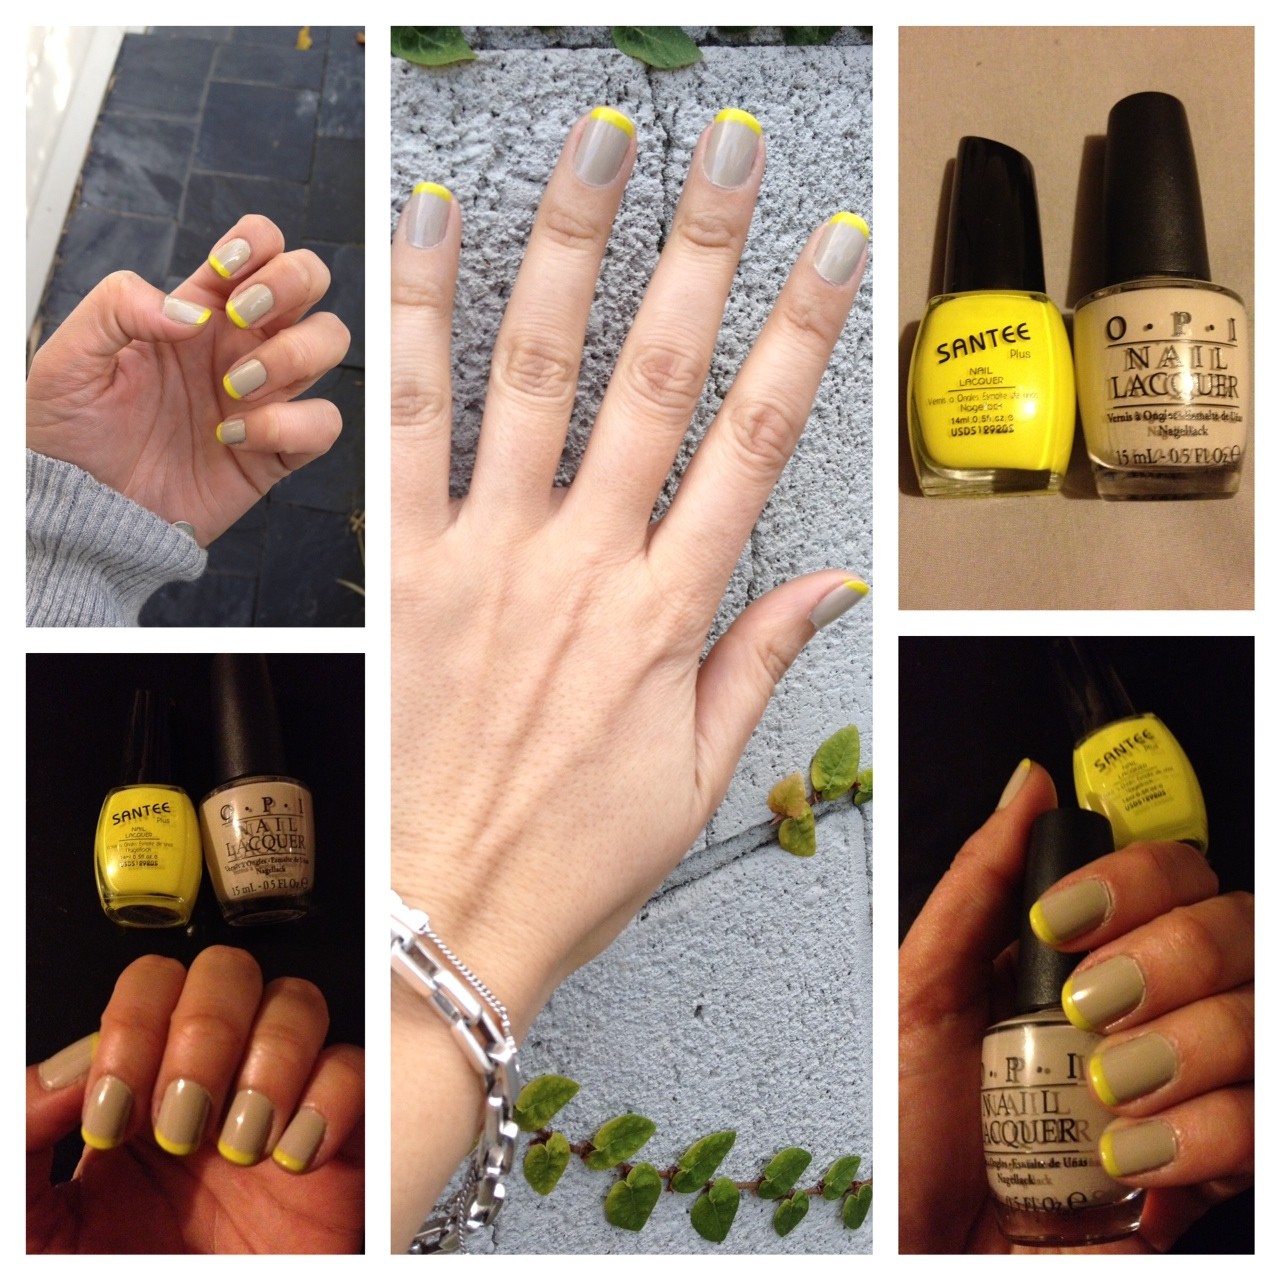
I love French manicures, but at the moment what I’m loving even more is a French manicure with a pop of colour! To achieve the look I created on my nails, all you need is: a clear base coat, a good neutral/nude polish (I’ve used OPI’s ‘did you Ear about Van Gogh?’ which retails for $24.95), your nail tip colour of choice (I’ve used Santee’s ‘beach yellow’ which was $3 from the 1,2,3 dollar shop), a nice glossy top coat to seal the deal (I’ve used Designer Brand’s ‘top gloss’ which was $6.95) and last but not least – a steady hand (however if you don’t think your hand is quite steady enough you can always buy the french manicure nail strips from a pharmacy and use those until you get comfortable applying freehand).

Step 1: Apply base coat
Step 2: Apply Neutral colour of choice (x3 coats). Allow to fully dry!
Step 3: Apply your ‘tip colour’. Apply using a small amount of polish on end of brush and apply side to side along tip of nail. Allow to fully dry.
Step 4: Finish off with a glossy top coat.

And that’s it, a super simple way to give your nails a little ray of sunshine – much needed in the dreary winter weather of late!! Swap out colours, mix things up, add some glitter polish, but most importantly, just have fun with it!

ROCK’N THE NEON TREND……

A Few of My Key Neon Picks

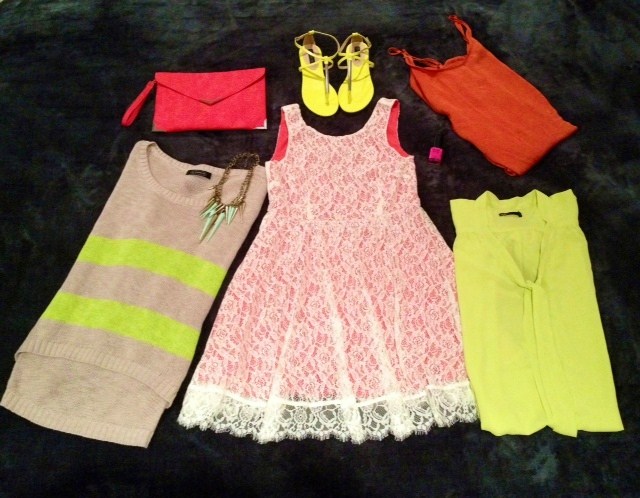
Neon is SO on trend right now and I’m loving every minute of it!  There’s a myriad of items to choose from with all your favourite stores decked out in floor to ceiling NEON.  However, if you’re like me, you’re probably quite keen to avoid looking like a highlighter, yet still want to incorporate a pop of colour into your wardrobe with an injection of neon.  It’s all about balance, teaming your neon with a neutral is key!  It’s a fun, yet slightly more sophisticated way to stay on trend with pieces that will see you right through to spring and summer (brightening up your winter wardrobe = BONUS!).  These are my top and affordable key picks to brighten up your wardrobe.
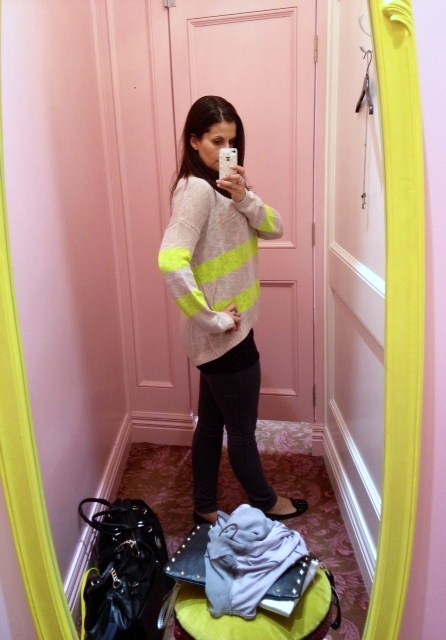
This is probably my favourite purchase in the neon range!  This House of G (Glassons) jumper is the perfect balance of neon and neutral and is great for the weekend teamed with some faded boyfriend jeans or some denim skinnys.  RRP $39.00
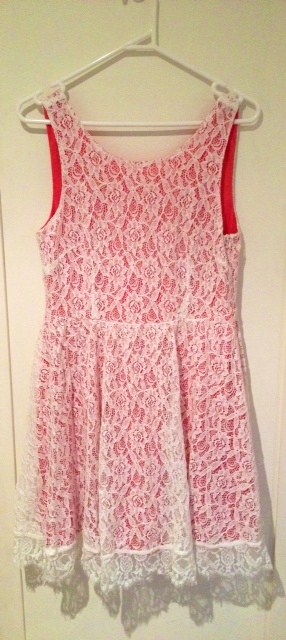
Dotti Skater Dress.  This dress is a great pop of colour whilst being toned down with the lace overlay.  This style of dress is fail safe and looks flattering on pretty much anyone!  Cinched at the waist with a white or bright contrasting belt would also look fab.  RRP (roughly) $70
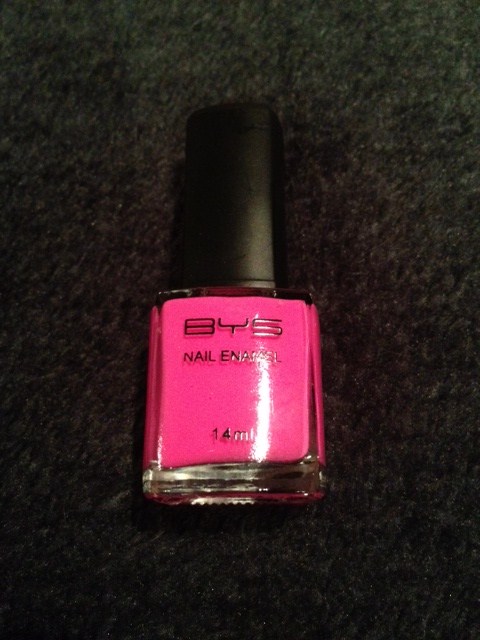
A quick and easy way to inject some neon into your outfit – Pink Panic nails.  RRP $6.00 from Glassons.
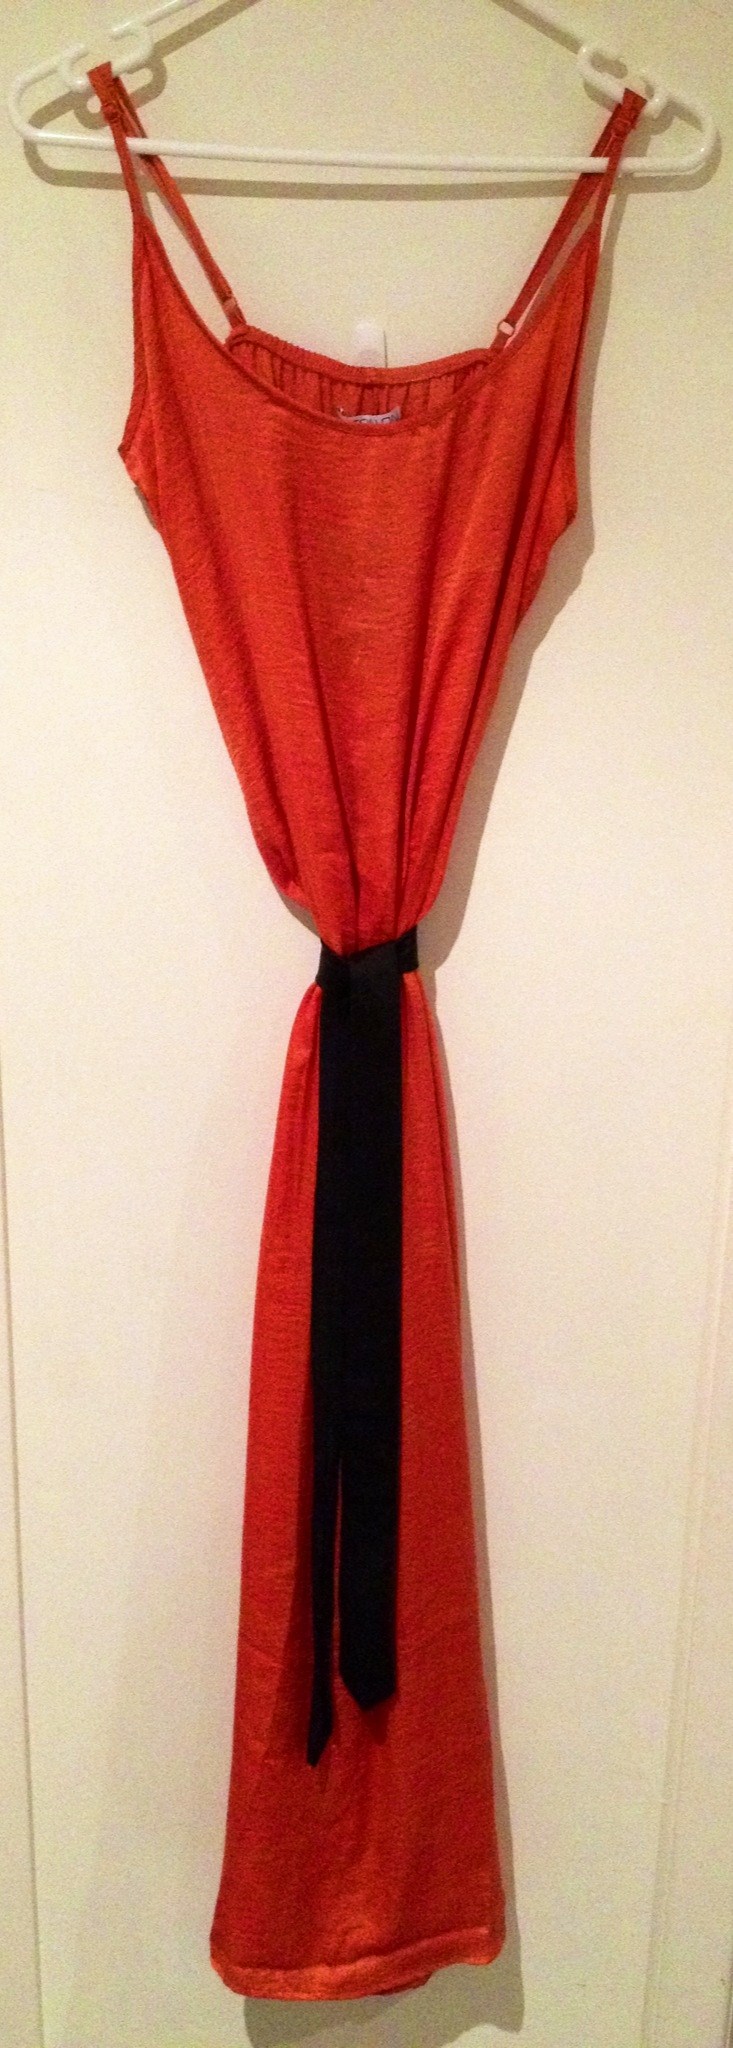
Cotton On Bright Orange Dress

This Cotton On dress was an absolute bargain, I bought it on the weekend while they had their big sale on and it was around $20.  This is a beautiful bright orange dress that is going to work in winter with a black top underneath, a snuggly warm long black knitted slouch cardie over the top and finished with some black ankle biker boots (and my boyfriends black Marc Jacobs tie used as a belt, ssshhhh).  In summer I will team it with a chunky bright blue statement necklace, some sandals and I’ll be good to go throughout both winter and summer.
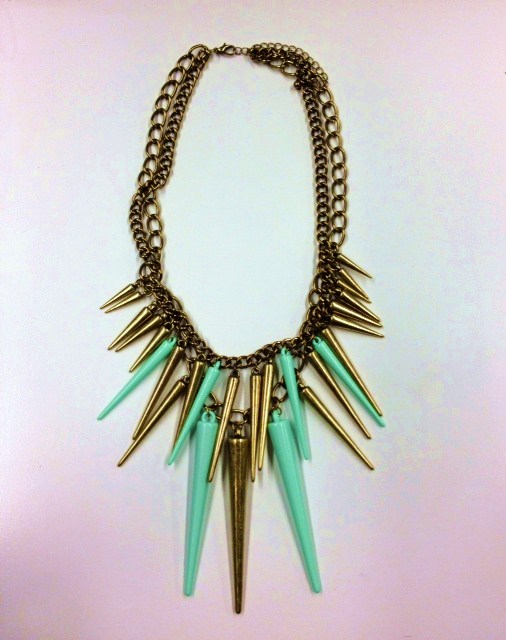
Dotti Necklace

Speaking of blue statement necklaces, this beauty from Dotti is fantastic as I can team it with most of the neon pieces that I have featured in this blog and it is very much on trend right now.  RRP $19.95
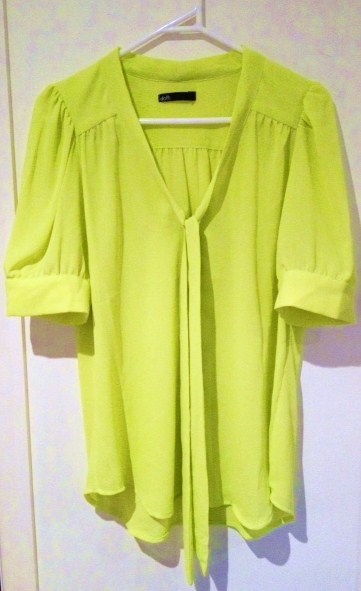
Neon Short Sleeved Blouse

Whilst there is a reoccurring theme here with Dotti, you will completely understand when you enter their store – there is such a HUGE array of great neon pieces that really are incredibly affordable.  This top I am definitely going to wear with my leather shorts – this will be a great contrast of neon and black, feminine/floaty and structured.  Teamed with some gold accessories, outfit complete!
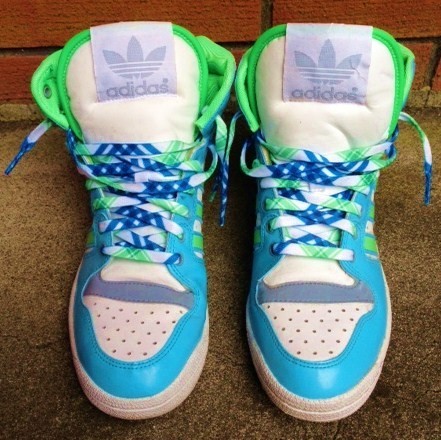
Adidas Neon Kicks

My beloved neon green and blue Adidas sneakers.  Admittedly I have had these sneakers for quite some time, but they are still in stores now.  These are great with skinnies or in summer with some denim cut-offs.  They retail for around $200 but are totally worth it.  I’ve worn mine a million times [cue mild exaggeration] but I really have worn them A LOT and they hardly look worn at all.  The purchase that keeps on giving.
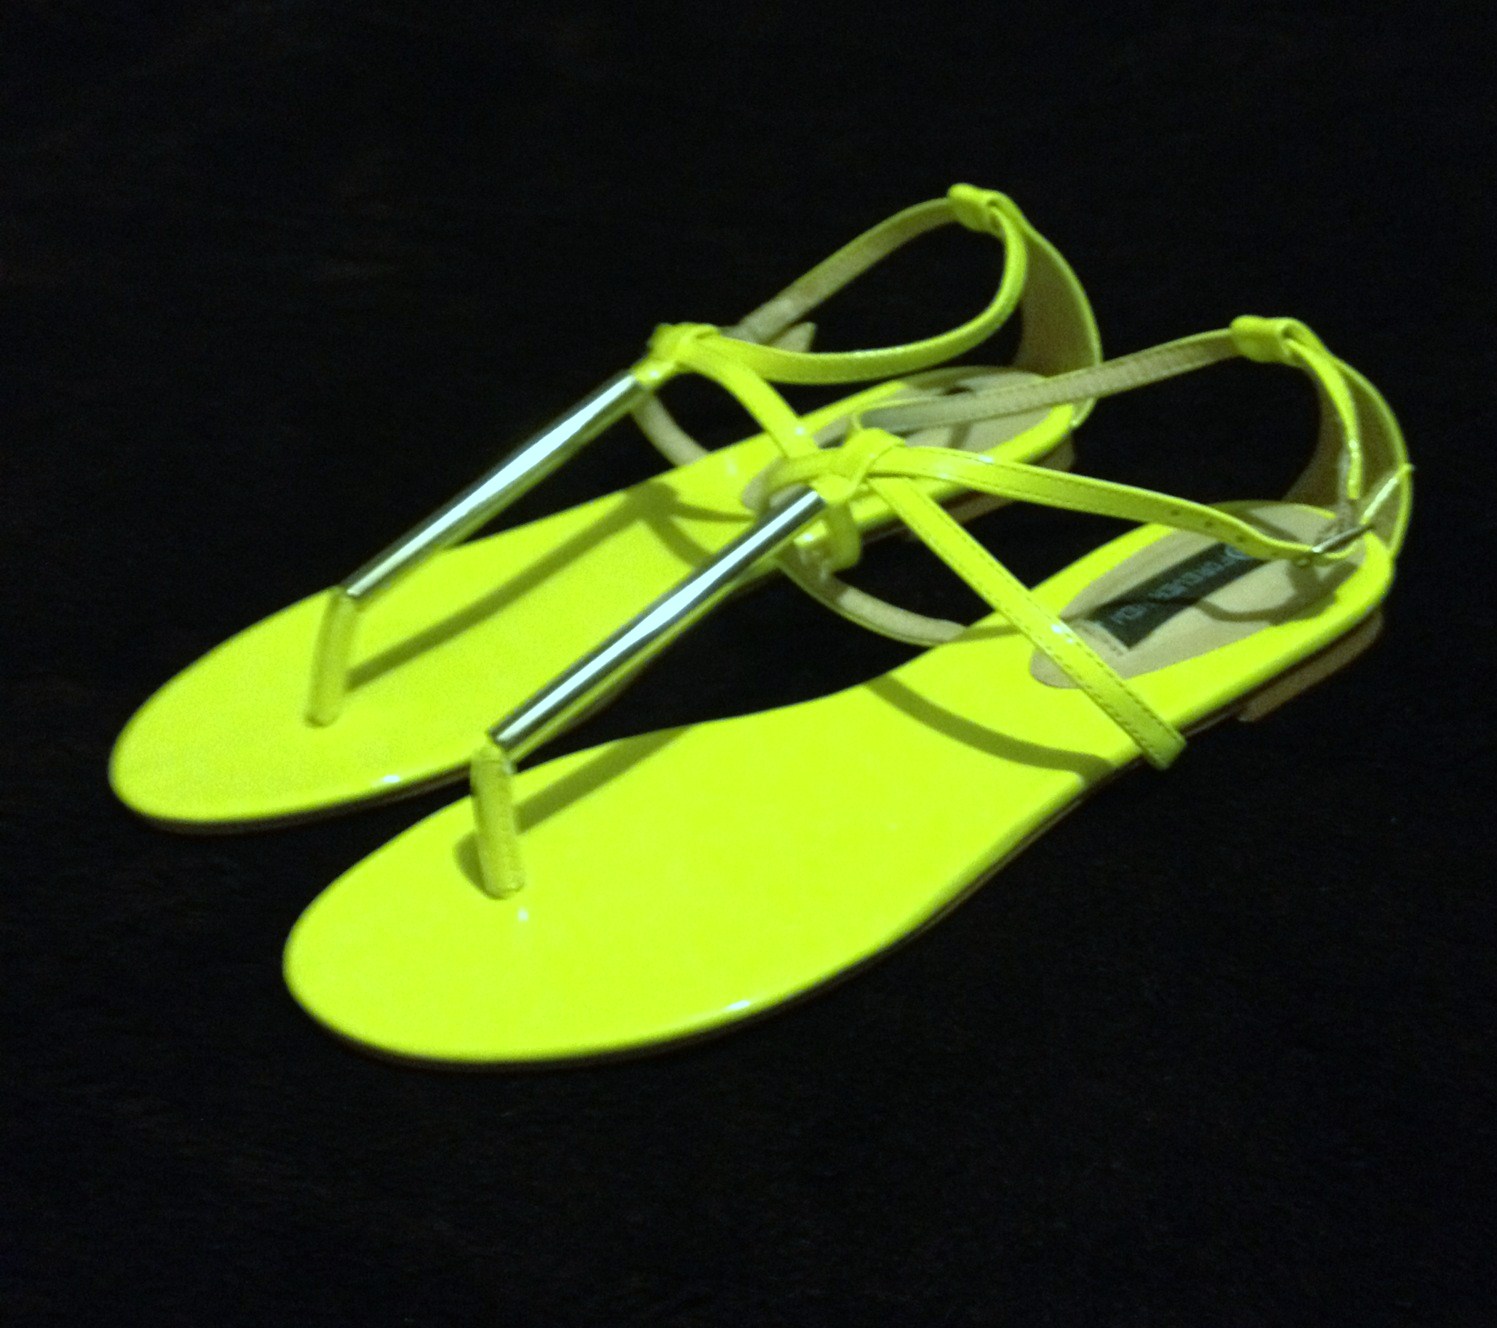
Forever New Neon Sandals

I LOVE THESE! My brand spanking pair of Forever New Neon Sandals (they were literally just putting them on the shelf in store when I saw them – they are THAT new).  I am in love with these sandals and although I havent worn them yet (only bought them yesterday) I plan to live in these bad boys throughout summer.  They are so bright and vibrant and I cant wait to wear them with my orange dress from Cotton On, actually I cant wait to wear them with everything!  The long silver t- bar on them makes them really dressy and for just $59.99 they are a great affordable staple for your summer wardrobe.
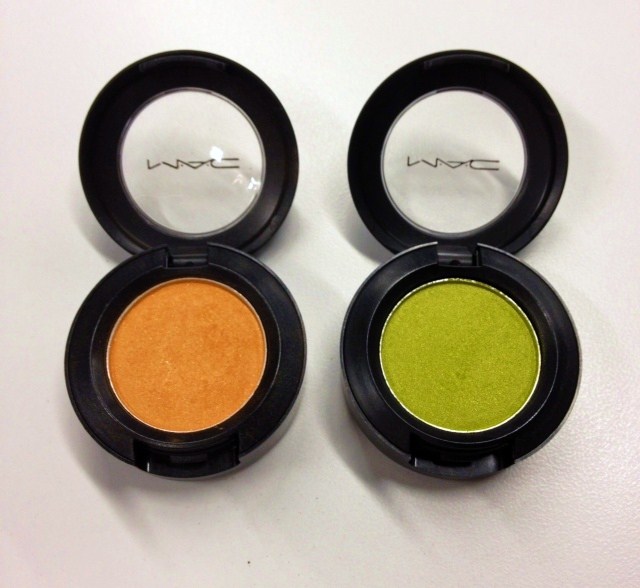
MAC bright eye shadow colours

My key picks HAD to feature MAC (slightly obsessed).  Another great way to incorporate a vibrant pop of colour into an outfit is with make-up.  Using a wet eye-liner brush I would apply this as a liner on my eyelid just as you would a liquid eyeliner pen.  These colours are incredibly neon in real life and are just beautiful.  The colours are Fab & Flashy (orange) and Eye Popping (green).  They retail in-store for around $35 (or you can check out strawberry net to see if they have these colours, and if they do, you will be able to get them for about $25).

Would love to hear what your key picks are for a Neon/Eye-Poppin Brights wardrobe so leave me a comment or flick me an email. xo

Beauty/Make-up Related Products Im Loving Right Now……

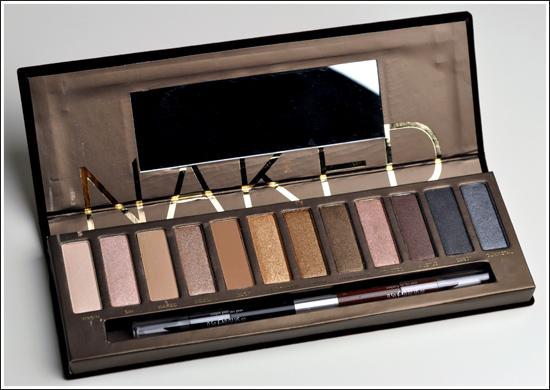
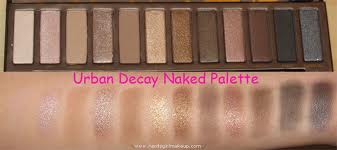
URBAN DECAY NAKED PALETTE
I’ve actually gone back to using my Urban Decay Make-up Palette, so I’m calling this my ‘new obsession’ even though its something Ive been luv’n for years!  Rather than lugging around a million different eye-shadows, this bad boy does it all! (pity the NAKED 2 palette isn’t as good as the original).


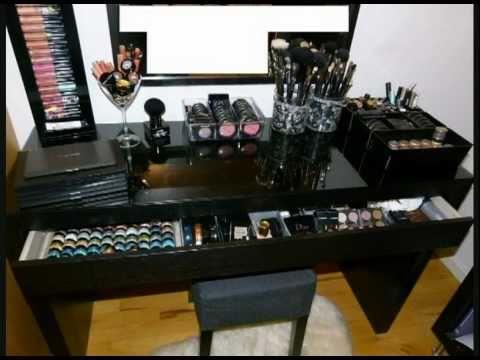
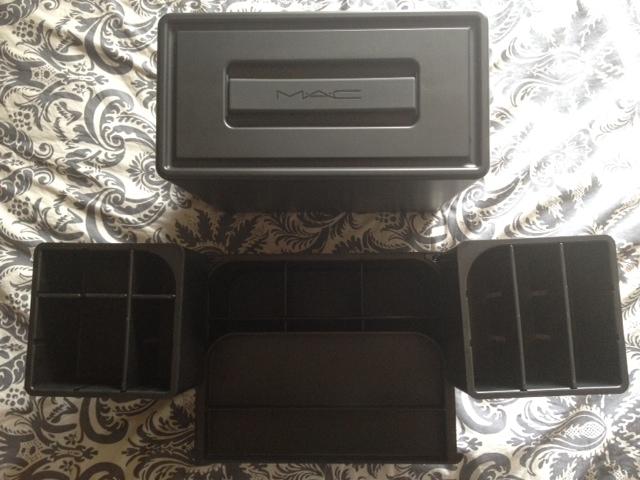
MAC MAKEUP ARTISTRY STORAGE CASE
My new MAC Make-up Artistry Travel/Storage Case.  I am the luckiest girl ever as the boy got me my latest MAC obsession after watching me drool over this the last few times that we’ve visited the pro store in Britomart.


Bobbi Brown
– Shimmer Brick in Brownie – DEVINE!  Must get the ROSE palette!

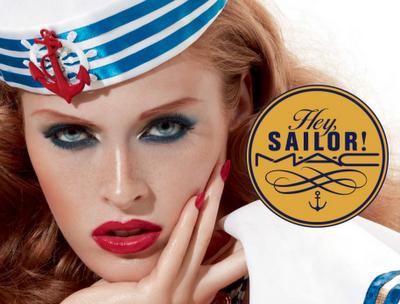
MAC Hey Sailor!
The pieces I recently got from the new MAC Hey Sailor! Range – luv luv luv!


Rapid Lash
.
This serum works so well that I’ve had a number of people ask how I manage to have such long lashes or, dare I say it, if I have had lash extensions (UGH! Not a fan of how extensions look and they aren’t real ya know – those suckers just fall off after a few weeks).  I LURVE Rapid Lash!
Revlon
Revlon Grow Luscious Mascara – big fav at the moment

Sigma Beauty
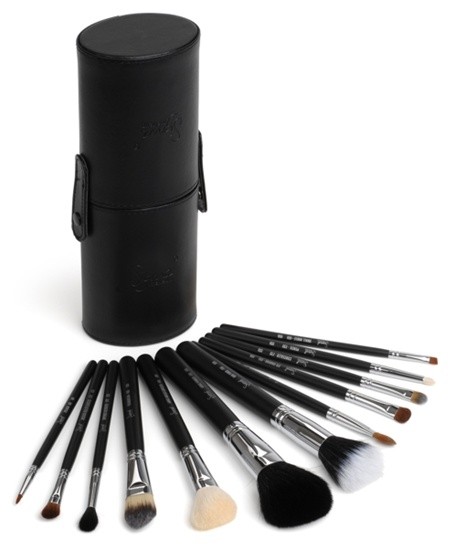
Sigma Make-up brushes.  Although I do also use and love  MAC brushes, Sigma brushes really are just as good and in some cases, might even be just a bit better.  The one I ordered comes in an awesome leather travel case to ensure your brushes aren’t damaged and it opens into 2 brush holders.  Handy Dandy!!


Until the next ‘things Im lovin right now’ update…………………..


Hair Chalking

HAIR CHALKING
The How To……..
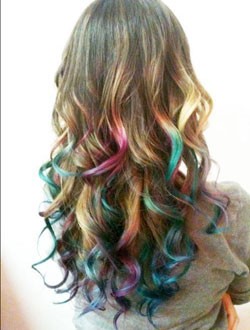
Ange why does it look like you’ve dipped the ends of your hair in a rainbow?  How did you get the hair dye out so easily?  How did you get it back again a couple of days later and manage to swap the colours out so quickly? Why are you referring to yourself in the third person (ok, that last question was me talking to myself). I digress……….

Colour streaked or tip-dyed hair is definitely a fun way to express your ‘colourful’ personality, however this is not always appropriate for work, especially when you are involved in the more ‘corporate’ type meetings as this look may not be viewed as appropriate in the workplace and that’s why hair chalking is such a great option – it’s not permanent! Here’s a step by tutorial on how to achieve the look seen in the above pic.

Now before I get started I would like to state that I absolutely do not claim to have invented hair chalking, in fact, it has been around for quite some time, but lately seems to have had somewhat of a resurgence.  This is simply a ‘share the love’ tutorial on how I created my rainbow dipped hair.

Items you will need:

  • Soft pastel chalk (this is fairly inexpensive and personally the best priced soft pastel chalk that I’ve come across is at Jeff’s Emporium)
  • An old shirt (one you don’t mind getting messy)
  • Rubber gloves
  • A spray bottle (also very inexpensive at Jeff’s emporium) filled with water
  • Straighteners or curling iron

Steps

  1. Make sure you are wearing an old shirt as it is inevitable it will end up with some chalk on it
  2. Take a small section of hair and spray with water (if you have blonde hair, you probably shouldn’t wet your hair as the water is there to increase the colour pay-out which is something needed for those with brunette hair).  This is the section that you will colour.  Say around 1 inch and this can be fully streaked or just wet the tip if you want the ‘dip-dyed’ look.  Have fun, be creative, this doesn’t have to be perfect.
  3. Colour/rub on the hair with the pastel you’ve chosen (those with blonde hair – you are lucky, you can pretty much go with any colour.  Brunettes – for best colour pay-out I would go with red, pink, green and blue). You want to twist the hair as you apply as this will release the colour pigment.
  4. Wait for the hair to dry (or if you’re impatient like me, have a hair dryer at the ready).
  5. Once the hair is dry, go over the coloured pieces with straighteners or a curling iron (This helps to lock in the colour).

Tips and Tricks

  • Do not use oil pastels. Oil pastels will be incredibly hard to remove.
  • Note that the colour can rub off on your clothes during the day (rain is not our friend) so it does pay to wear dark clothing or a top that is a similar colour to your chosen chalk.
  • When you want to remove the colour, brush your hair before shampooing. This will eradicate most of the chalk.
  • I like to use hair spray to further lock in the chalking (this helps it adhere which means less chance of getting any colour on your clothes)
  • Choose a deep nourishing or moisturizing shampoo as this will help to replenish the moisture than chalking tends to absorb.

This is all about having fun, don’t stress about making it perfect – just brighten your day by brightening your hair!