Tag

nail polish Archives - Page 2 of 2 - Gurlinterrupted

Caviar & Velvet On My Nails Please…

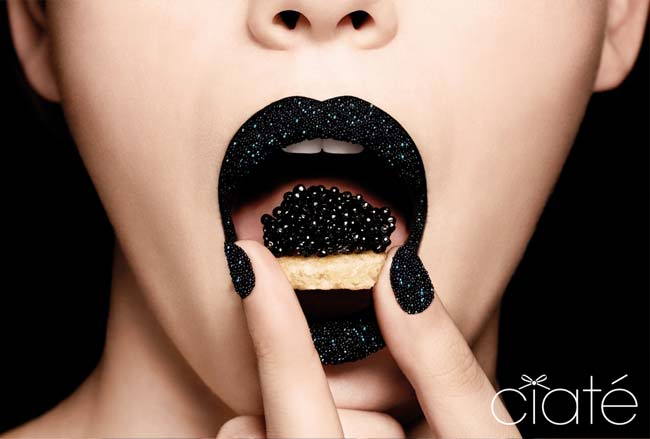
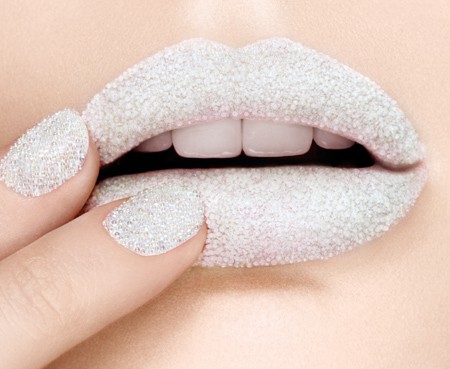
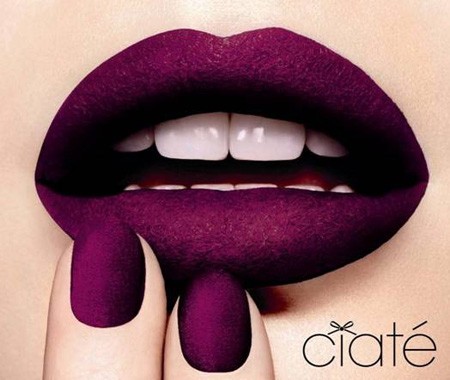
Textured nails are in hot demand and Caviar & Velvet mani’s are leading the way for this textured trend.

Basically what it involves is painting your nails with polish and then applying hundreds of tiny microbeads on top of each nail, making it appear as though they are decorated with caviar, or ‘hundreds & thousands’ if you go for the multi coloured look. For the ‘velvet mani’ – same process, paint nails and then apply a velvet dust, giving you a rich, matte, velvety nail.

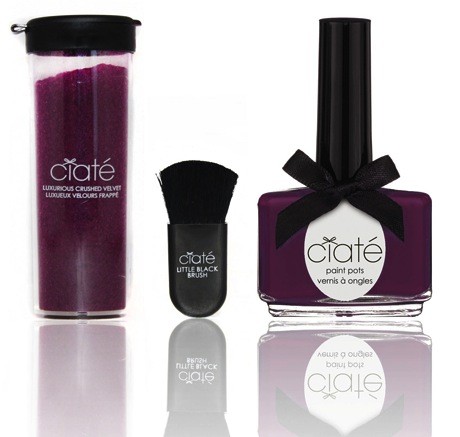
UK Based Ciaté have made these nail looks easy & achievable with their ‘Caviar and Velvet Nail Kits’ so that you can DIY to your heart’s content.  On my hit list is the beautiful Caviar kit in Mother of Pearl.

The Velvet Kit:  The finished effect is unlike any other, giving an indulgent velvety coat to your manicure. Simply divine! Kit contains: 1 Paint Pot, 1 pot of luxurious crushed velvet powder and 1 little black brush.

The Caviar Kit: The finished effect gives nails an instant rich & sophisticated look. Kit contains: 1 pot of Caviar Beads, 1 Paint Pot.

For an easy ‘How To’ tutorial click here: http://www.ciate.co.uk/caviar-manicure-how-to-apply

Ange x
A Girl Interrupted By Fashion, Beauty & Anything Pretty That Catches My Eye

Want to be kept up to date on all the latest and greatest? Follow my blog by entering your email address on my homepage under “Stay Tuned, Follow My Blog”. xx

 

Nail Art – How To Paint Nail Designs Perfectly On Both Hands!! (you don’t need to be ambidextrous)…

ImageSource: ChelleOnPinterest

Ever wanted to paint pretty designs on your nails but found that it was impossible to DIY because you have one dominant hand that’s brilliant at drawing designs and the other hand that’s, well, not so much? Here’s a solution!  Prepare your designs before applying to your nails….

You will need:
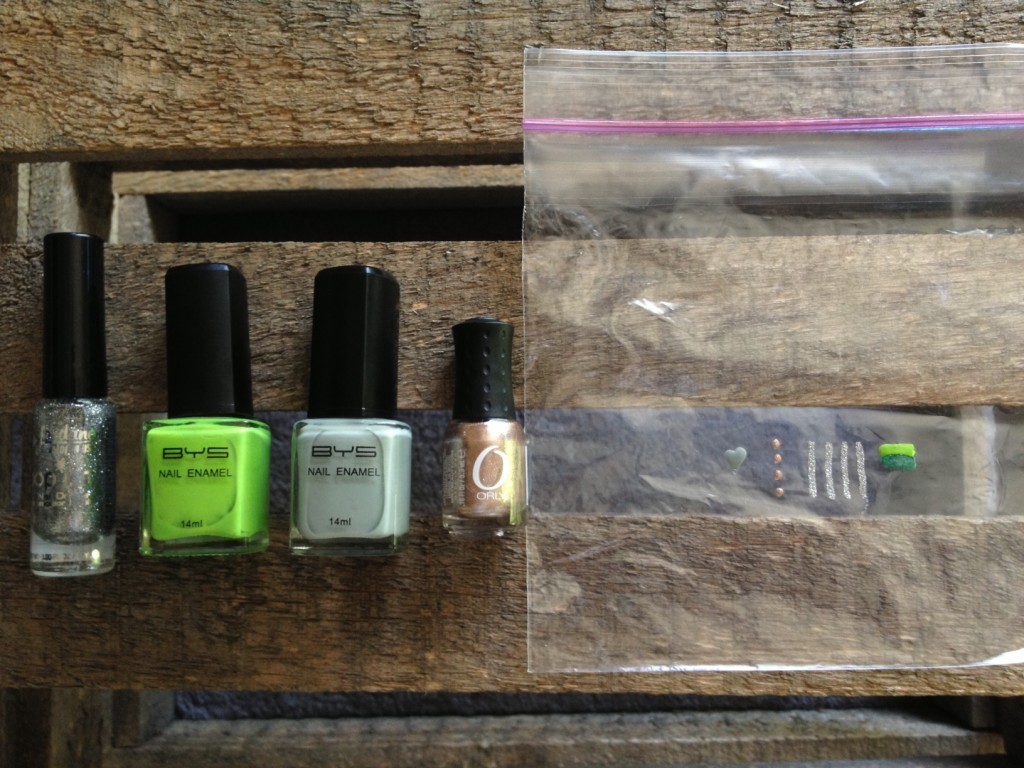
Nail Polish
Ziploc BAg – like a sandwich bag or something similar (not cling wrap as it’s just too flimsy)
Clear Top Coat
A Hairdryer (if you’re impatient)
A Nail File

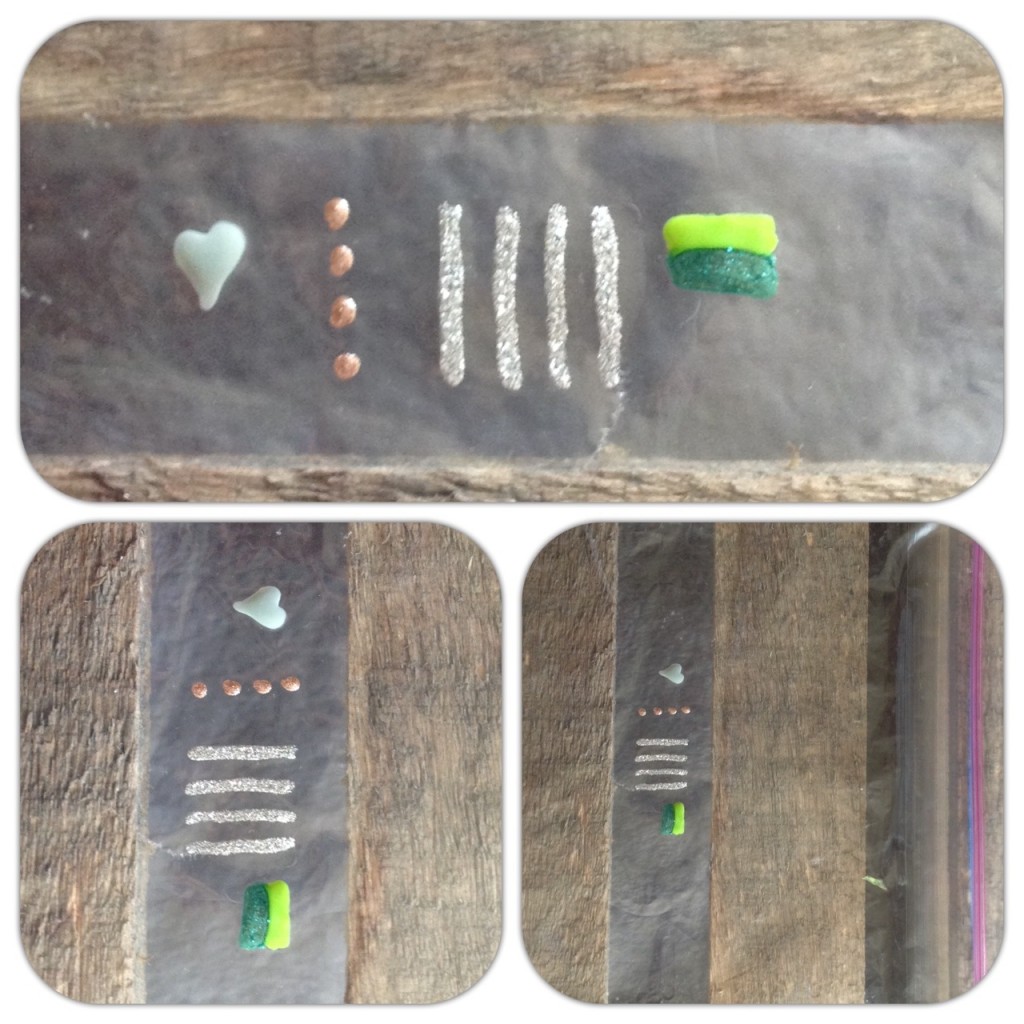
– First, paint your designs onto a Ziploc bag (as I’ve done in the below pics).  You will need to do fairly thick
coats and probably around 2 coats in total.
– Allow each coat to fully dry before applying the next coat (this is where you may want to use a hair dryer set
at ‘cool’)
– Apply a base coat to your nails
– Peel your designs off the Ziploc bag and place them on your nails
– Finish with a topcoat and viola – you’re done!

If you find that the design is hanging slightly over the end of your nail, use a nail file to gently file away any stray ends.  Then apply your top coat.

Happy DIY!

Want to be kept up to date on all the latest and greatest? Follow my blog by entering your email address on my homepage under “Stay Tuned, Follow My Blog”. xx
Ange x
A Girl Interrupted By Fashion, Beauty & Anything Pretty That Catches My Eye

If Nothing Ever Changed, There’d Be No Butterflies

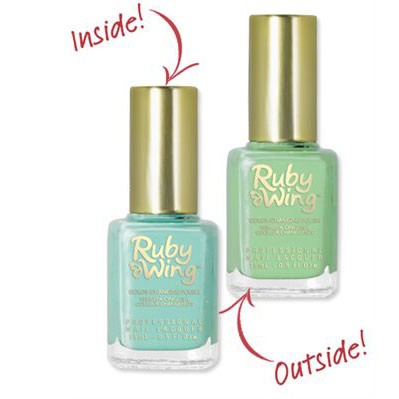
You’re a free-spirited girl. You appreciate a great music festival as much as a hike in the woods. You embrace the notion of creating waves, but you’d rather be riding them. You love the beach even though your life doesn’t always feel like a day at one. You celebrate life and all it has to offer, and you change your mind all the time, just because you can. Well, I’ve found the nail polish to match your free spirit: RUBY WING COLOUR CHANGING POLISH – Transforming the way you view colour!

Each Ruby Wing nail polish transforms in direct sunlight for a total of 36 possible shades! No special light needed – just the sun!  It’s solar changing baby!!

Check out a few of Ruby Wing’s colour combos here:

[imagebrowser id=1]

Available at AmazonSurf.   RRP$24.95
Wanna stay in the loop? Follow me by entering your email on my homepage under “Stay Tuned, Follow My Blog” and I’ll send you notification emails that make you smile!

Ange x
A Girl Interrupted by Fashion, Beauty & Anything Pretty That Catches My Eye