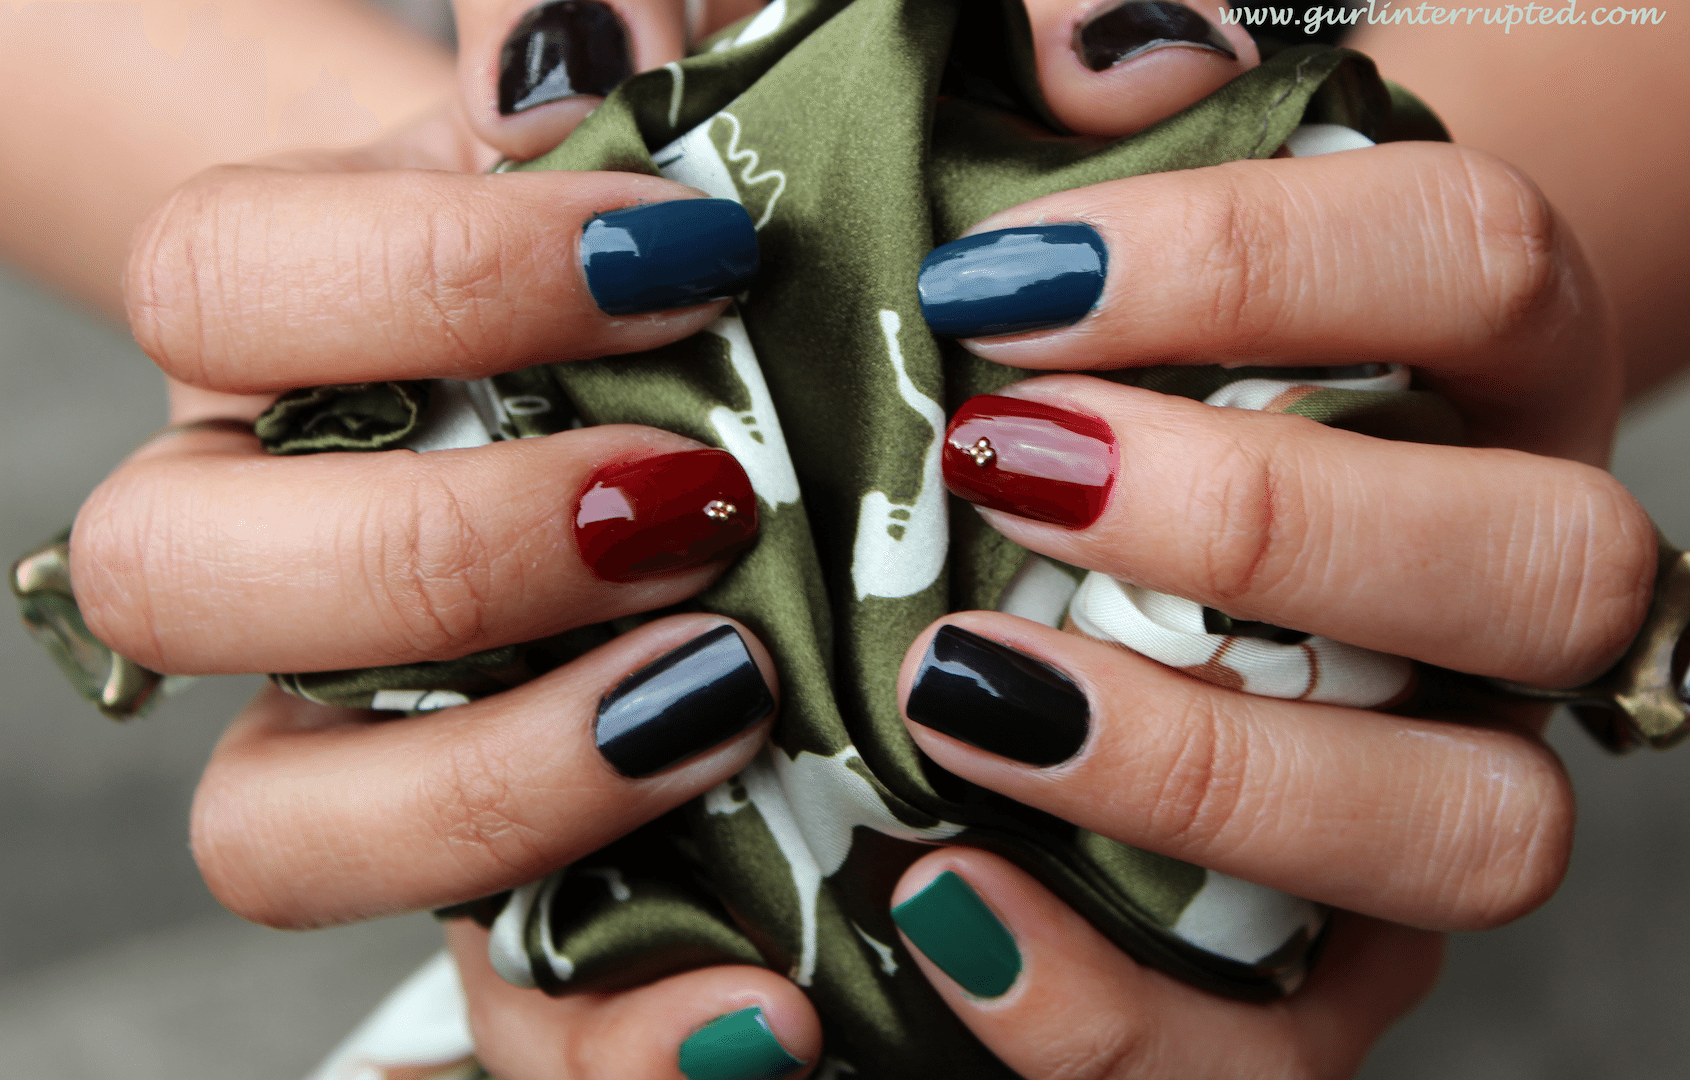
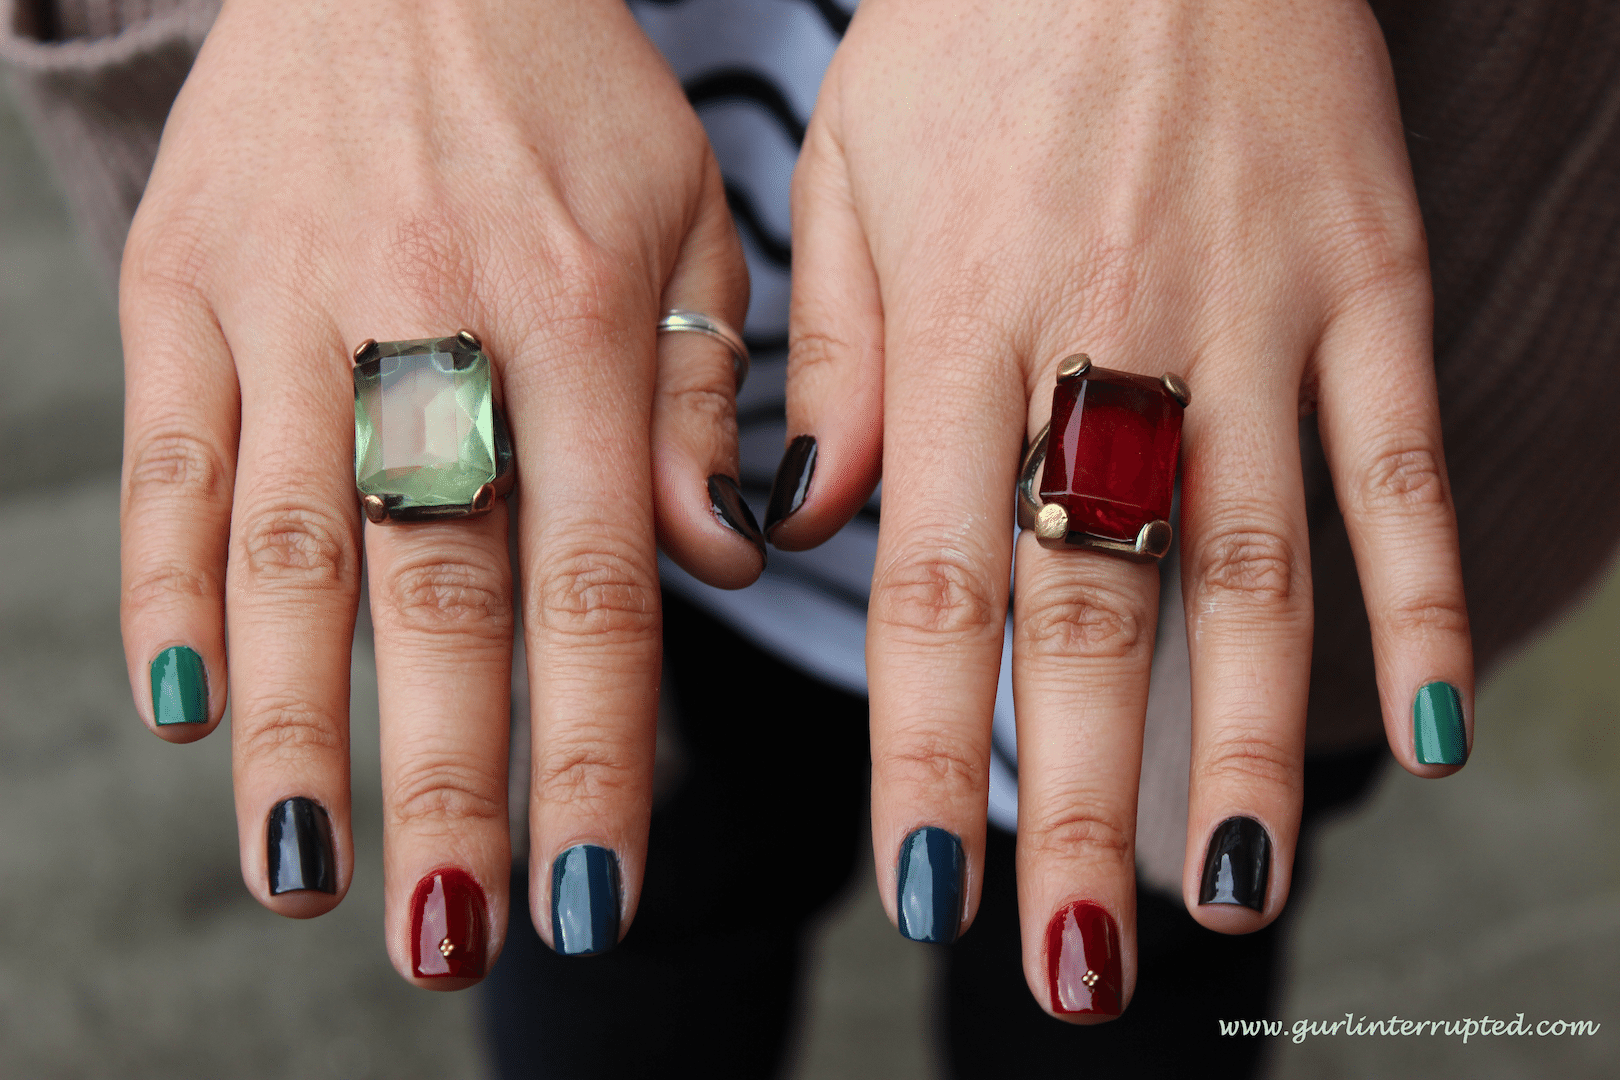
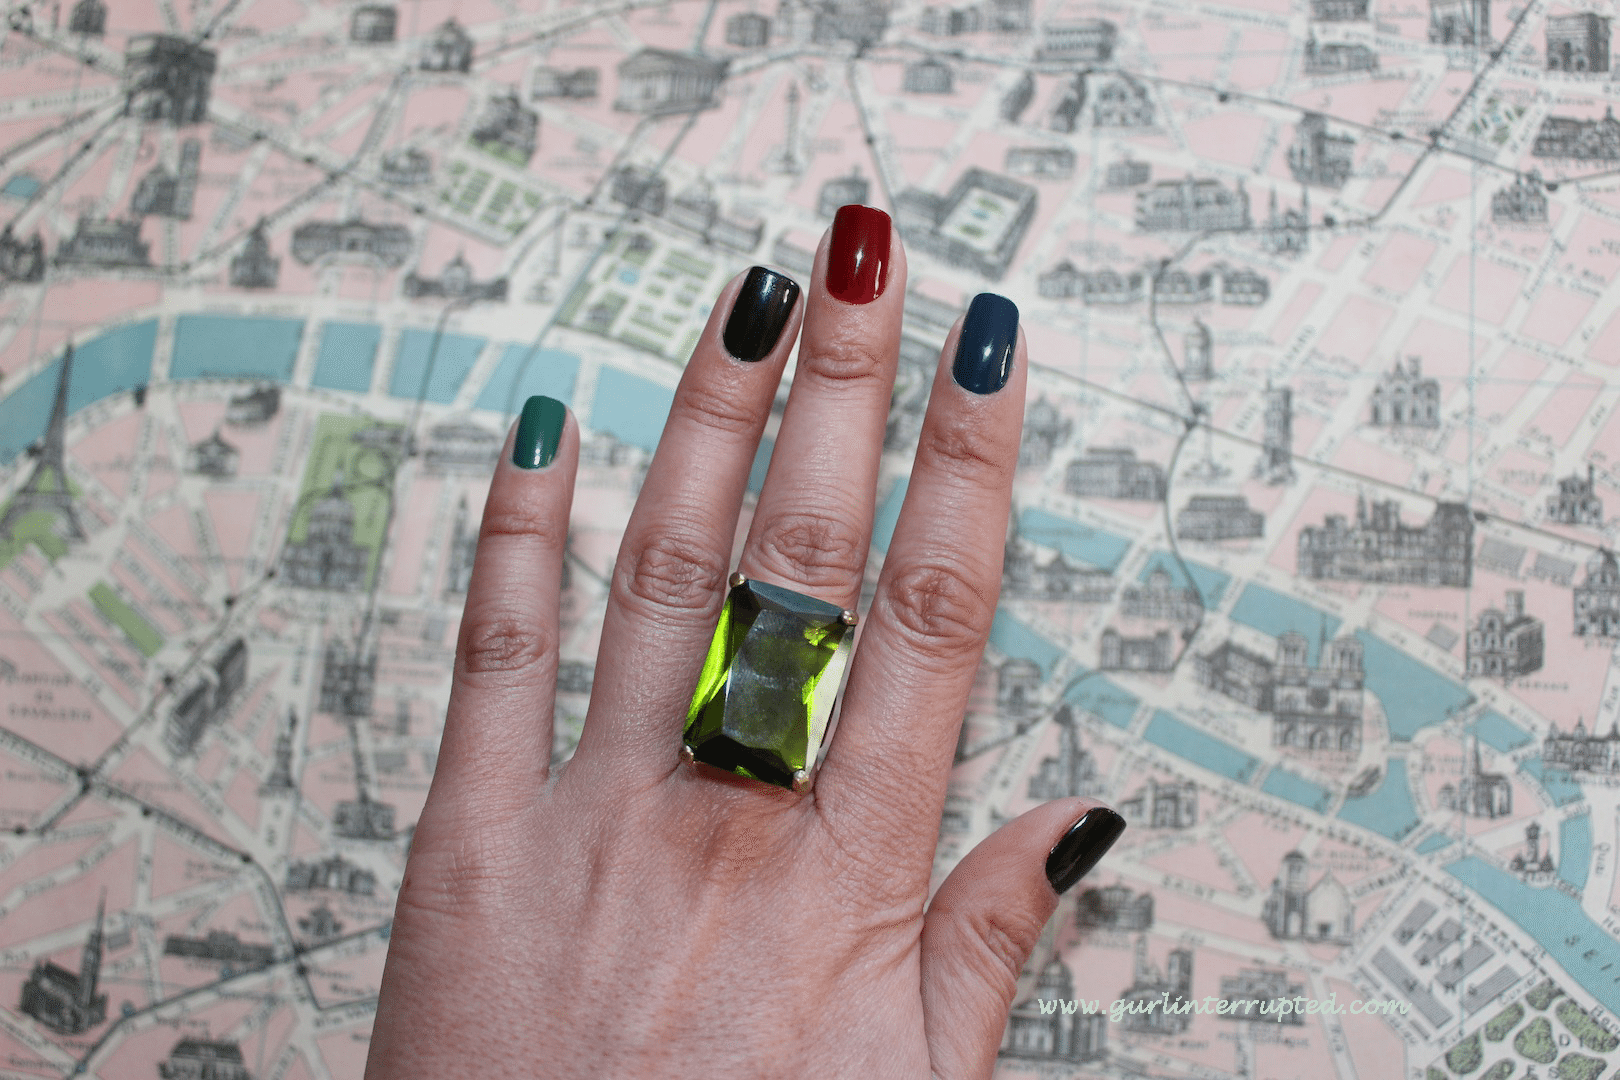
After seeing a fellow US Blogger’s jewel mani and inspired by the darker hues of winter fashion, plus rekindling my love of costume jewellery with large chunky gems, I wanted to create a jewel-inspired manicure to incorporate these lovely jewel tones; and so I’ve created this picture tutorial aptly named – Bejewelled Nails (and jewel tones manicure).
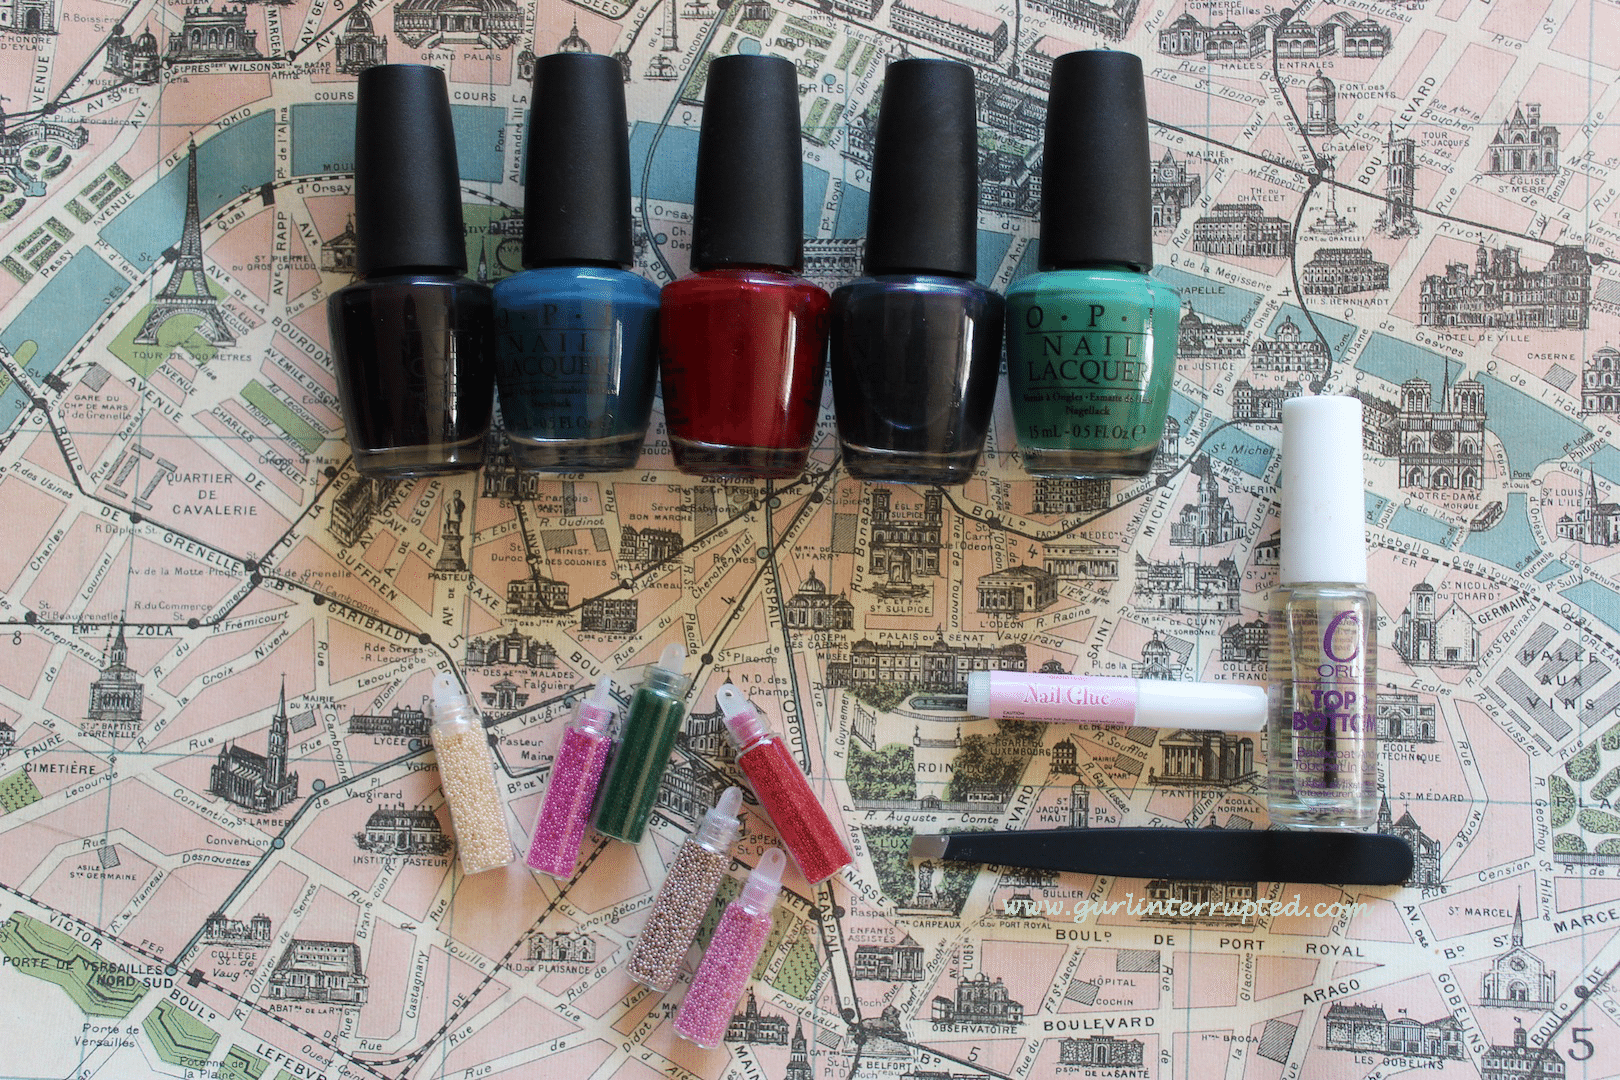
 Here’s what you’ll need…
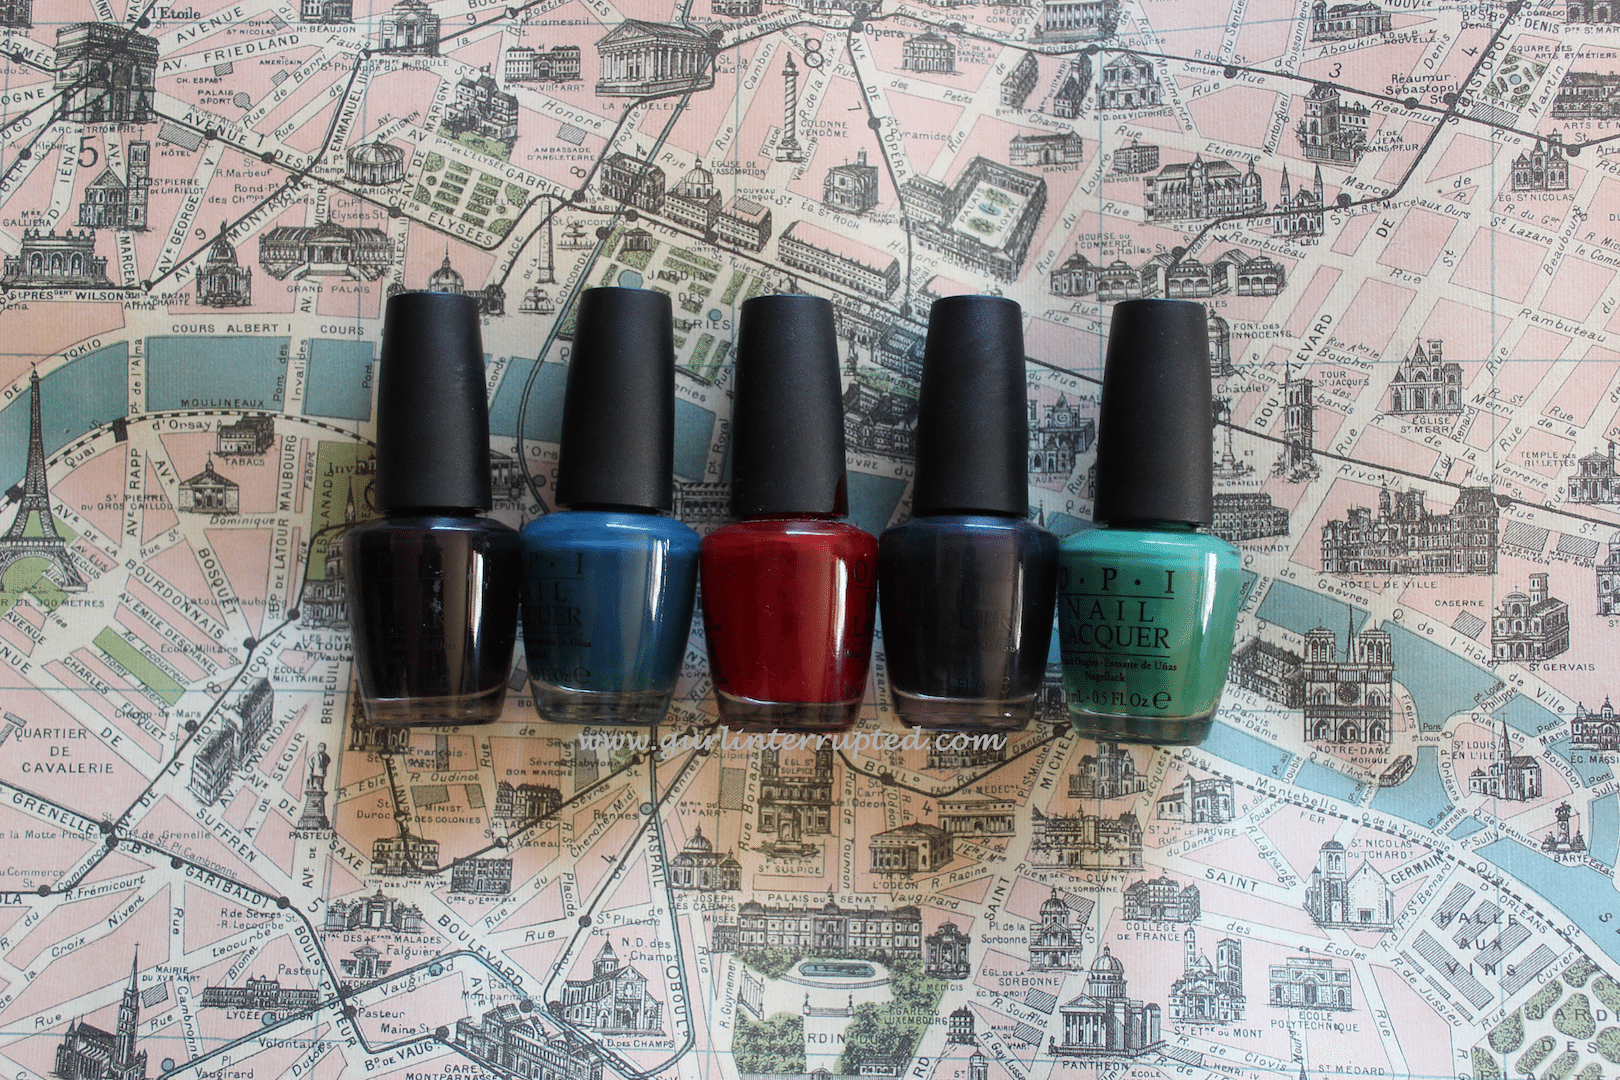
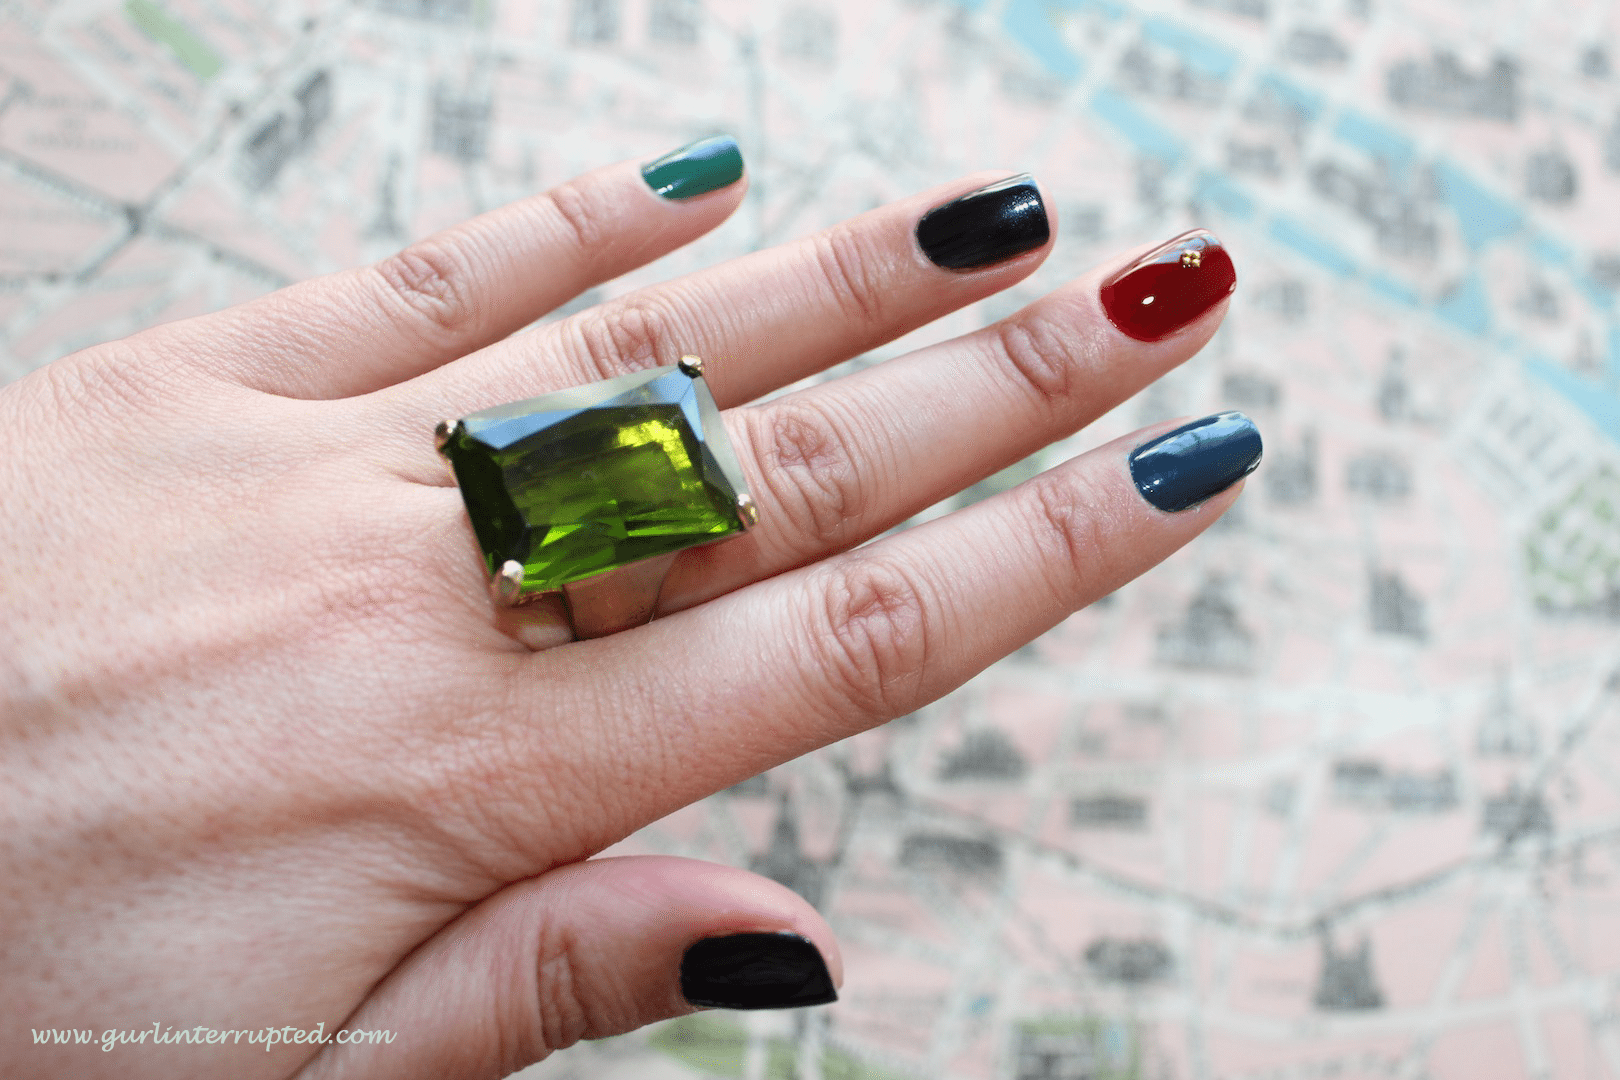
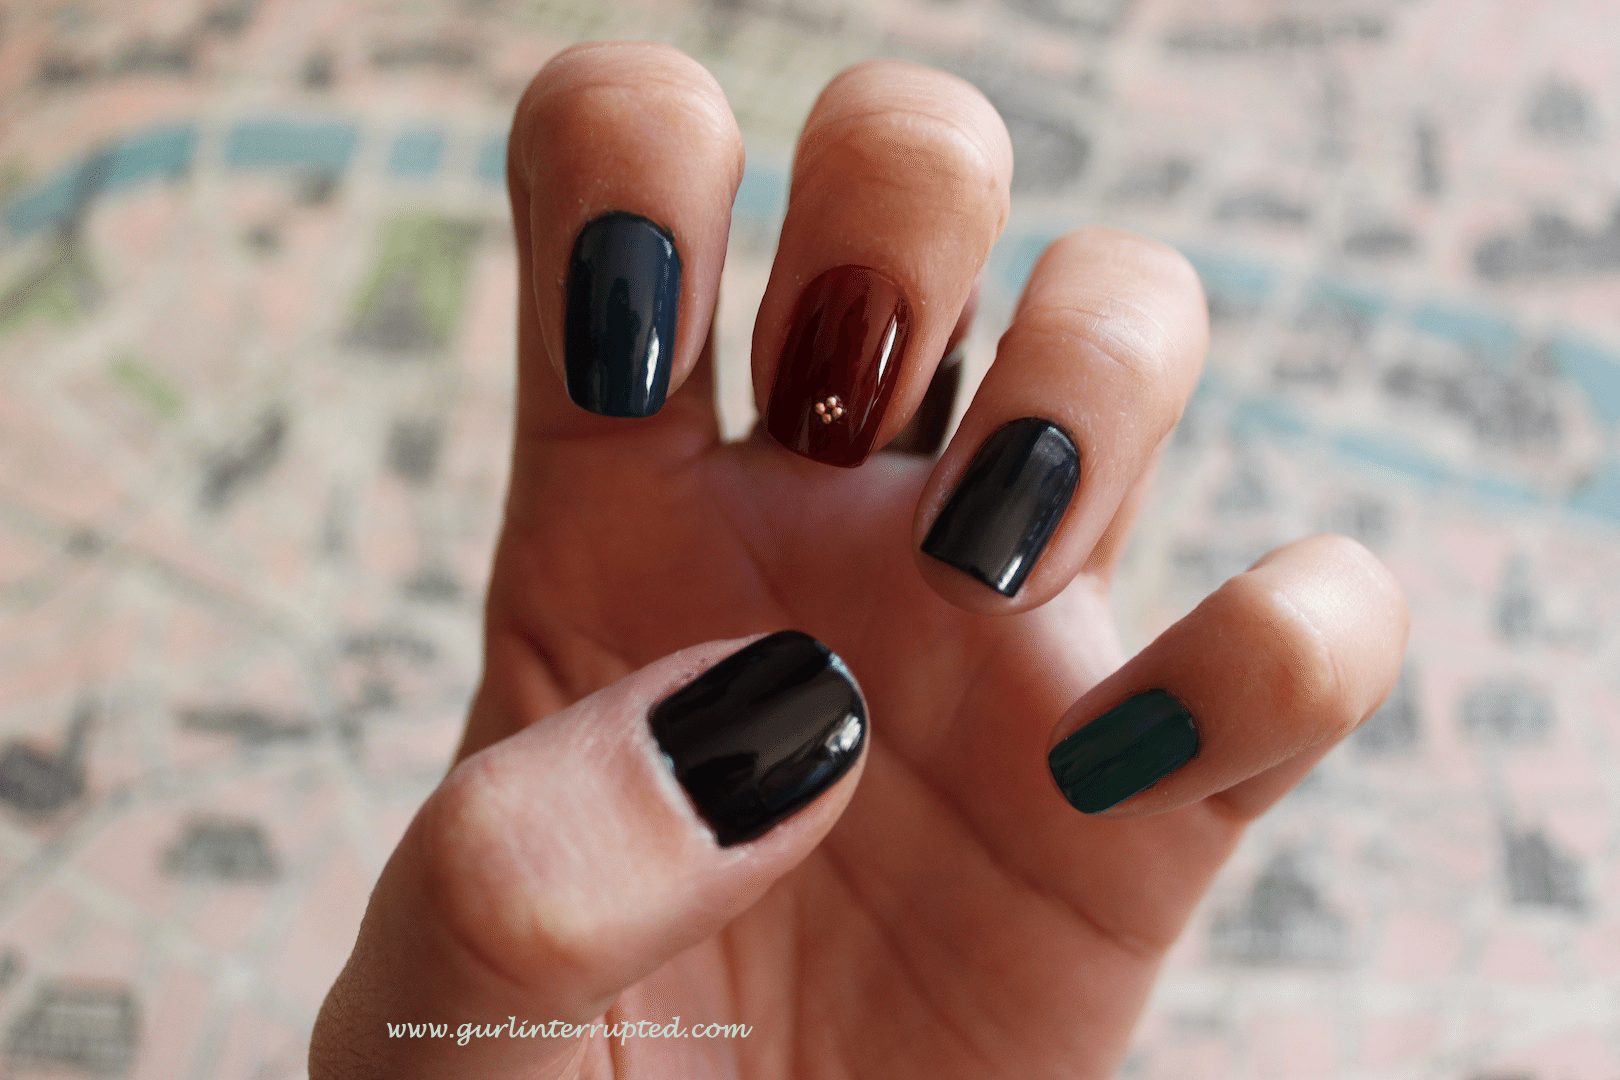
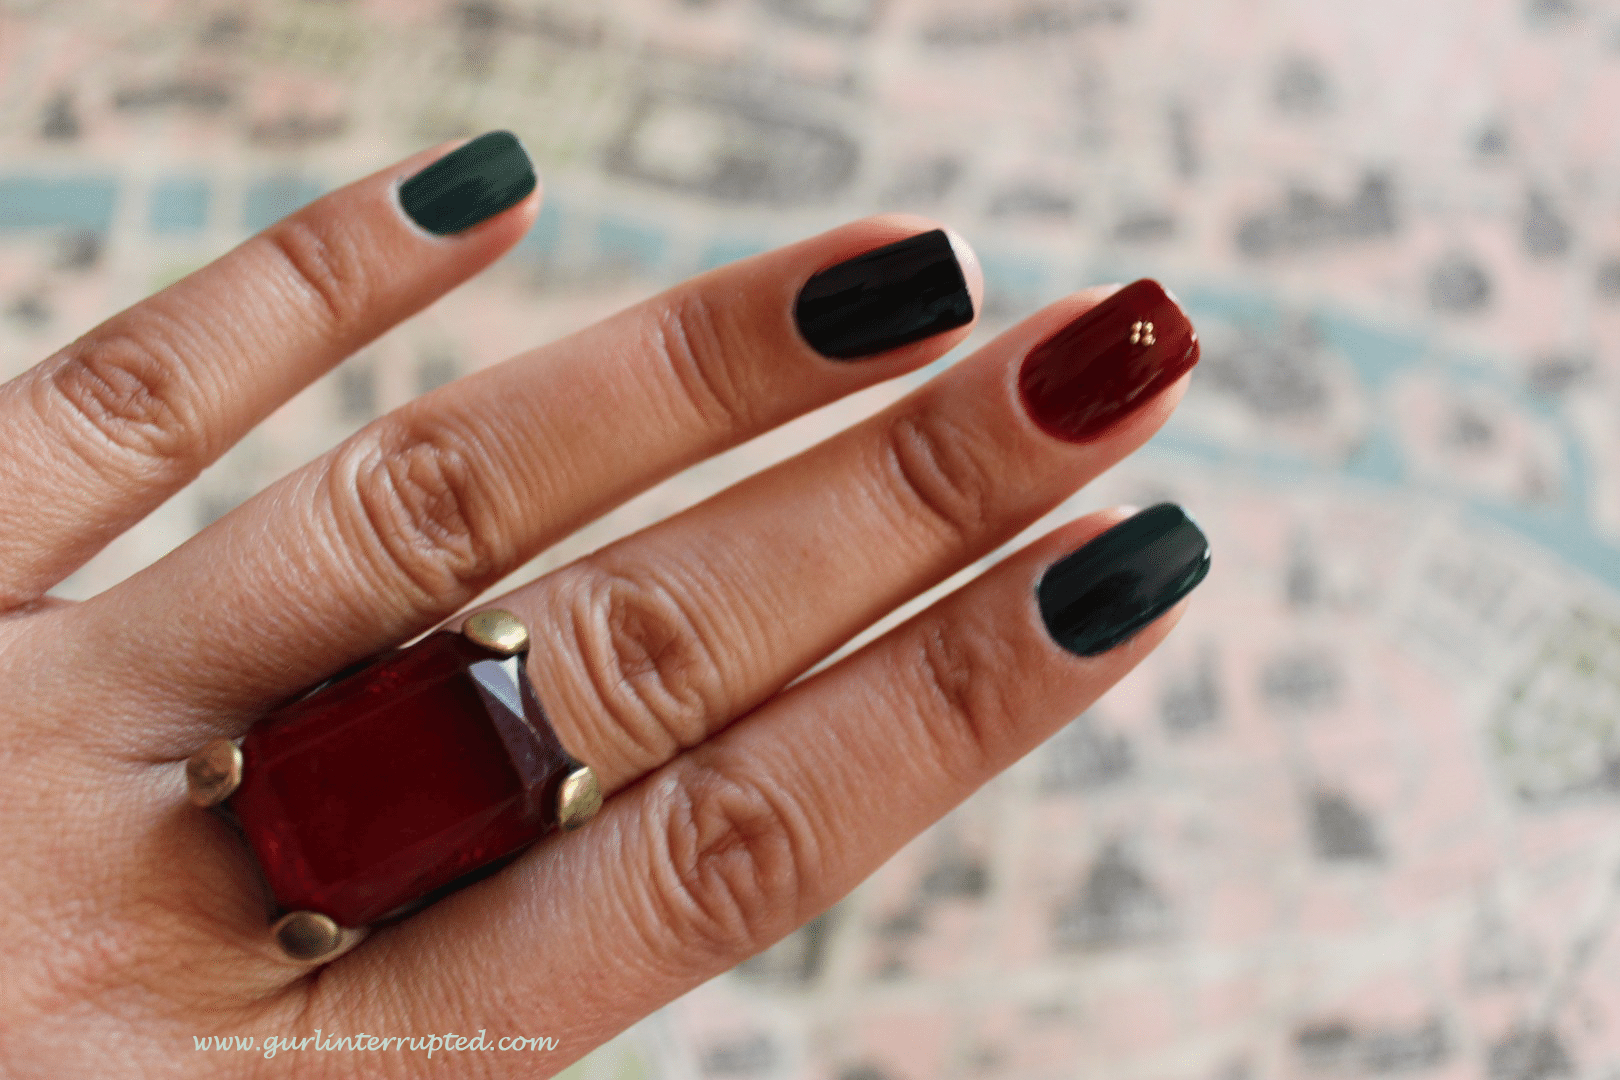
- Jewel Toned Nail Varnishes – I’ve used: OPI Lincoln Park After Dark (wine), OPI Ski Teal We Drop (Teal Blue), OPI Got The Blues For Red (red), OPI Light My Sapphire (dark blue), OPI Jade Is The New Black (green). Obviously you can use whichever colours you have to recreate this look, it doesn’t need to be these exact nail polishes, this is just what I opted to use
- A base and top coat
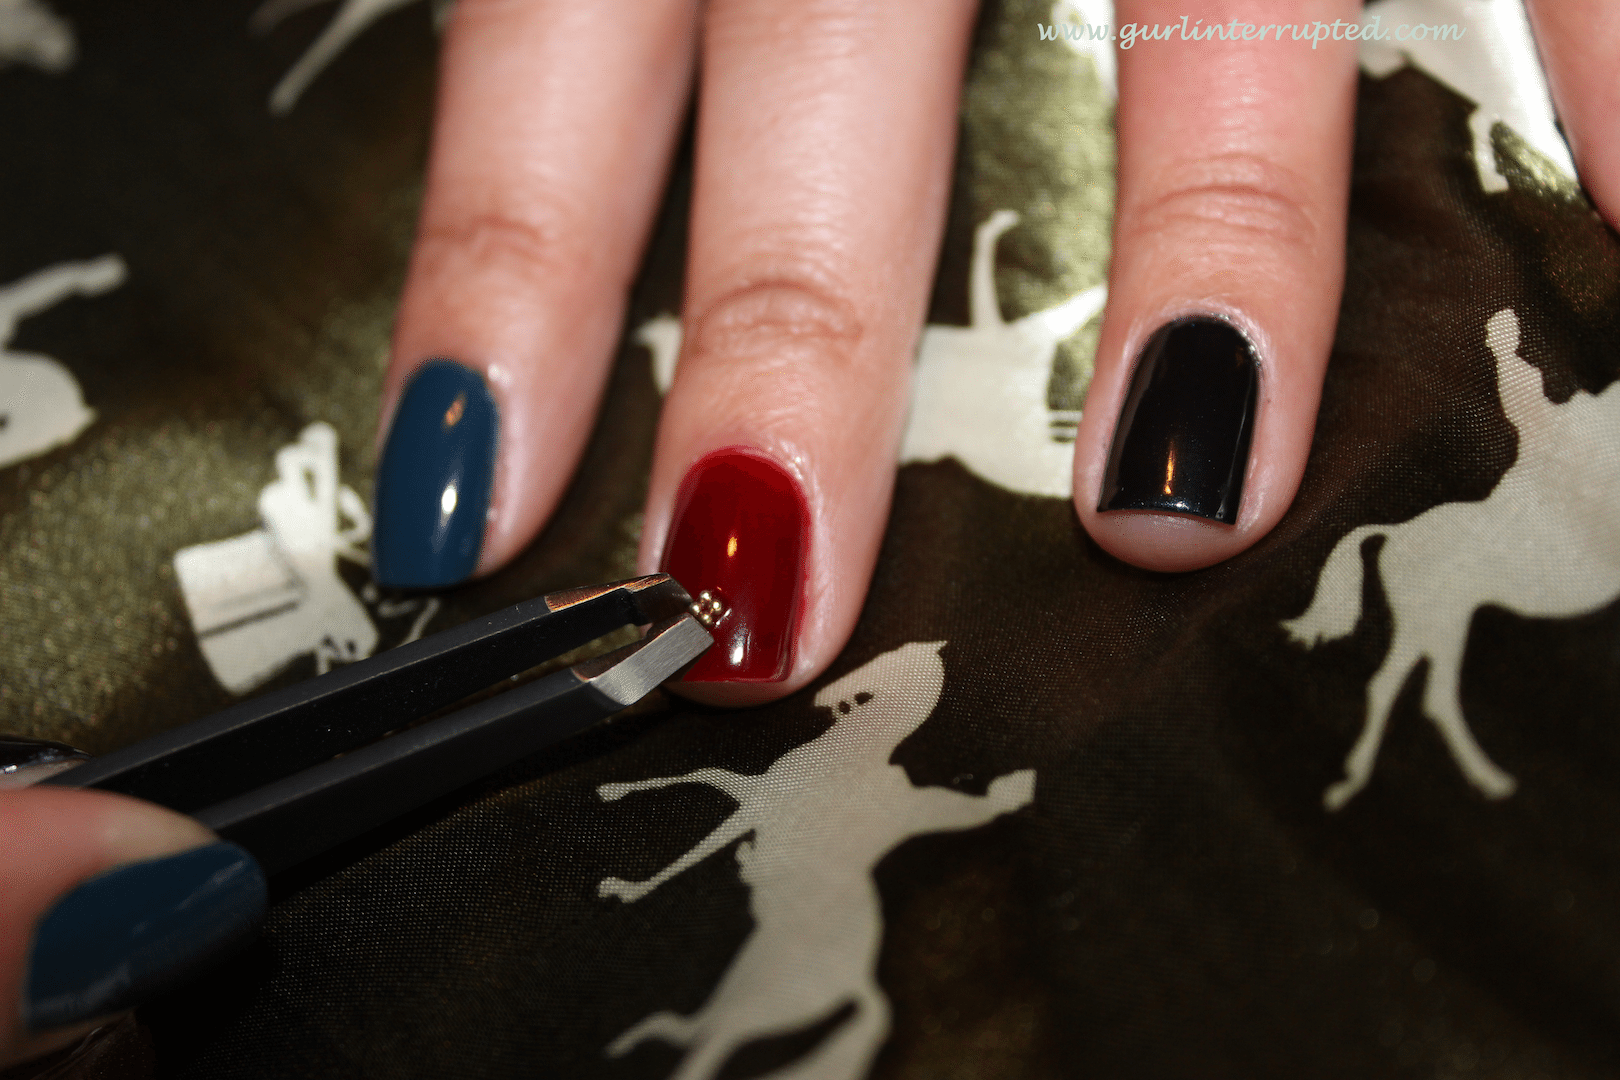
- Tweezers
- Nail glue (optional)
- Nail art gems or beads
Line up your colours so you remember the order (should you wish to have the colours coordinating of course)…
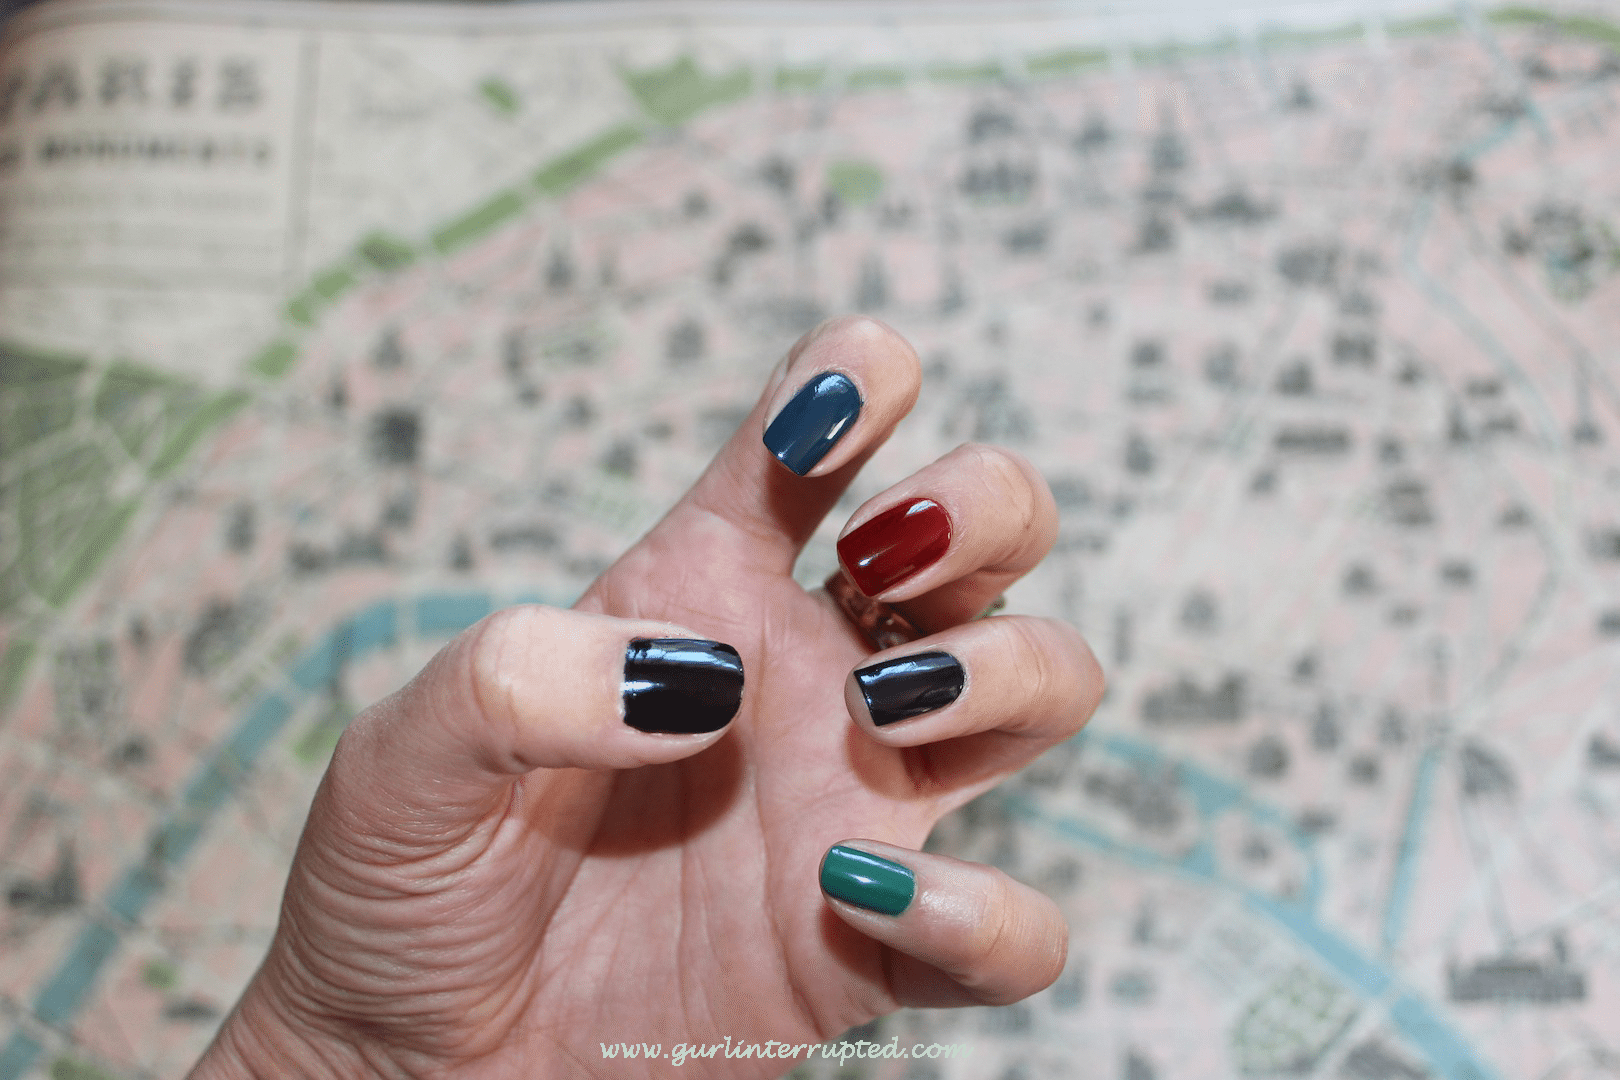
Apply your basecoat. Once your basecoat is dry, apply your nail colour (I’ve done 3 coats of each colour).
Once you’ve completed your coats of colour, it’s time to attach the jewels. You should do this while your nail polish is slightly tacky (but not wet). Choose your gems of choice and apply some nail glue (if you choose to – it could just adhere to the sticky nail polish before it dries) and carefully place your jewel onto your nail(s). I’ve opted to just adhere my gold nail art to one finger on each hand, but you could do as much or as little as you wish.
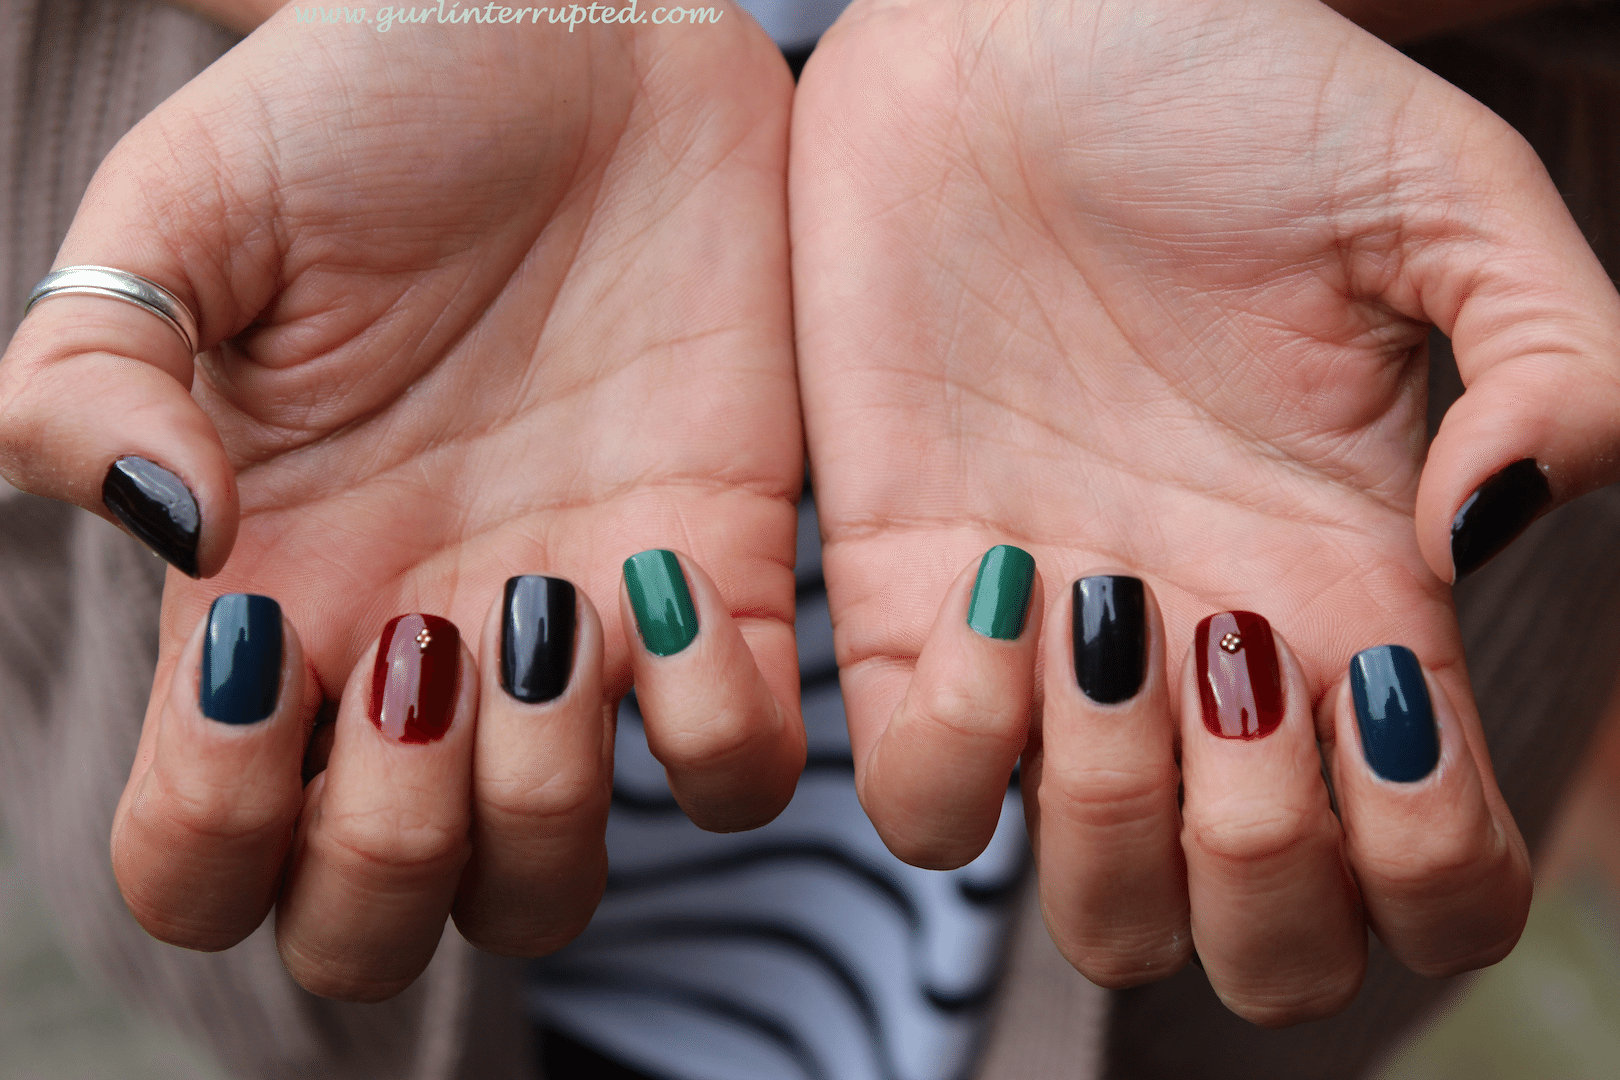
Once your decoration (gem) is in place, apply a thick topcoat to secure your decoration of choice to your nail. Tip: Disassembled bindi’s make for great nail art decorations and you can get them from the ‘dollar store’ which is a lot more cost-effective.
VOILA – bejewelled, jewel tones manicure complete!

Ange x
Gurlinterrupted
A Girl Interrupted By Fashion, Beauty & Anything Pretty That Catches My Eye
![]()
![]()
![]()