Inspired by all the floral fashion I’ve been seeing on the runway lately, I wanted to create a floral nail art manicure. I love bright floral on a dark background, so I looked to the 60’s mod era when choosing my flower colour palette to compliment the dark base. This is my new favourite nail art. Ok, each time I create a new nail art design – it’s ‘my favourite’, but I really am loving this ‘flower accent’ design, and hopefully you’ll love this look too.

It’s actually really easy to create, and I’ve not used any ‘professional nail tools’, just simply what I had available to me around the house.
Here’s what you will need…
- Base coat (you don’t want to stain your nails so I don’t recommend skipping this first step)
- A dark base – I used a black nail lacquer (charcoal or deep blue would also work)
- 3-4 nail polish colours (for your flower accent)
- A toothpick and/or fine tipped brush. I used an old makeup brush (liquid liner brush) that I don’t use anymore and actually trimmed it down even further for a super-fine tip
The colours I used:
- Black, Green, Pink, White (Yellow would also be a great addition to this colour palette)
STEP 1
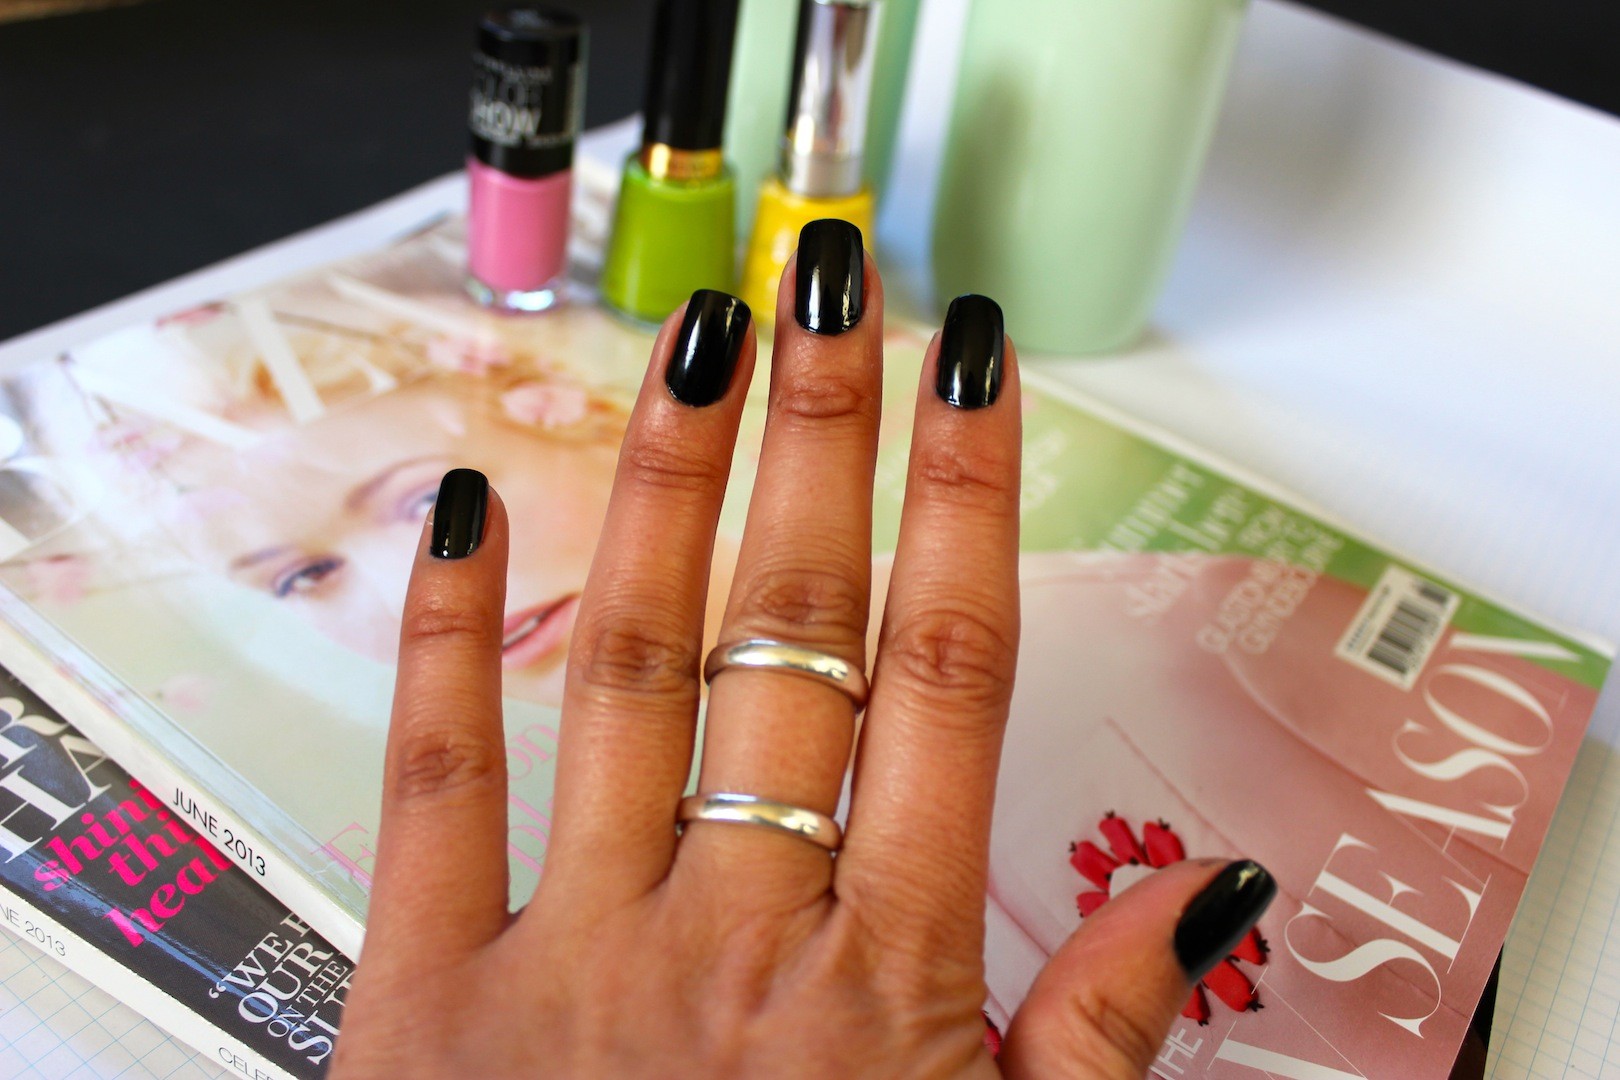
Begin by applying a base coat. Once your base coat is dry, apply two coats of your base colour and let dry.
 STEP 2
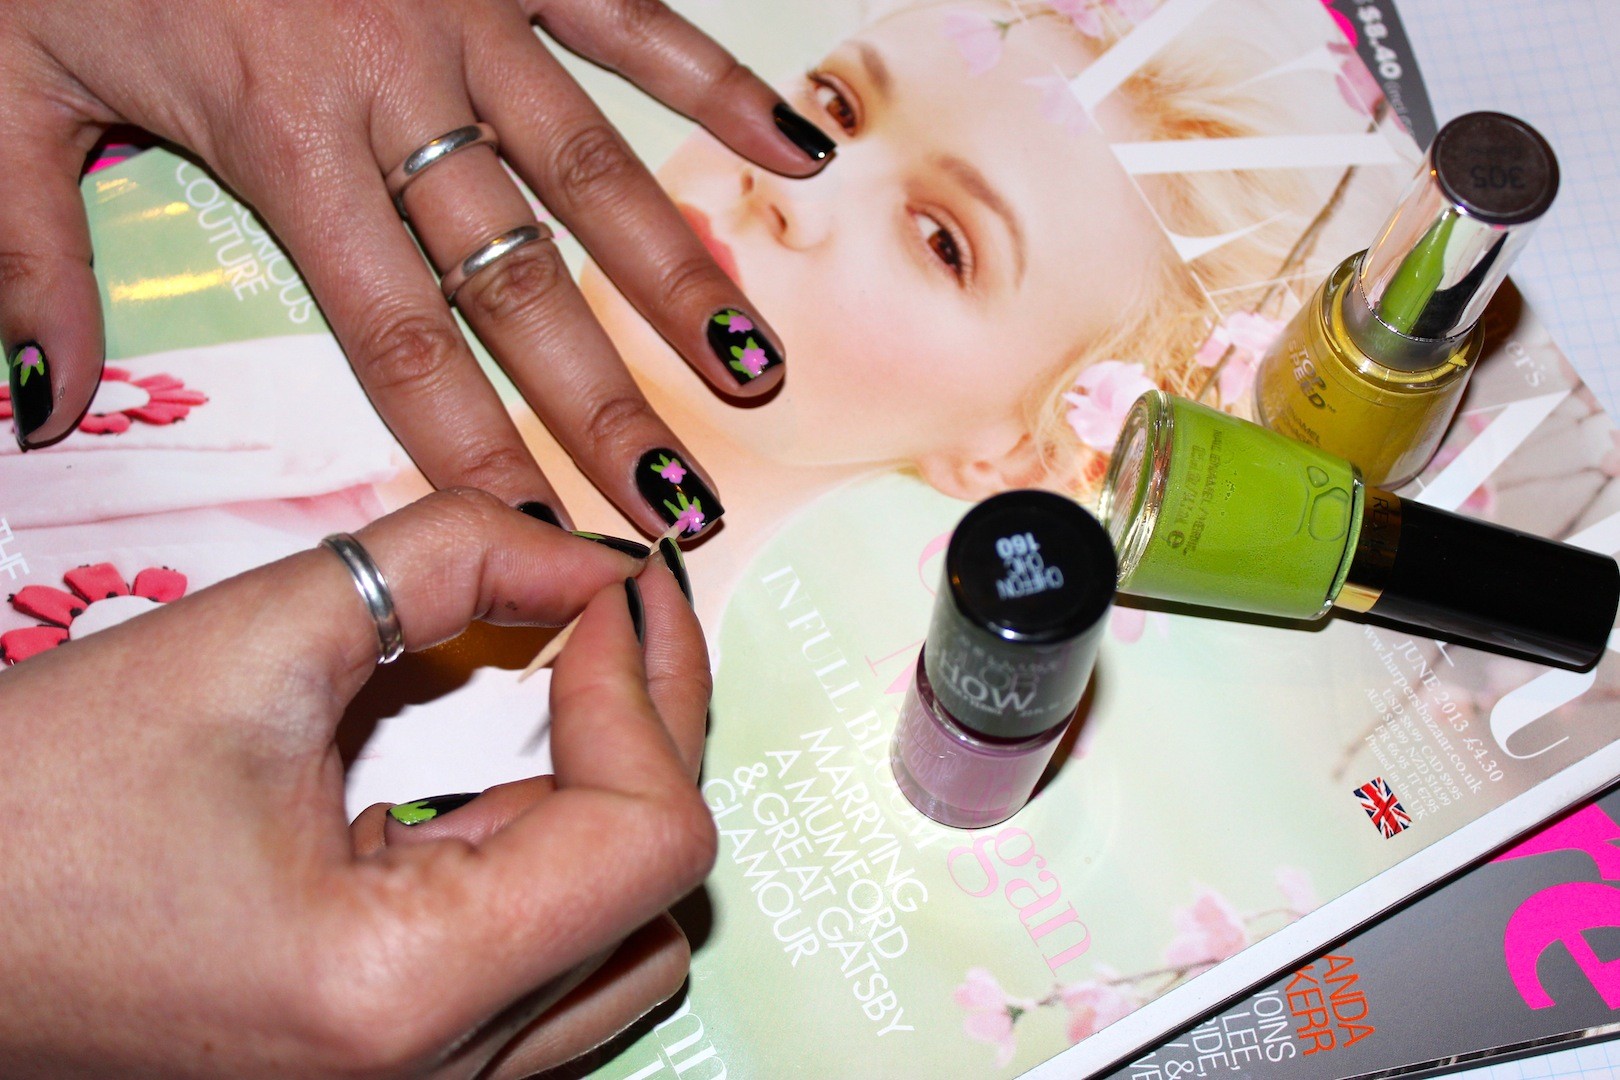
Take your fine nail art brush, paint brush, or tooth pick, and pick up some green polish. Carefully apply what will become your leaves to your thumbs, ring fingers and middles fingers. This looks more difficult than it is – you simply ‘dot’ or ‘dab’ bits of green, in a two or three-way pattern, which in the end will look like leaves – don’t worry if you mess up a little, it doesn’t have to be perfect. Let dry.

STEP 3
Now pick up some of your pink polish (or whatever colour you’re using for your flowers) on your brush or toothpick. With your pink, simply create your petals by layering 3-5 small dots on top of your green leaves. Again, don’t fret if you mess up, so long as your green is showing beneath your pink, you’ll still achieve a floral look.
 STEP 4
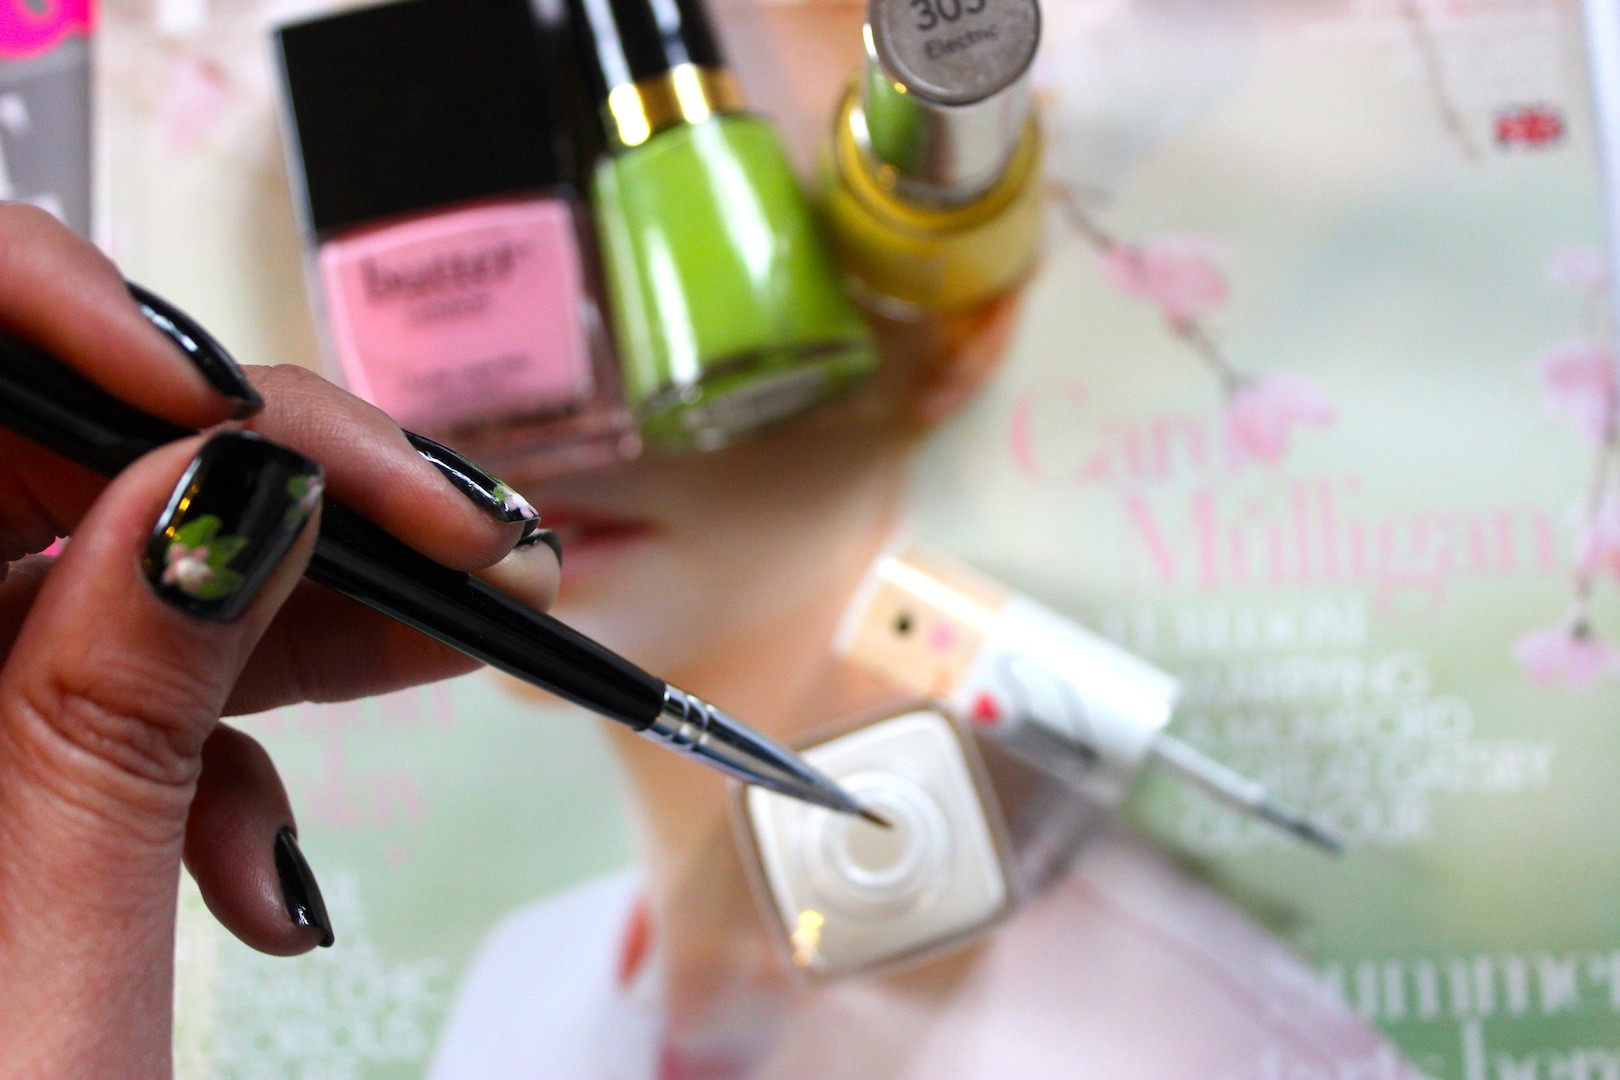
Grab your third colour, I chose white, (I think yellow would look great too) and follow the steps above, applying even smaller dots on top of your pink petals to create depth and texture
 STEP 5
Apply your clear top coat. You will see that your top coat smooths and sets your flowers into place, creating a pretty floral pattern.
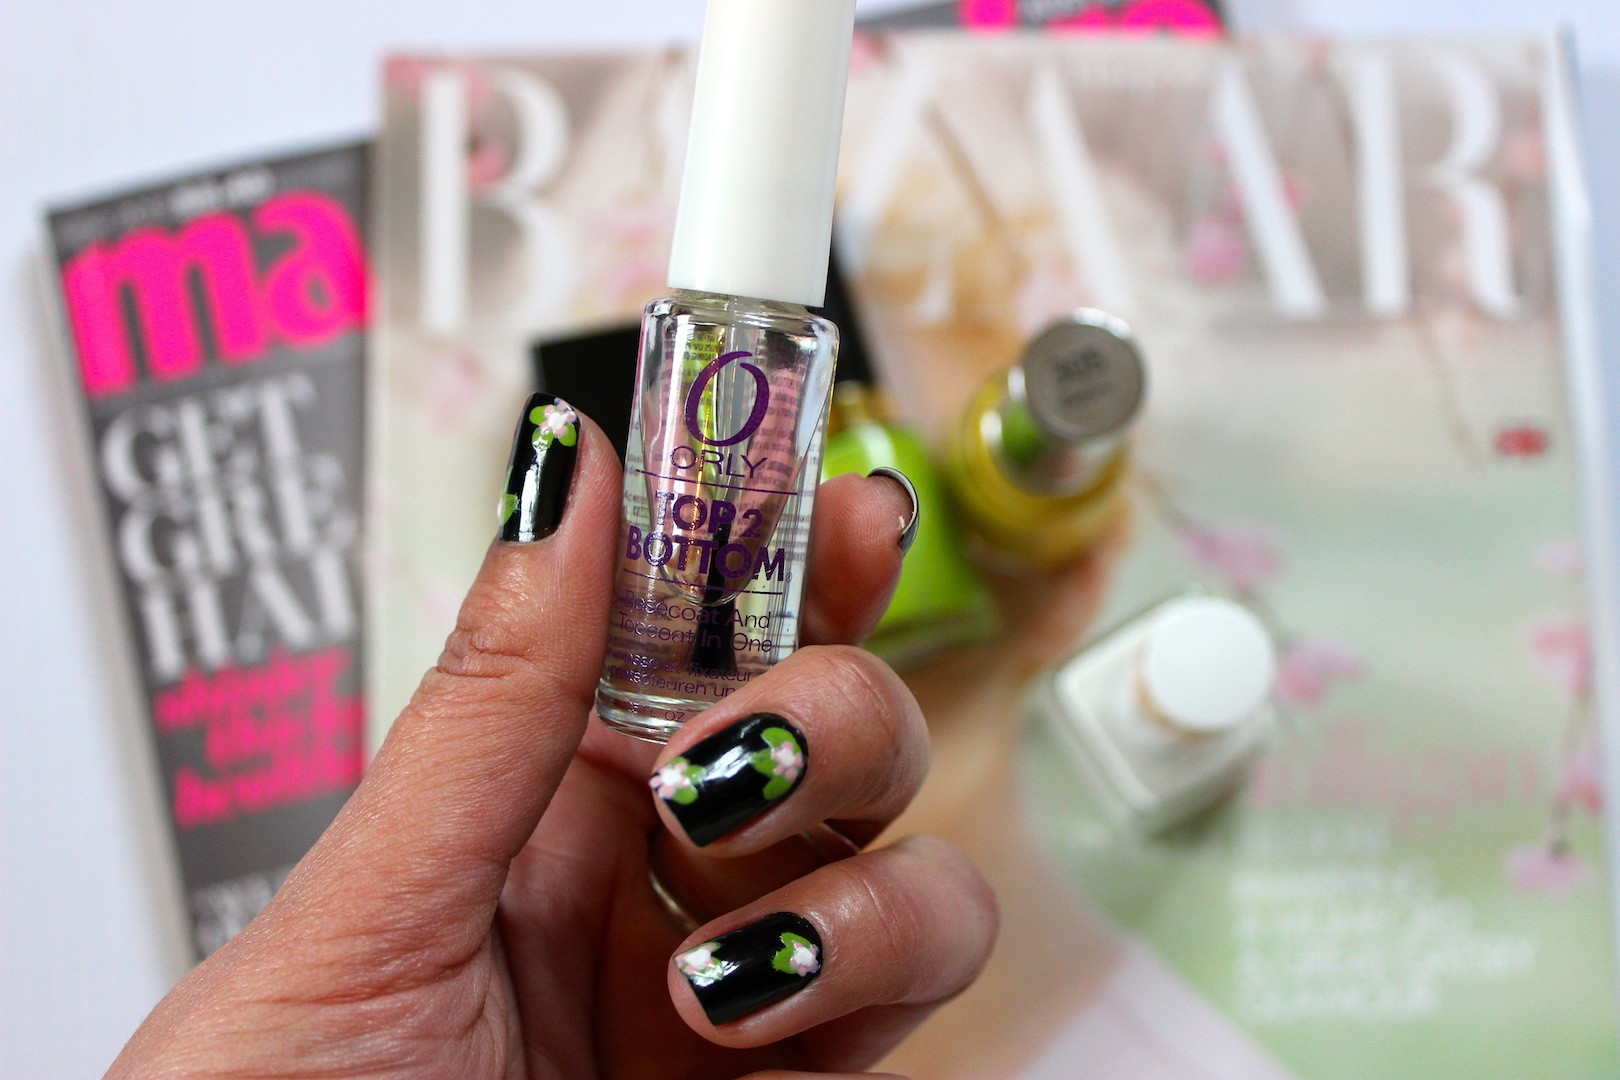
Viola! Your nails should look something like this…
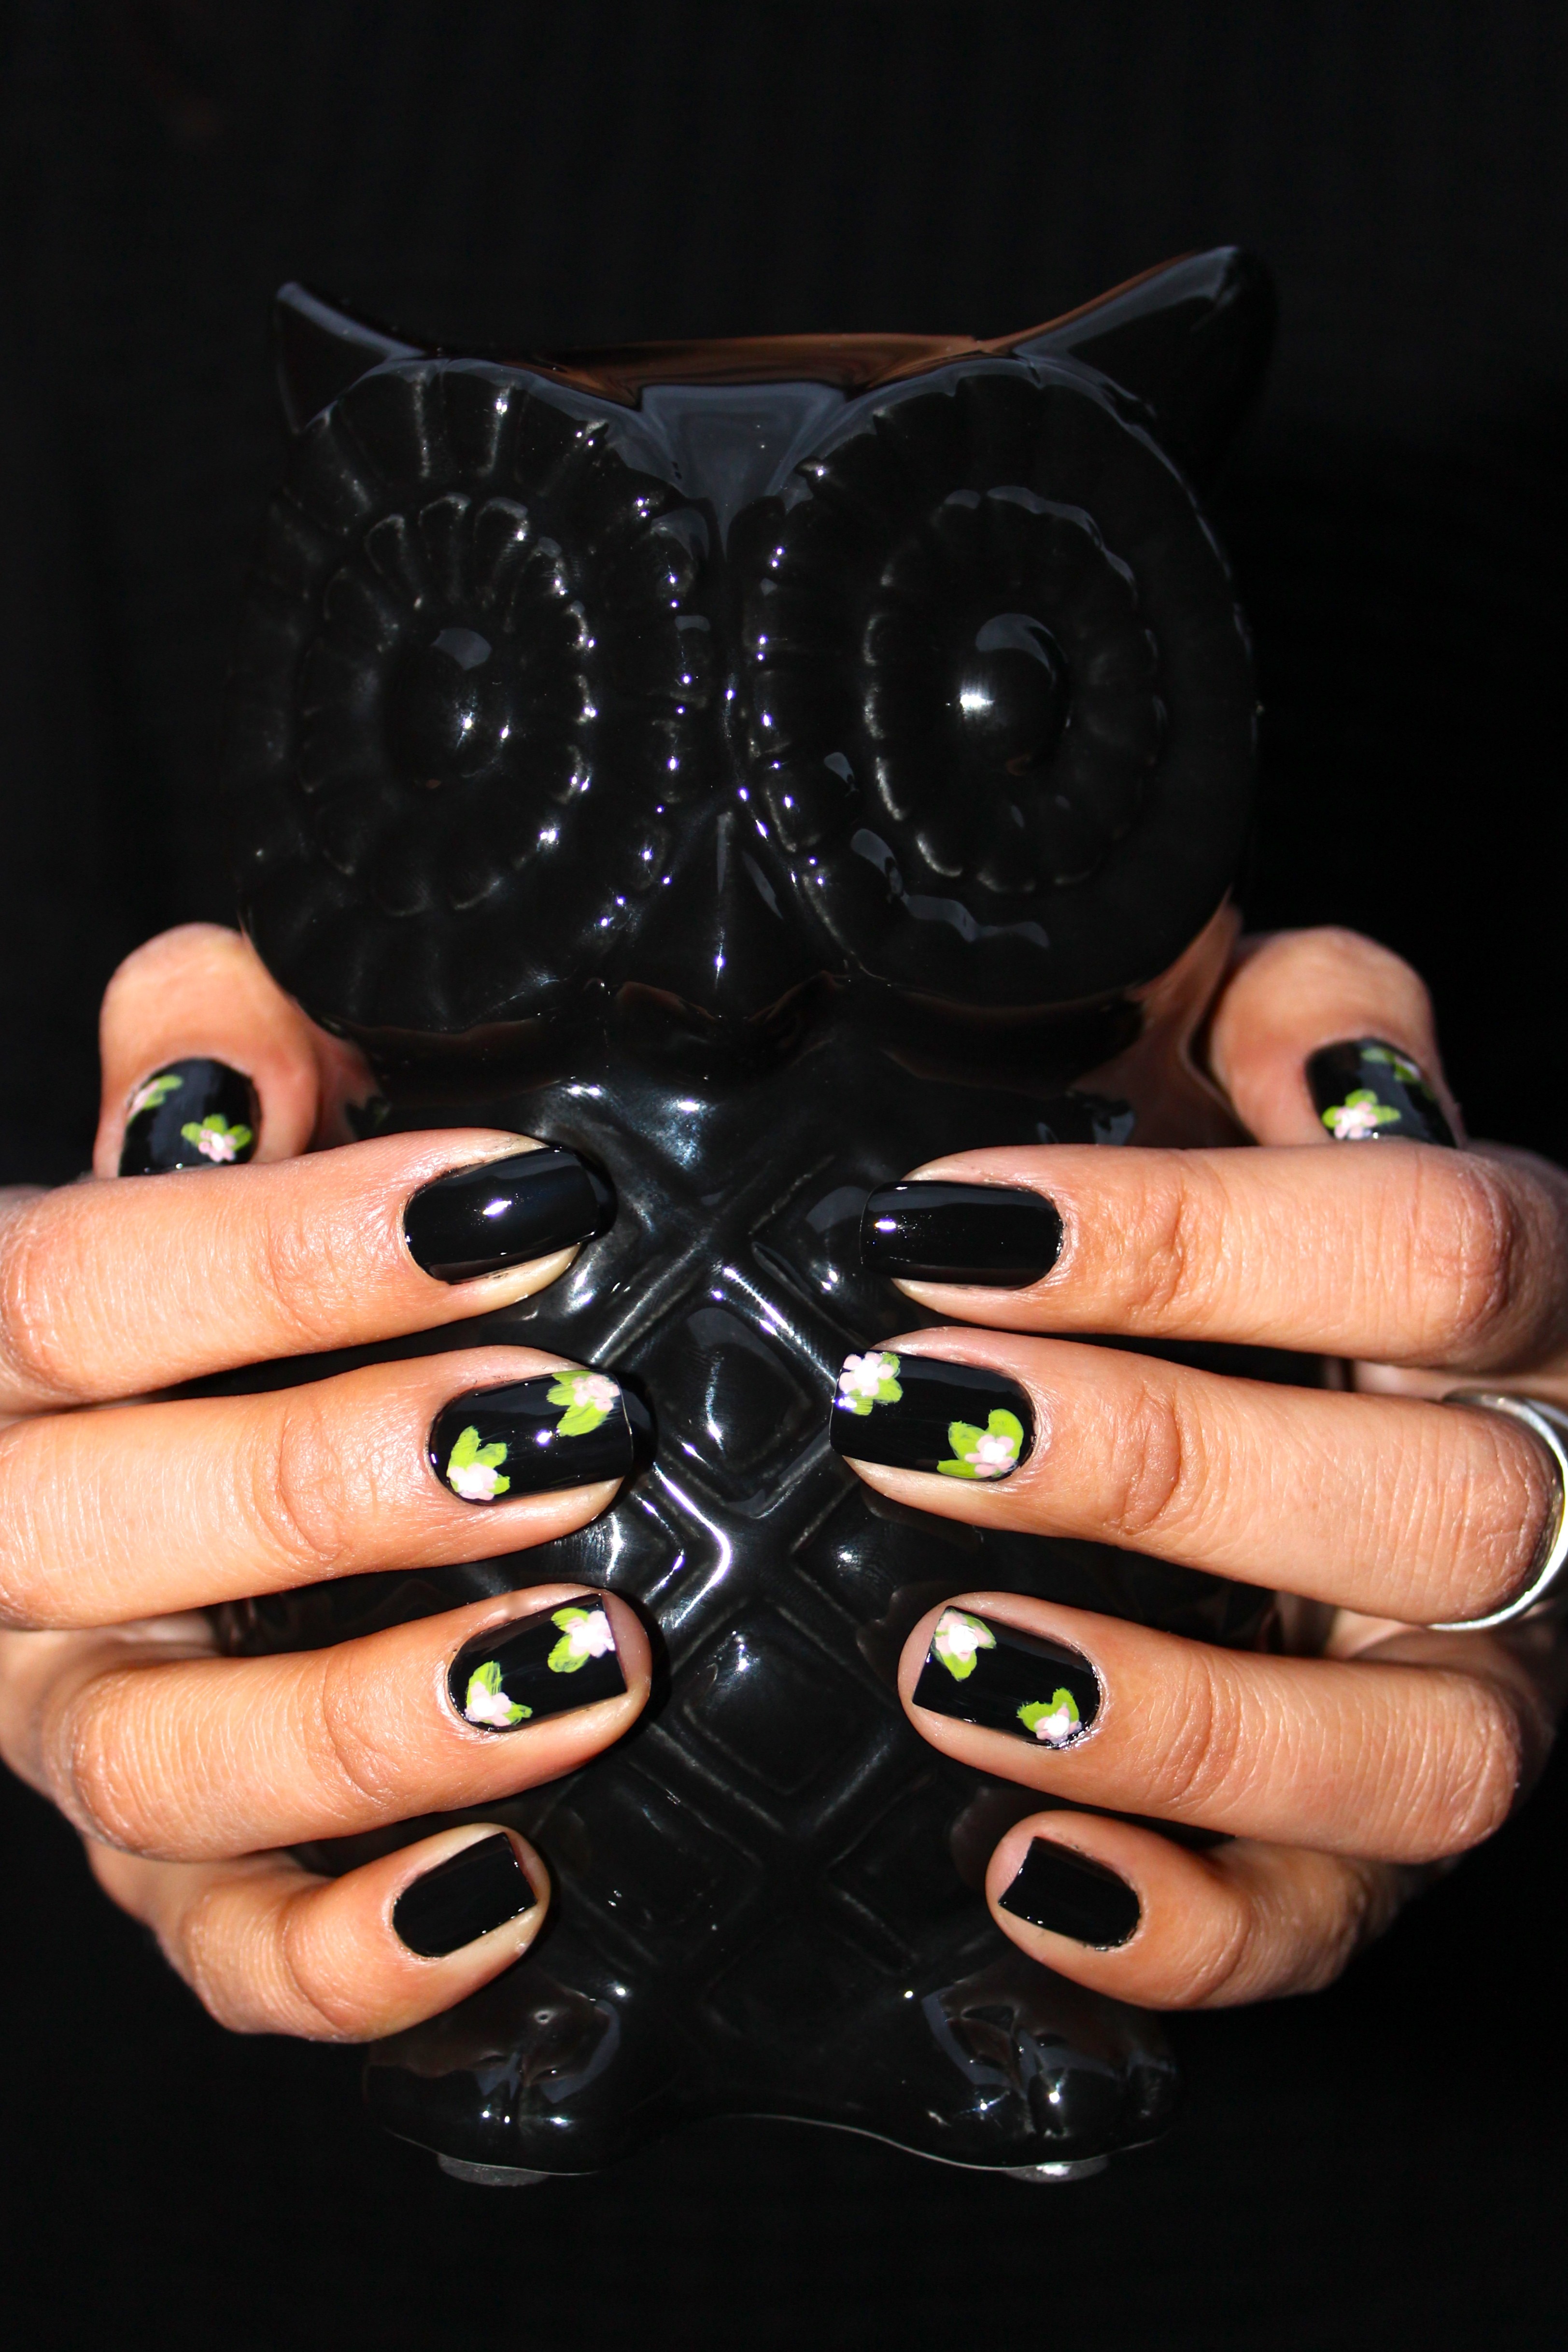 It doesn’t matter if it’s not perfect – no one but you knows what “look” you’re going for, so long as it resembles floral art, and you’re enjoying a bit of a creativity – that’s all that matters.
Ange x
Gurlinterrupted
A Girl Interrupted By Fashion, Beauty & Anything Pretty That Catches My Eye
